title

Motorcycles, tools, and garages! A little bit of everything mechanical and technical.

Thursday, April 11, 2013

Motivation.

I've hinted a few times over the last, uh... 3? years (wow, kinda embarassing how long this "summer project is taking) about a project I've been working on.  Milly, my trusty RUSTY old Ford has been undergoing a major overhaul.  I've stalled out a time or two but I keep going back to it.  At this rate, I'll have it done by April!  2017.  Anyways, last fall I swapped a bike for a set of brand new tires and rims.  My brother just got finished mounting them for me.

Caution, do NOT try this at home.  I'm suprised he still has his eyebrows.


He survived, and so did my tires. Lug nuts showed up today so time to do something.

Remove these ratty old shoes.  When I bought the truck, it had FOUR DIFFERENT tires on it... 3 of them with good tread and one that was about 2 miles from litterally rotting to pieces.  I found a replacement for that one and drove it all winter.


Mix up a quick batch of awesome,


Dad gum, them's look good!


Hoping that having to look at this is going to motivate me to get the motor stuffed in and driveable!


Only got 3 tires on, going to have to drag the sleds out of the way to get the last one on. Ah well, not too shabby. My brother forgot to send me the center caps anyways, and the hubs are going to need to be polished up a bit to match the new shoes. REALLY hoping to get this thing together this summer, even though the first month of summer break is pretty much booked up solid NOT counting the back order of neighborhood bicycles and lawnmowers I need to fix. 

On that note, only ONE AND A HALF MONTHS 'TILL SUMMER!

Wednesday, April 10, 2013

Acetone Fuming or Vapor Treating 3D printed ABS parts!

First read about this over at handverker.  Hadn't heard anything else about it so I did some more digging and tried my had at "Acetone Fuming". Basically, you let the fumes from acetone melt the printed part a little bit to smooth things out.

First attempt involved a tupperware container, some acetone, and a few hours of soak time. Didn't work out so well- the part was fairly thin walled and it just crumpled up.

Second attempt I tried it again the same way on a thicker part... but gave up after about an hour.

Part:


Fuming set up:


Did a little more research and learned a few more things. HEAT helps this process out a LOT. Speeds it up and seems to make the whole part flow out more evenly.

First step was to build me a catch plate. Took an old hanger and a grass screen from a Briggs & Stratton lawnmower engine, and bent 'em up.


Theory being the part will sit on a piece of pipe up out of the acetone, the catch tray will sit in the acetone until I'm ready to take the part out, like so.


Found an old #10 can, put maybe half an inch of acetone in the bottom, and put the whole thing on my printer bed. Turned the bed heater on and set it to 90 degrees C.


Once it was warmed up, I set the pipe, catch tray, and part in there.


Quick cover out of tin foil.


It was weird, you can't see anything but when you stick your hand in there you can feel instantly where the fumes are- they condense on your skin and your skin gets cold.

10 minutes in.


I probably should have heated it up more before I put the part in. Eventually it got warm enough that the acetone started to "boil".

About 20 minutes in.


Short vid of the fuming:


Part out, after roughly 25 minutes of cooking and 15 minutes of "cooling down" in the can.


Another 10 minutes and the part has started to get harder again. Still soft enough that if I squished it it would leave finger prints.


Bottom, where it sat on the pipe. I have an idea for this I'll show you in a bit...


Finished part on the right, first attempt on the left. Came out pretty nice! The part is MUCH smoother and a whole lot shinier.


I think it would work a lot better if I had let the acetone heat up more before I put the part in- the bottom half looks really good, the top half didn't get as much exposure and it's not as smooth.

Tuesday, April 09, 2013

Mendelmax 2.0, latest project and more review!

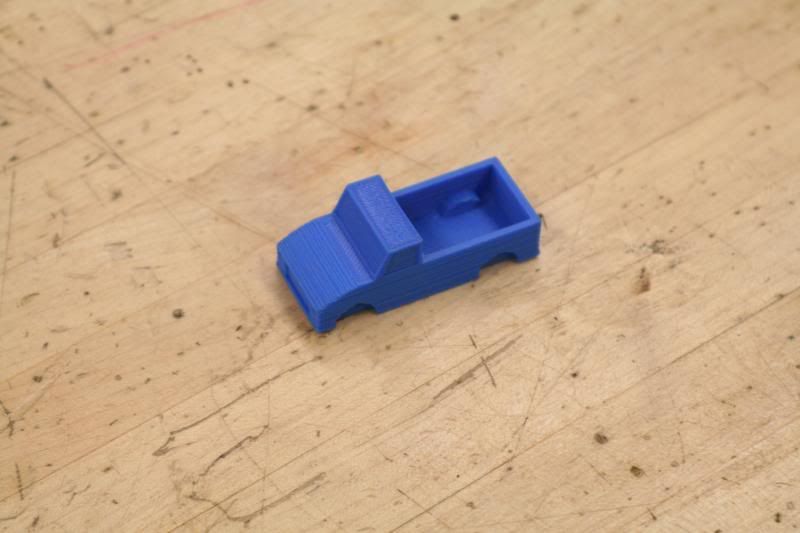
So here's the project I've been toying with for the last week or so. Been experimenting with Sketchup and all of the cool plugins- taught myself how to skin shapes, joint push/pull, and a few other tricks I scrounged up to make this work.  If you use Sketchup, be sure to stop in at http://sketchucation.com/ and set up an account so you can download all of the free plugins! 

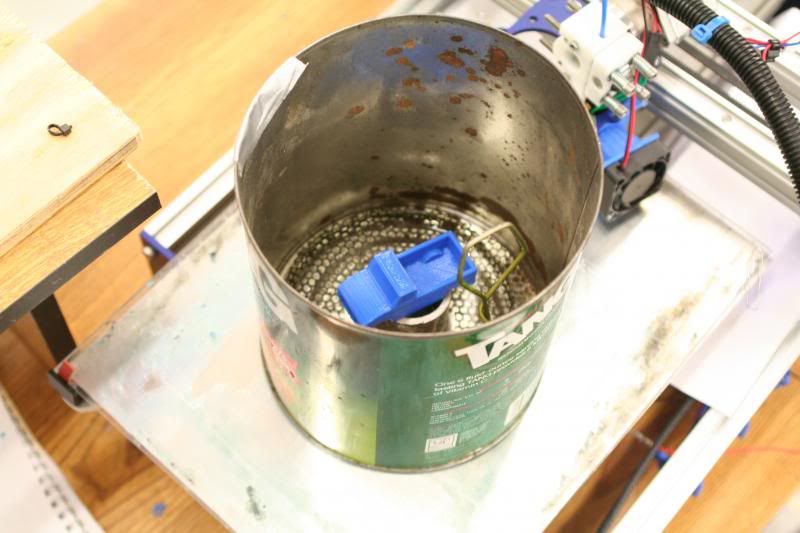
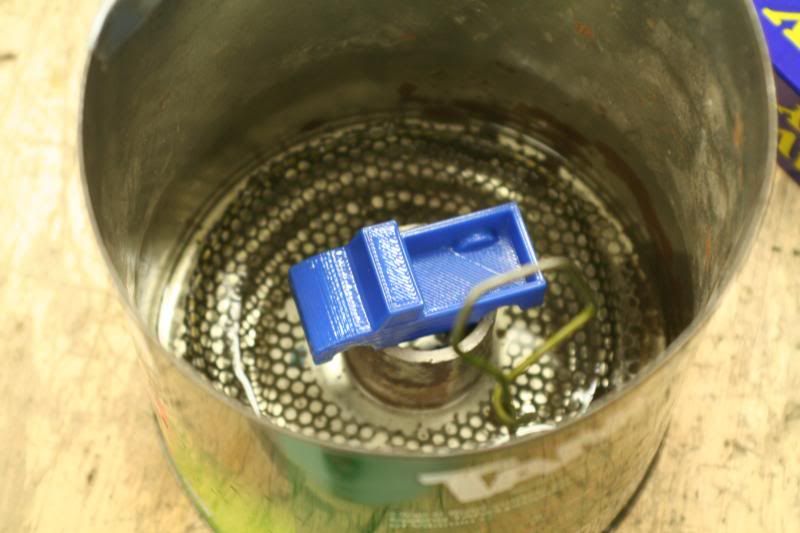
Also have become a lot more proficient at understanding the Netfabb software and repairing exports .stl's. Getting the printer set up and running now has become a breeze, although I am still playing with Slic3r settings trying to get things more better-er.

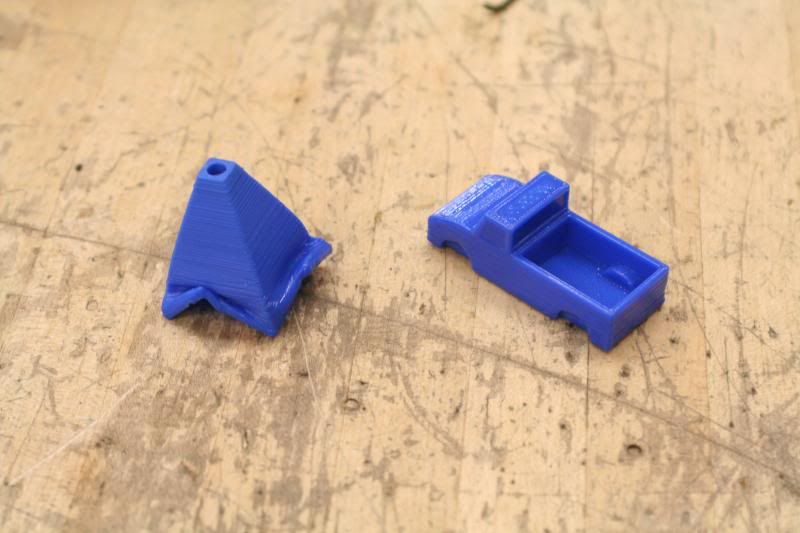
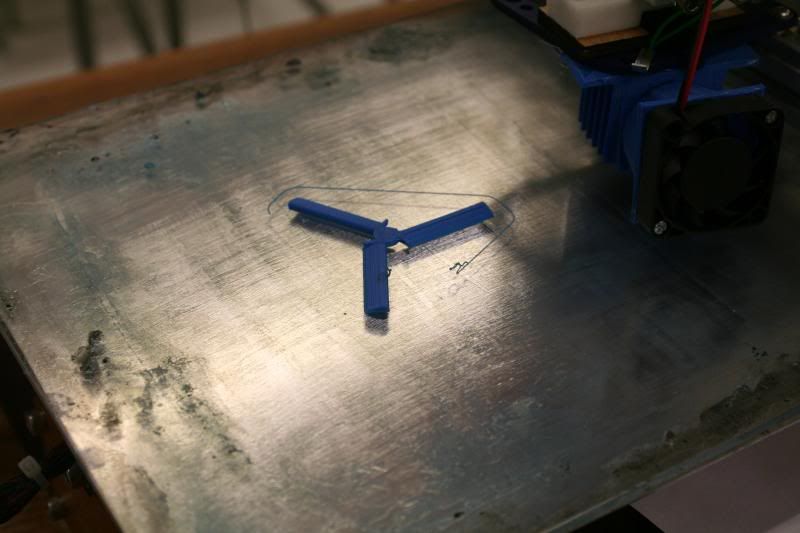
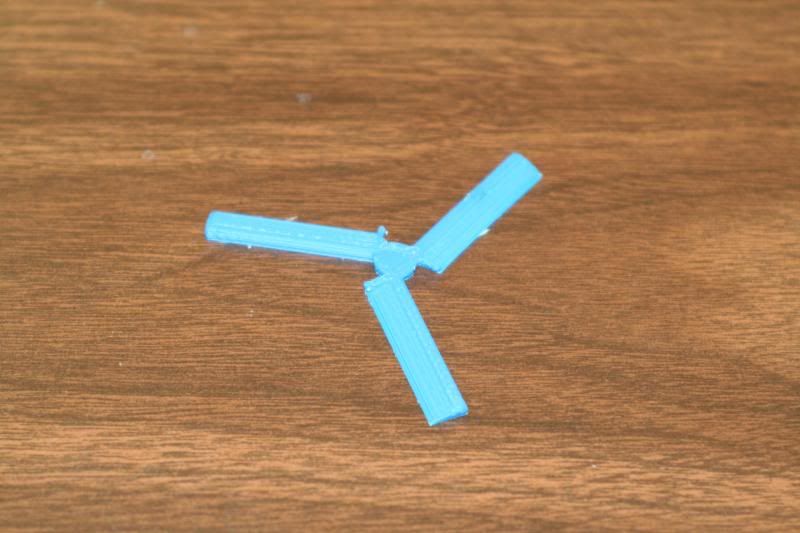
Helicopter time. There was honestly no real thought put into this effort, and it shows a bit but I think it turned out nice. Started with a blade, printed it, made the next part, printed it, saw how it fit, made changes if necessary, and here's the final product.

Sketchup files:


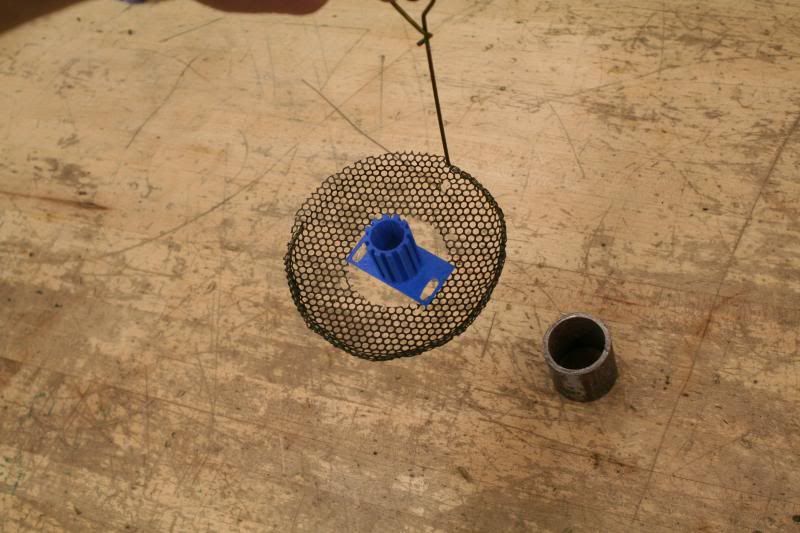
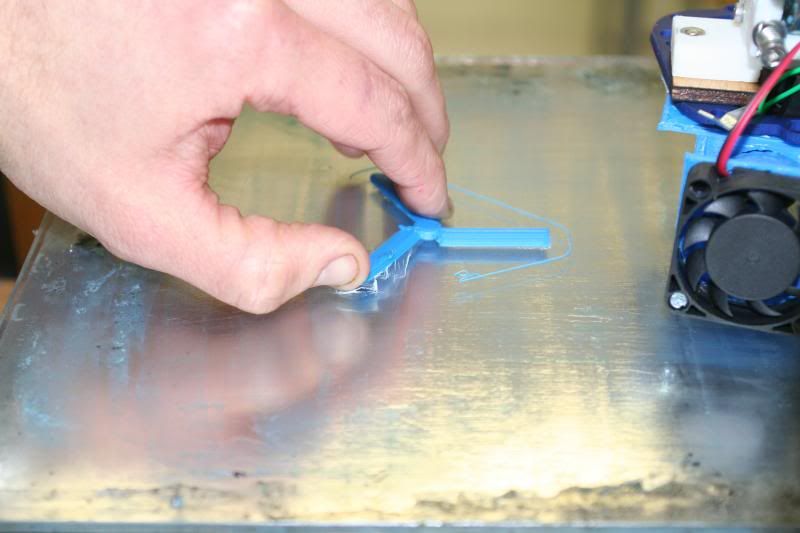
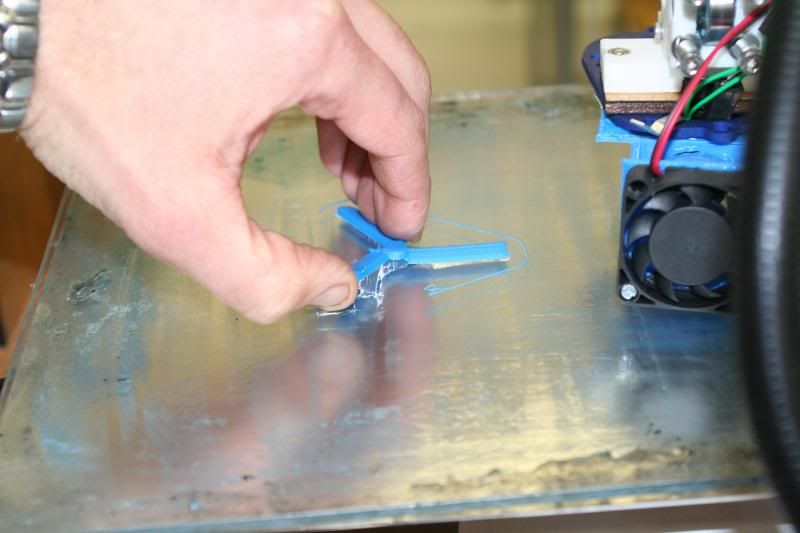
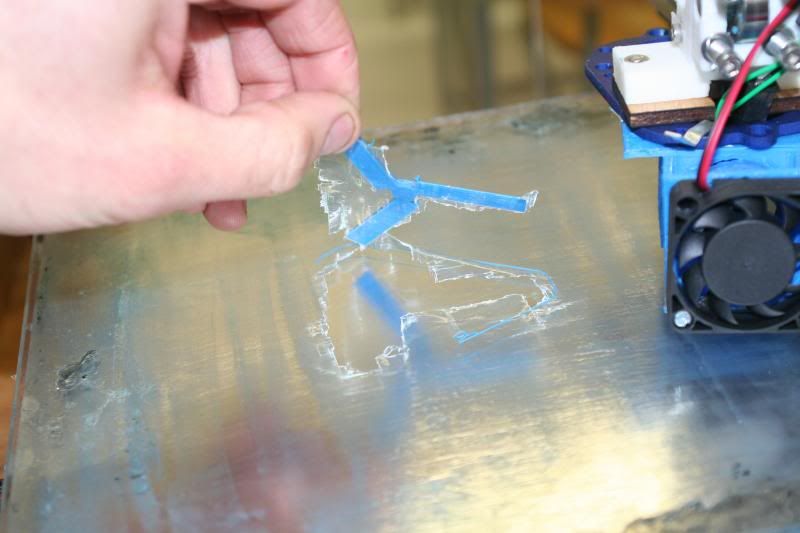
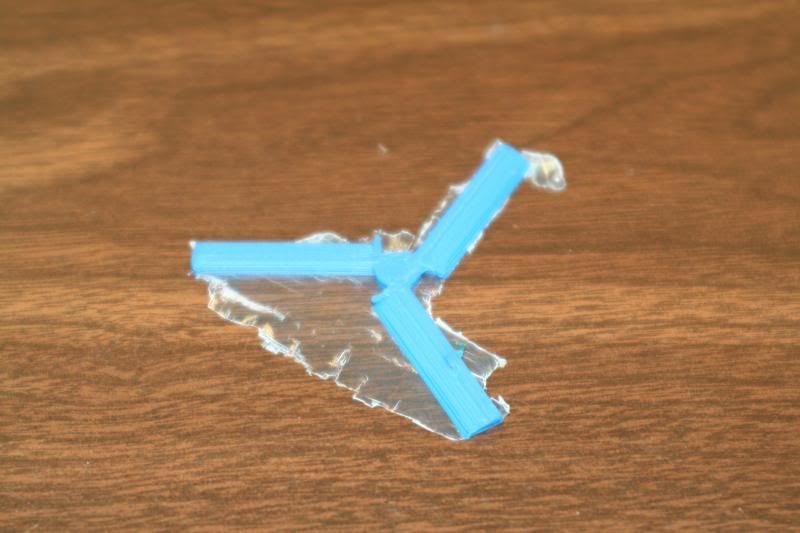
Printed parts. I made a different tail than the one pictured here...


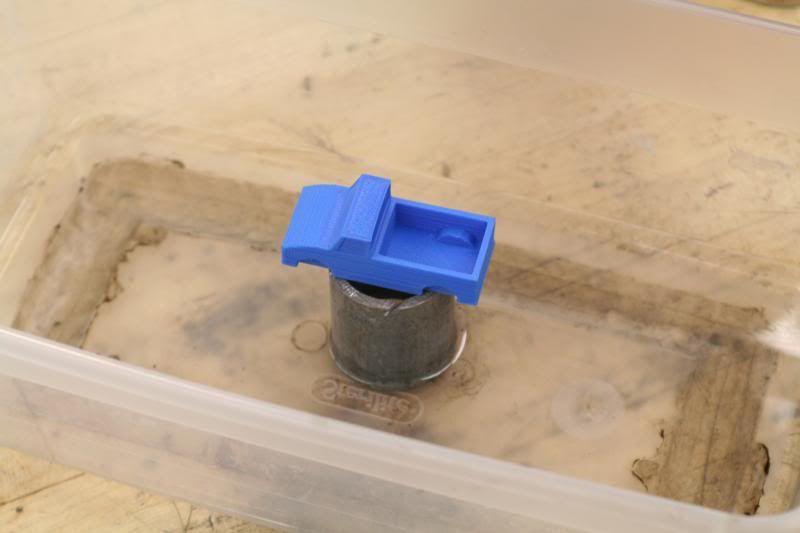
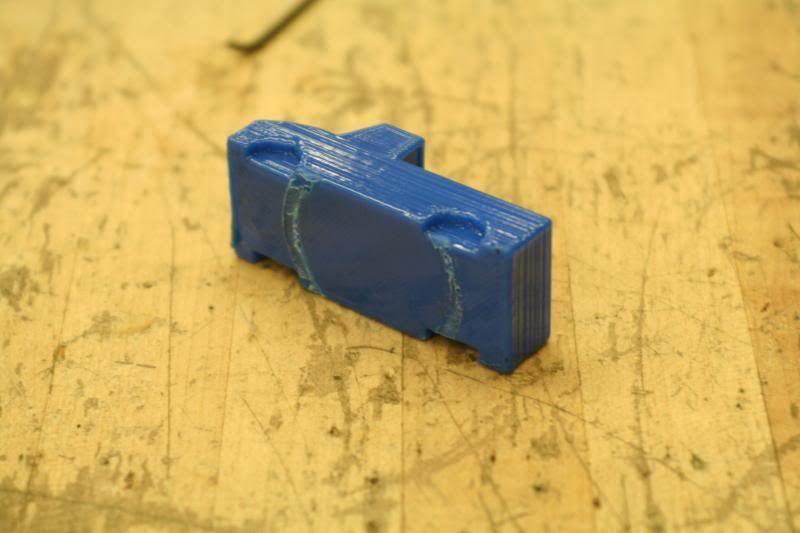
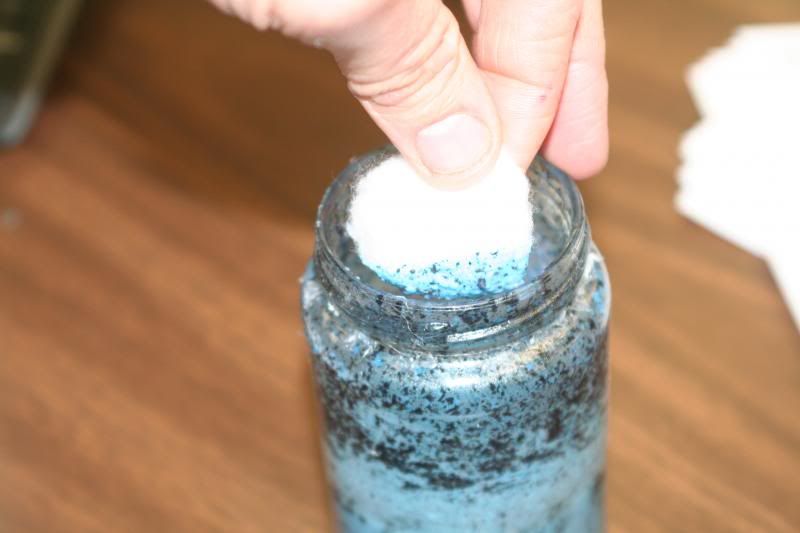
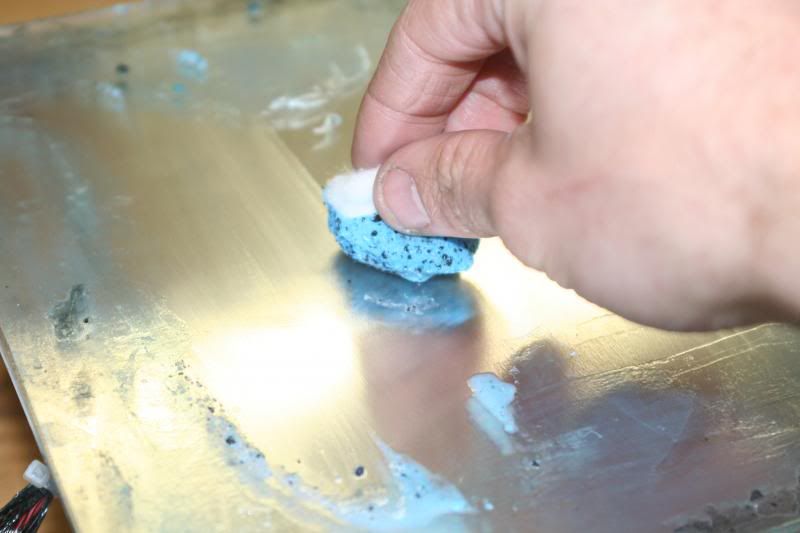
Get a tube of crazy glue and start assembling.  The shell did require some triming to get to fit right- mainly due to warping.  Getting better at controlling that.


Plan on printing something to replace the screw, but for now...


Again, I've got a different tail now.


And fully assembled with the old tail.


"Finished", for now...


I want to add some turbojet exhaust pipes out the back here some day...


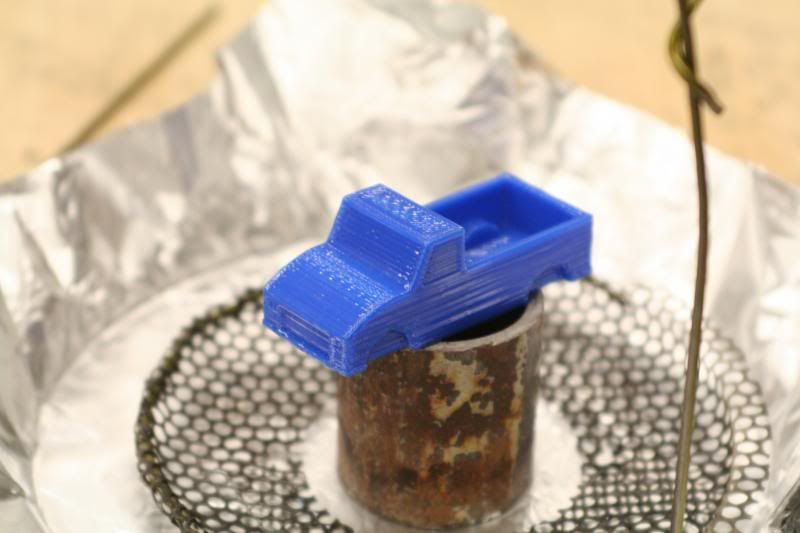
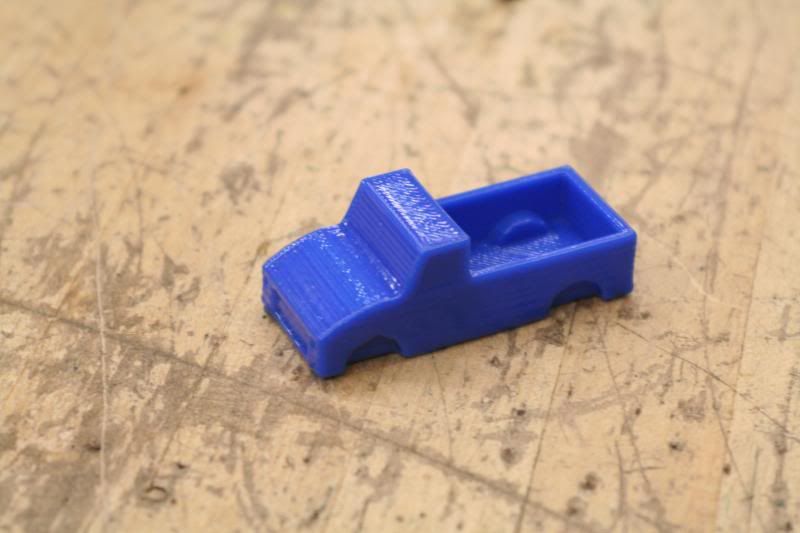
I think the print quality is great!


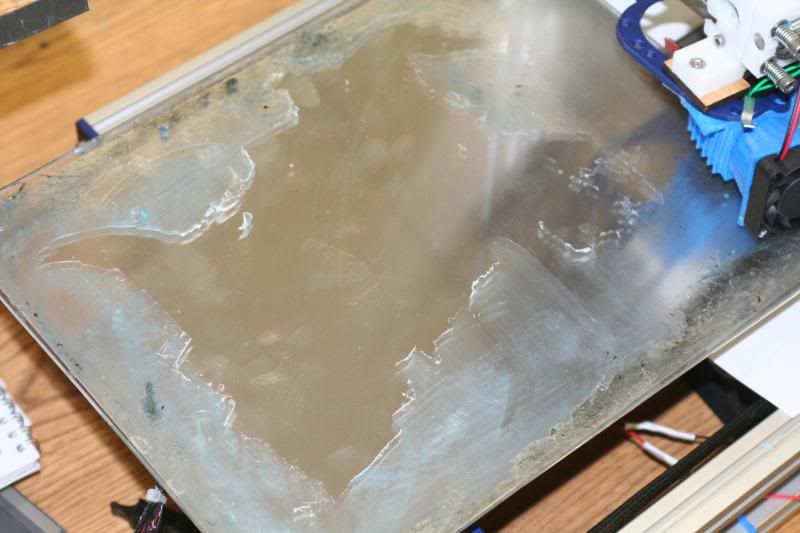
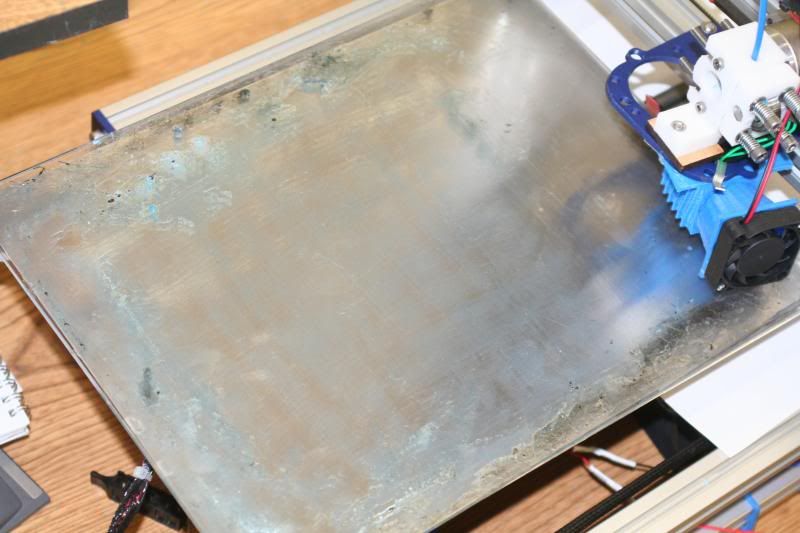
Learning all sorts of things. Need to keep the bed temps up higher to prevent warping- very noticeable on the body halves. Tolerances aren't quite what I'd like- sometimes printing a 2mm hole the hole turns out more like .5mm if the z-axis isn't set just right for the first layer. More my problem, probably should set up some endstops.

All in all, I'm still very impressed with the capabilities of the Mendelmax 2.0. The quality I think is great, but I don't have any other prints from other printers to compare it to. Speed is very adequate, reliability for me so far has been a non-issue. I have had a few bugs to sort out, but they have all been solely electronics related. The worst problem I've encountered so far with the hardware end of the printer is the belts- the printed tensioner on the y axis tends to twist a bit and the belt started to rub on the side of the frame. Adjusted it once and it's been fine ever since. Still need to install my updated z-axis parts too.


The electronics end of these things seems to be a never ending excersize in tinkering.  I'm forever altering Slic3r settings or trying different configurations with the control board or firmware.  Good think I like tinkering!

My students are working on their Sketchup projects right now, so I'm hoping to start running their prints by this time next week!

Monday, April 08, 2013

Sticky Stuff

Thought I'd share this neat trick I learned to make prints stick to the table better.  I've been experimenting with ABS in my Mendelmax 2.0, for no other reason than that's what I ordered... I'm getting better results with less warpage the more practice I get, but this little trick has been by far the most useful thing for successful prints.

First you need to make up some of this splooge.  Its nasty smelling but cheap and effective.  Find a container and fill it about half full with Acetone.  Gather up a bunch of your ABS scraps and dump them in there, put the lid on, and shake it up.  After a while you are left with a slurry like this:


Once you have the slurry, use a cotton ball and spread it around the glass. Do a few even coats, crossing directions. Seems to work a lot better if the bed is SORTA warm- maybe 40-50 degrees.

Bed before prep:


Bed during and after:


Run a print, then watch as we peel it off.  It can be really hard to get off while the bed is still hot, plus I've noticed that parts seem to warp more if I pull them off before they have had a chance to cool.


Print removed:


Take a razor blade and clean the skin stuff off. Kind of a pain in the butt because it static-sticks to EVERYTHING.

Cleaned up print!


Great use for old scraps. The stuff stinks to high heaven but has been pretty effective. Next best thing I've found to prevent warpage with ABS is cranking the bed temp WAY up- I start my prints at 90 degrees Celsius so I don't have to wait for hours for it to heat up and start the print. Once the print has started I crank it up to 100, although it really struggles to get that hot. Still get some warpage that way, but hey, I'm impatient.