Crazy, eh? I actually "finished" something. I say "finished" because I think I could have spent hours and hours on this silly little thing. After 3 repaints, I decided it was time to focus on something important and this needed to be done. It's good enough. Learned all kinds of fun things doing this and looking forward to trying a few more.
Fair warning- this post is huge and has a TON of pics...
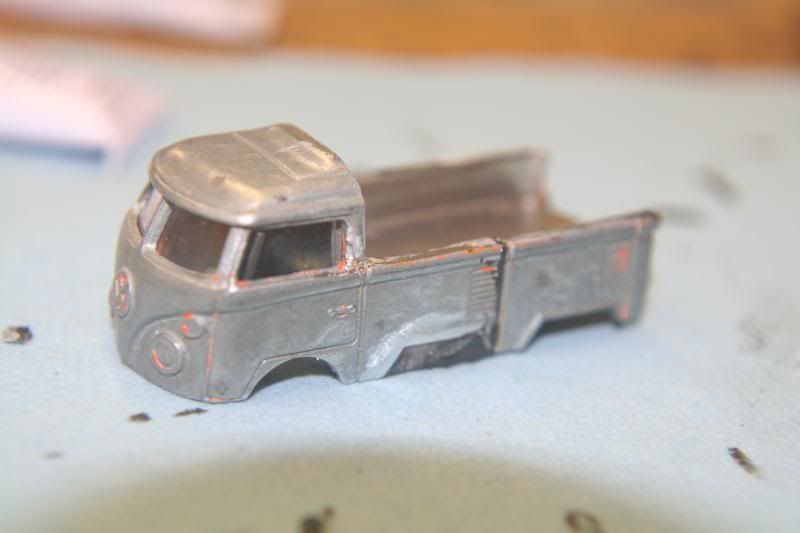
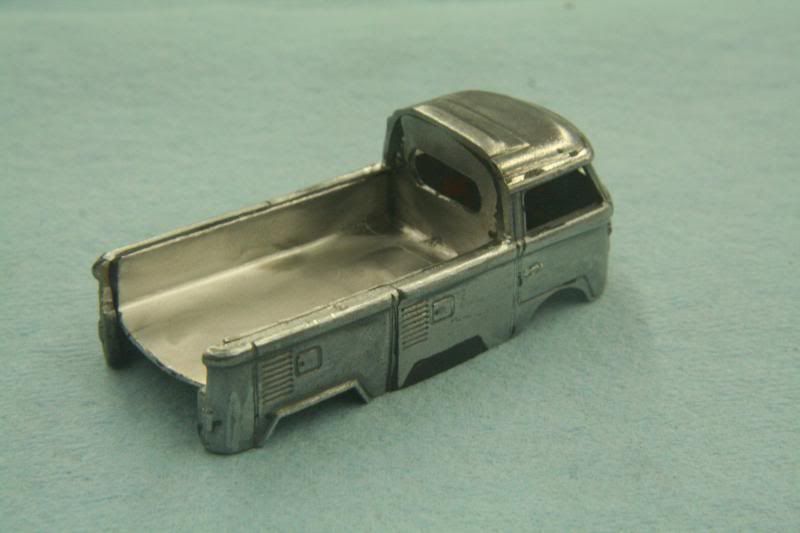
Made up a bed out of some aluminum scrap.
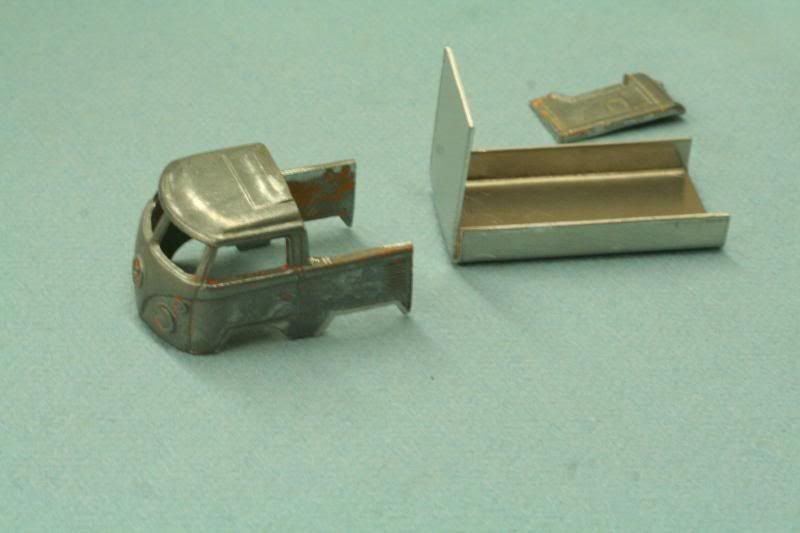
Trimmed it up and fit it to the body.
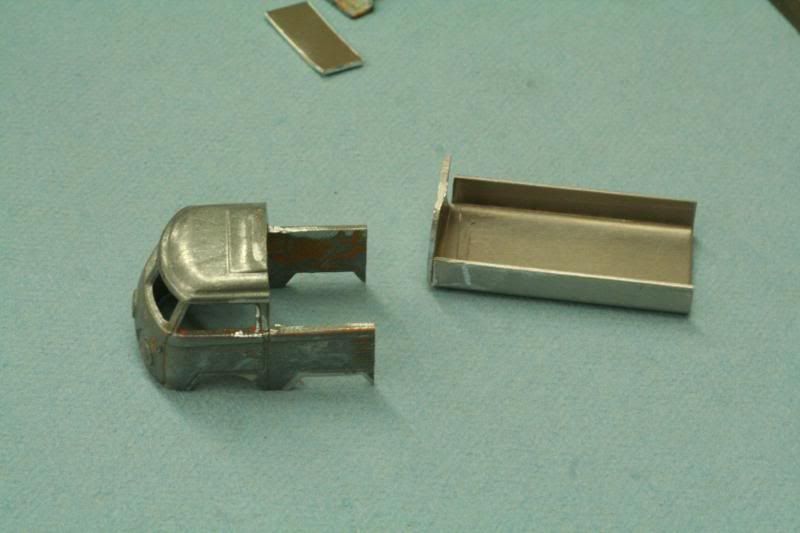
Mixed up some JB Weld and glued it on. Also used it to fill in the extra wheel wells.
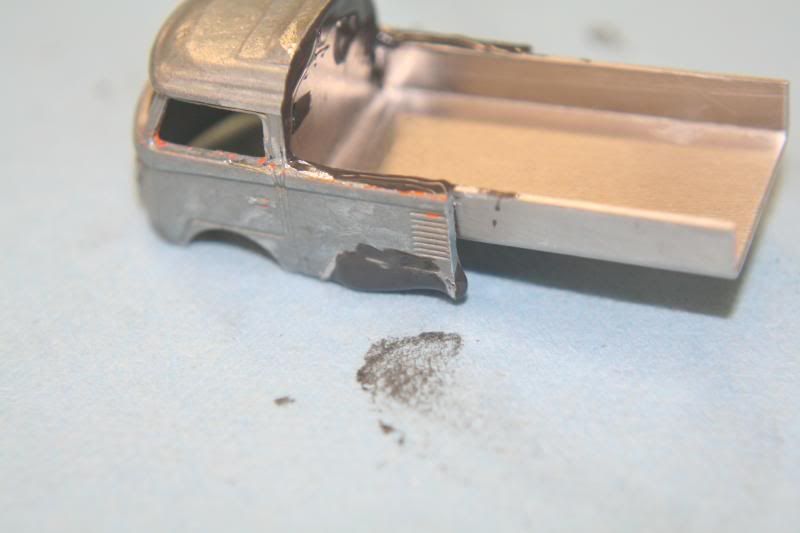
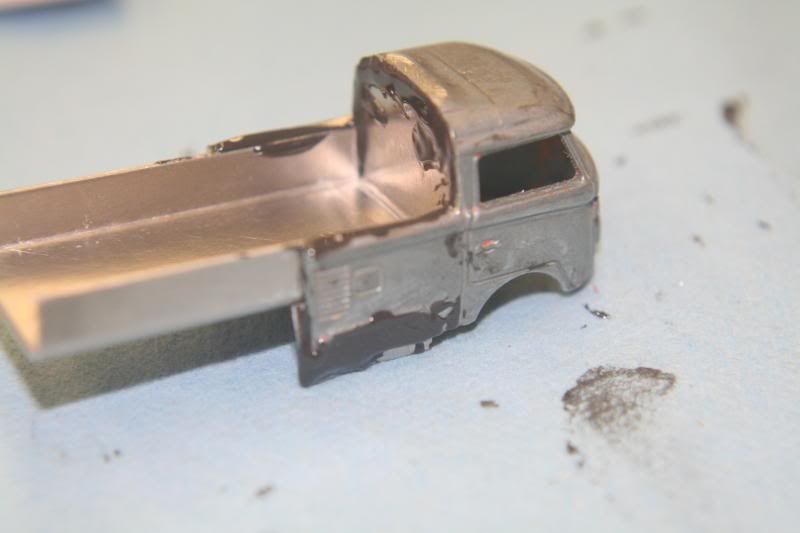
Glued on the rear panels.
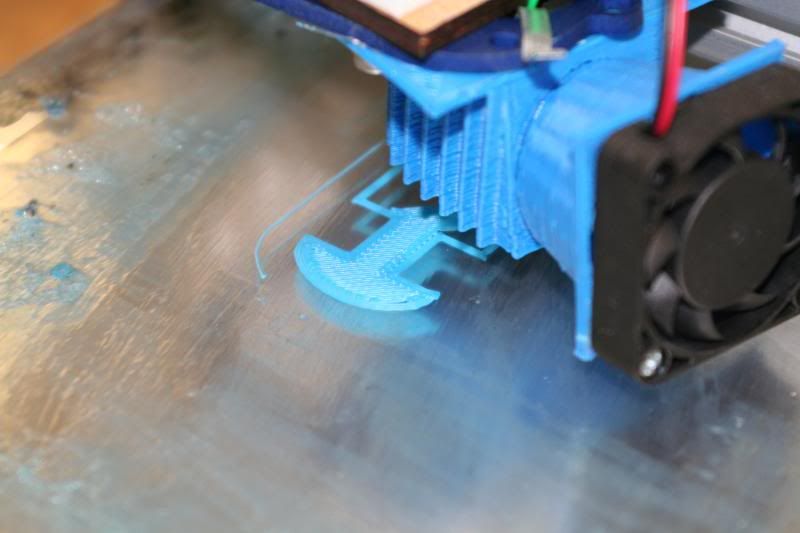
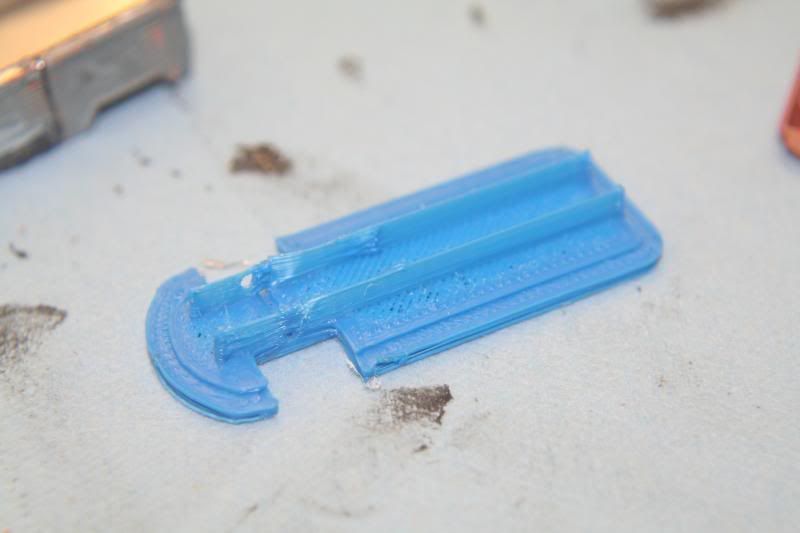
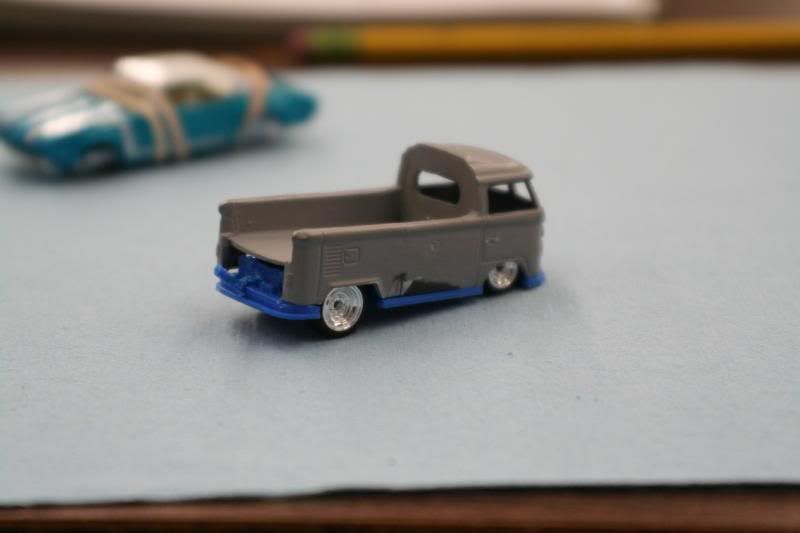
Did some quick measuring and printed out a practice frame on the 'ole 3D printer.

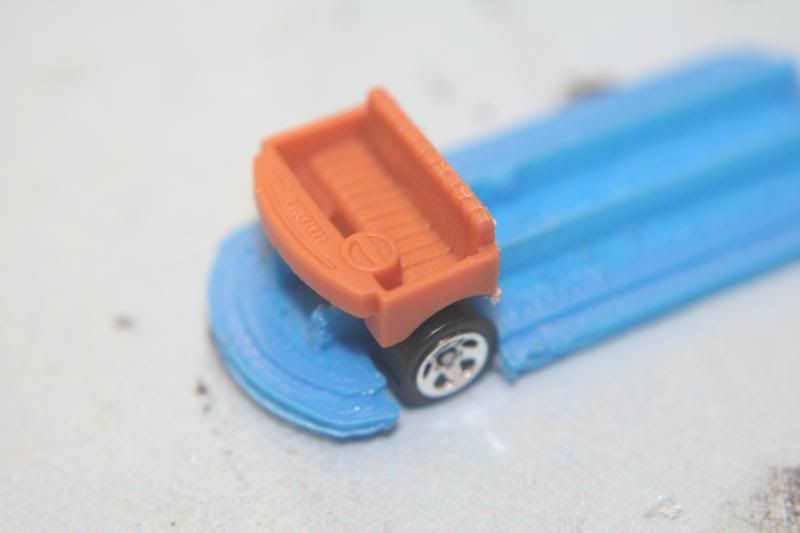
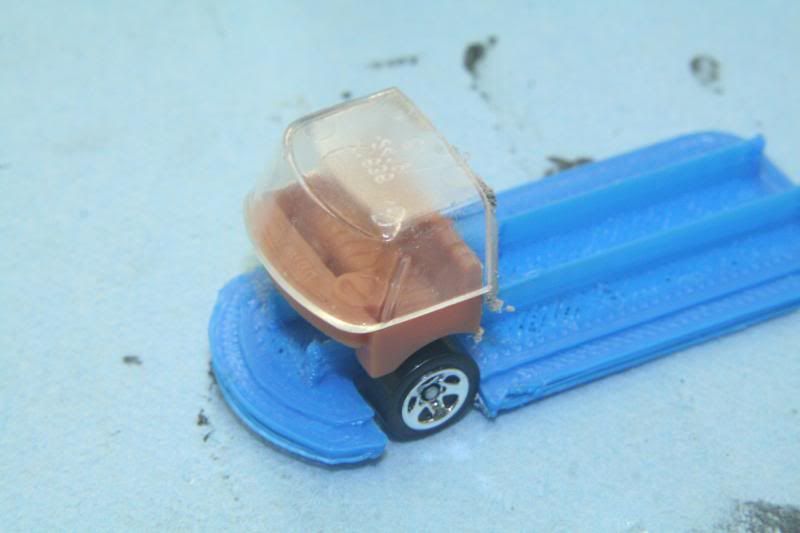
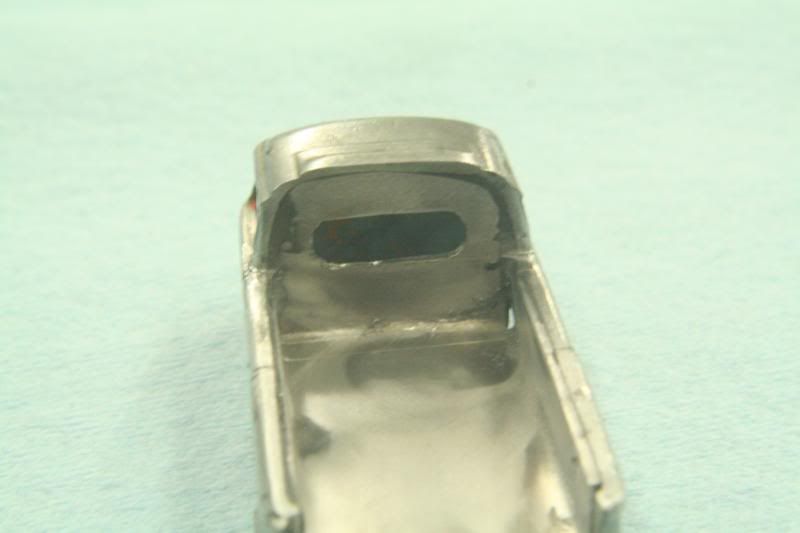
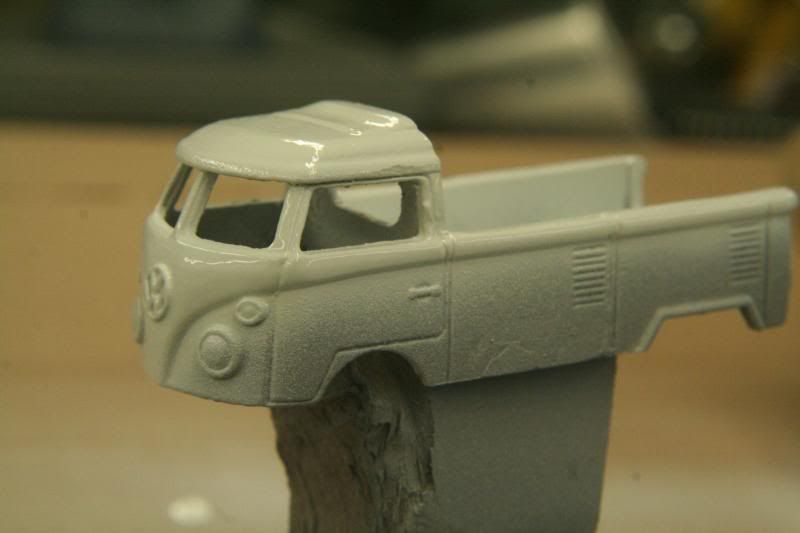
Trimmed up the windows and interior to fit the smaller cab.

Assemble!
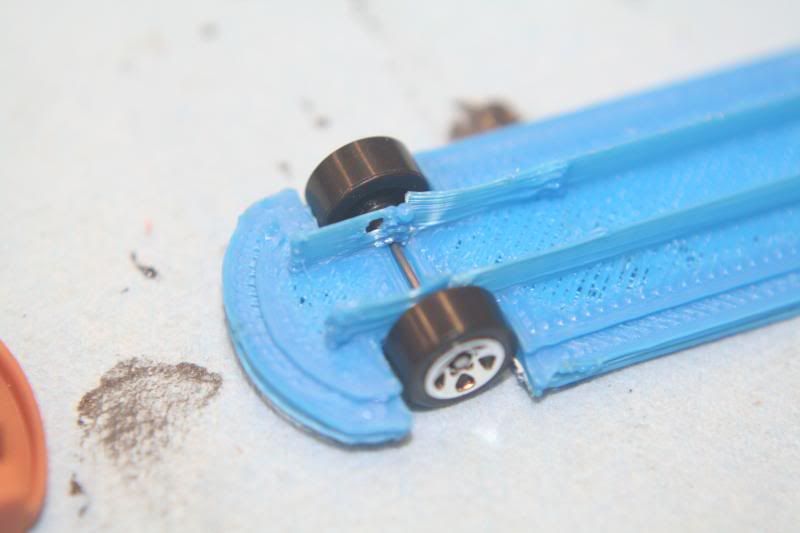

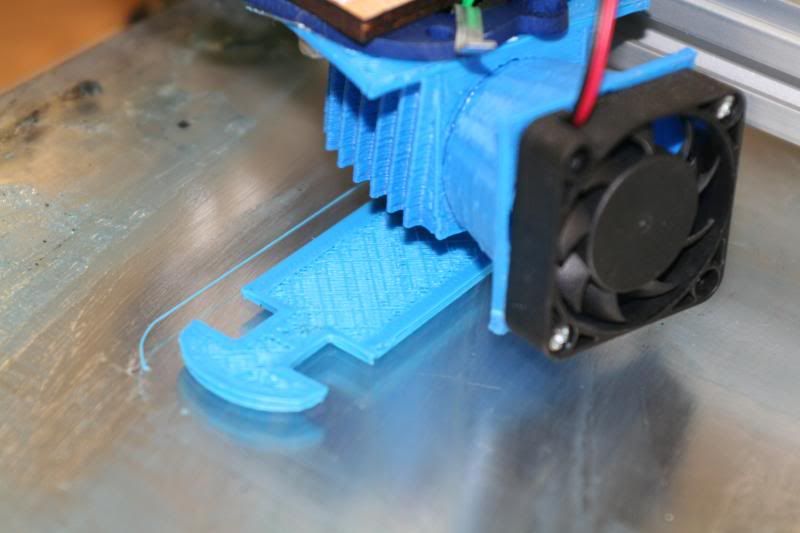
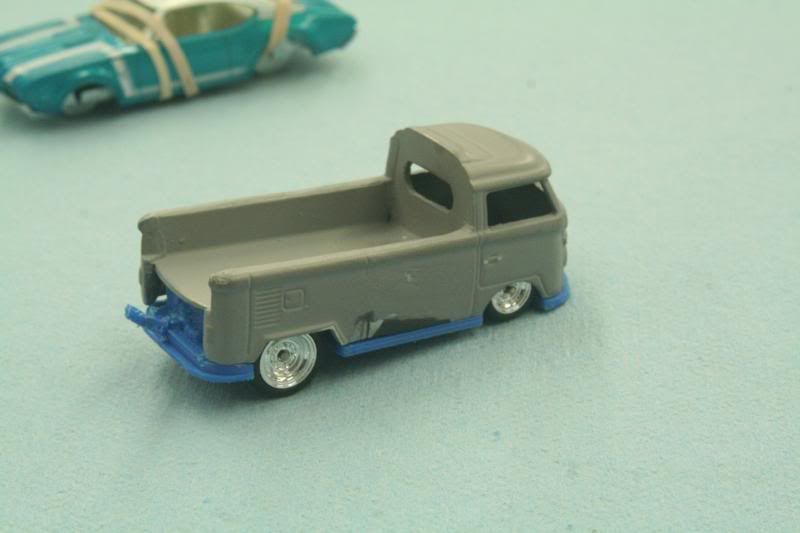
Not to shabby for a quick off the cuff job. Now I can measure where the
rear wheels need to go and start cleaning up the body. Have to make a
few tweeks to the frame as well.
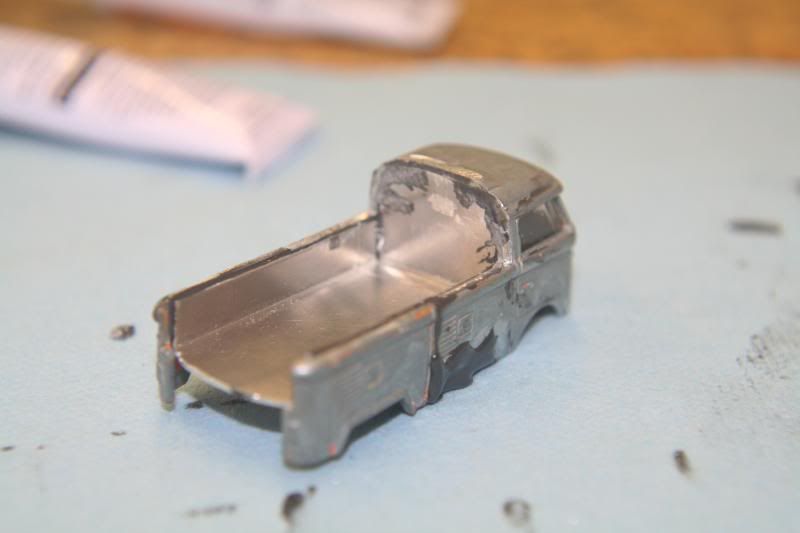
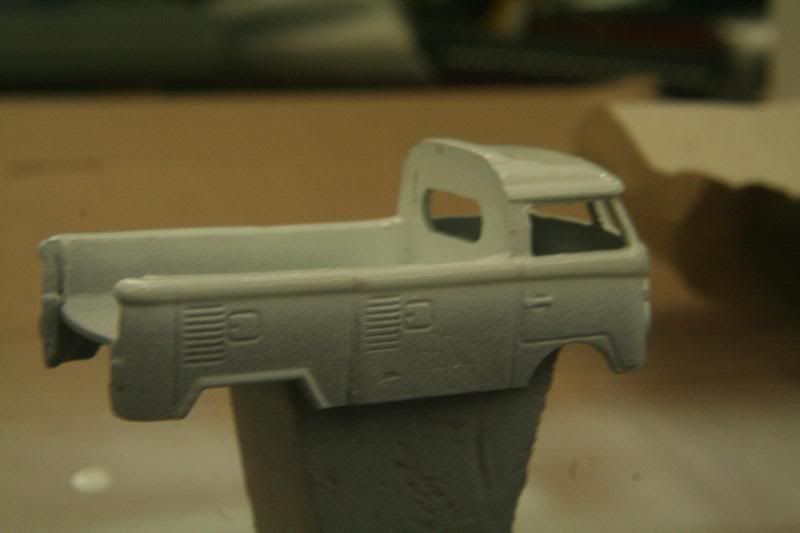
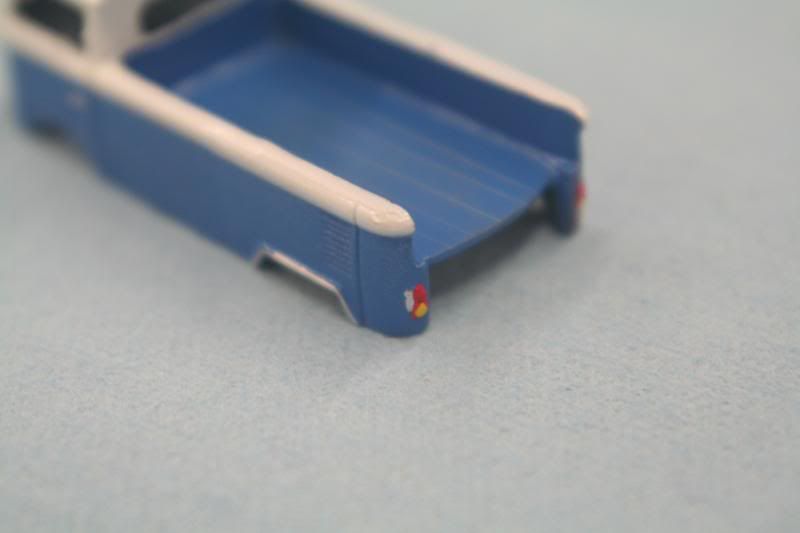
Cleaned up the body some more.
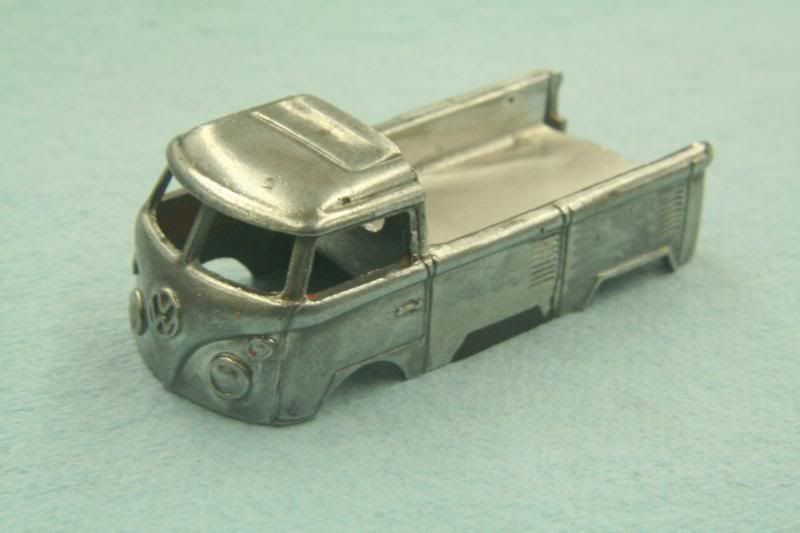
Punched a rear window in.
Shot some primer.
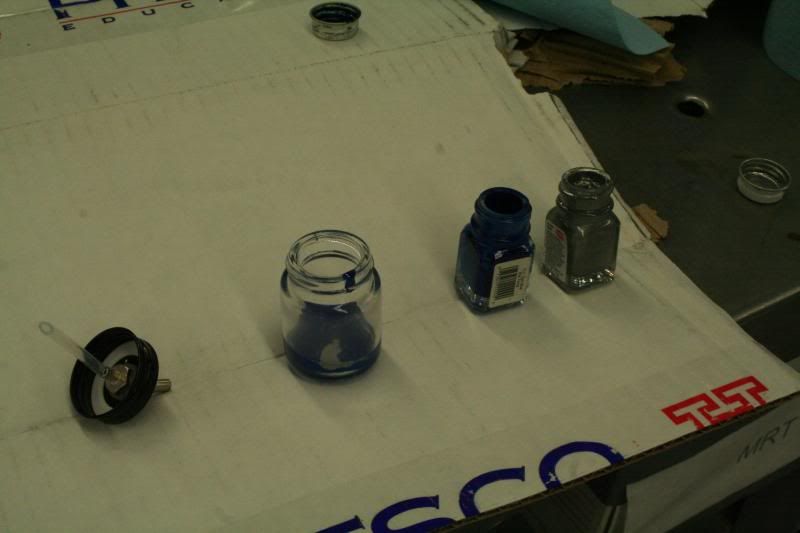
I bought a cheapo Harbor Freight airbrush a couple of years ago but have
never had a reason to try it out, so here goes! Dug out my ancient
dried up model paint and rehydrated them. Mixed some blue with some
silver metalic to get a metalic baby blue.
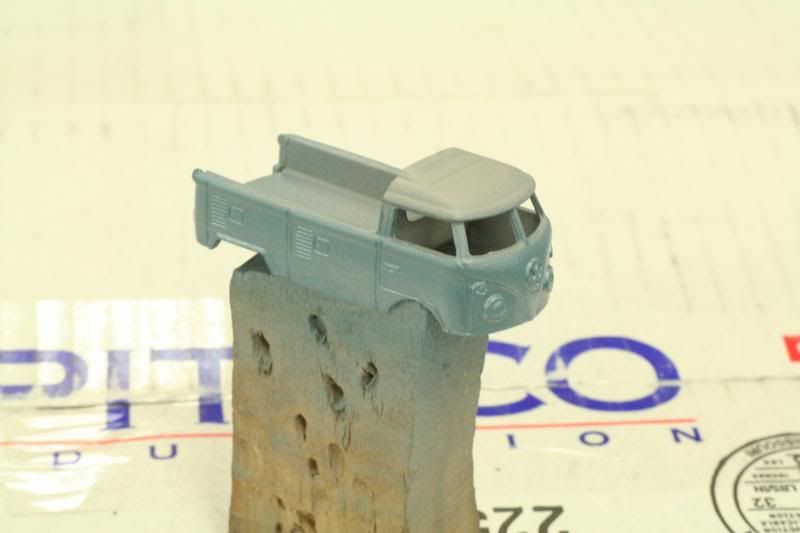
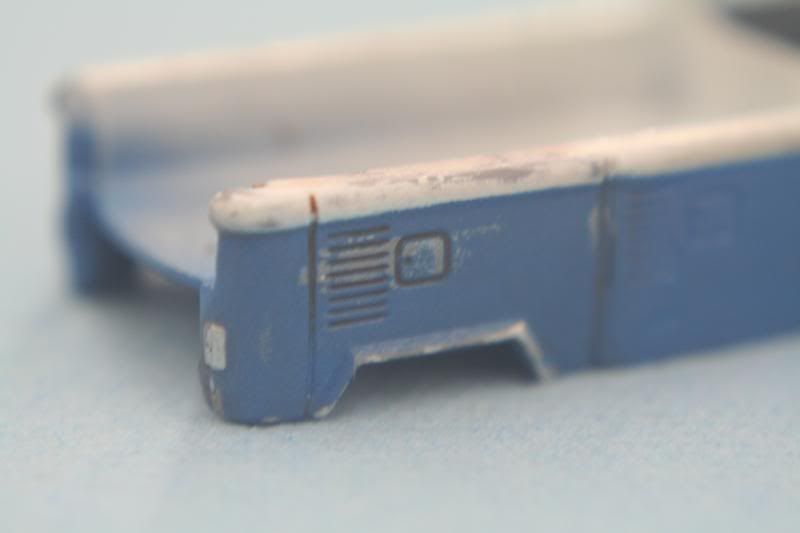
As you can tell, I have no idea what I'm doing... Still fiddling with
the airbrush. Think I'm starting to figure it out though.
Put some white on the top. Didn't have any masking, but I figured this
was a practice anyways and the paint was probably going to come back off
so I tried it anyways. Came out okay until I managed to knock it over
and schmear the paint.

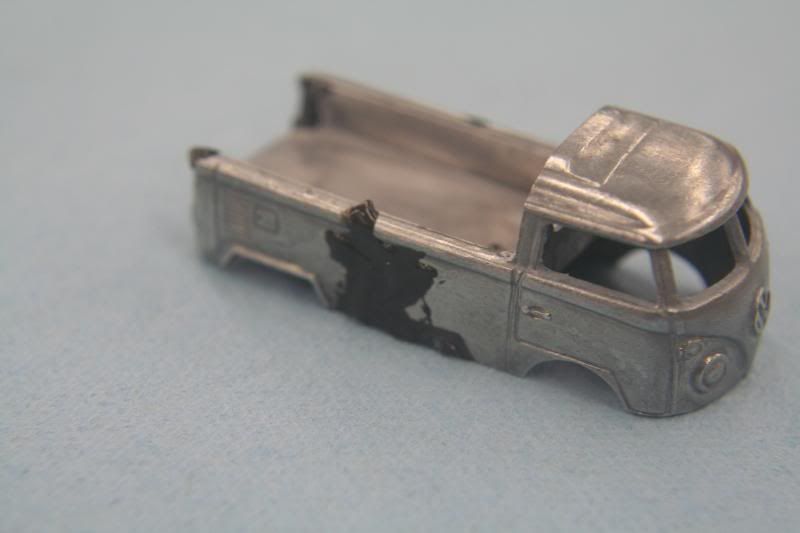
End of paint #1, stripped it back to bare metal to give it another try.
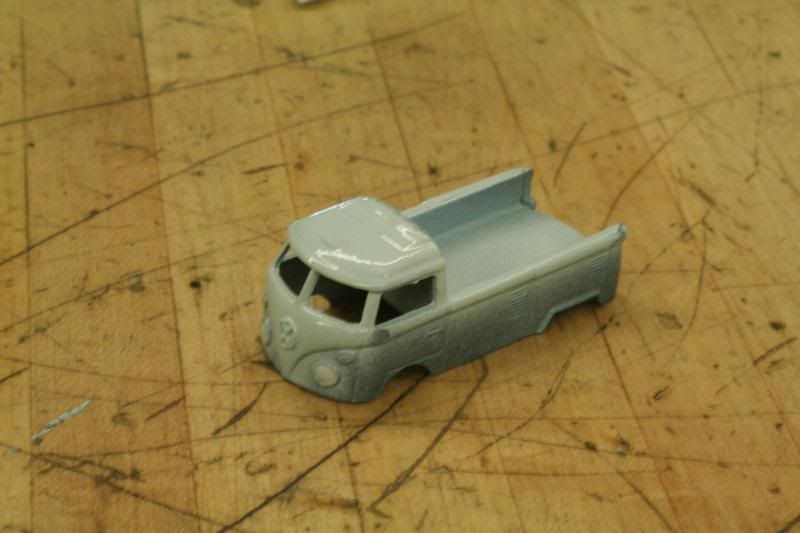
Attempt #2 at painting... Airbrushed some white on after a fresh coat of primer.
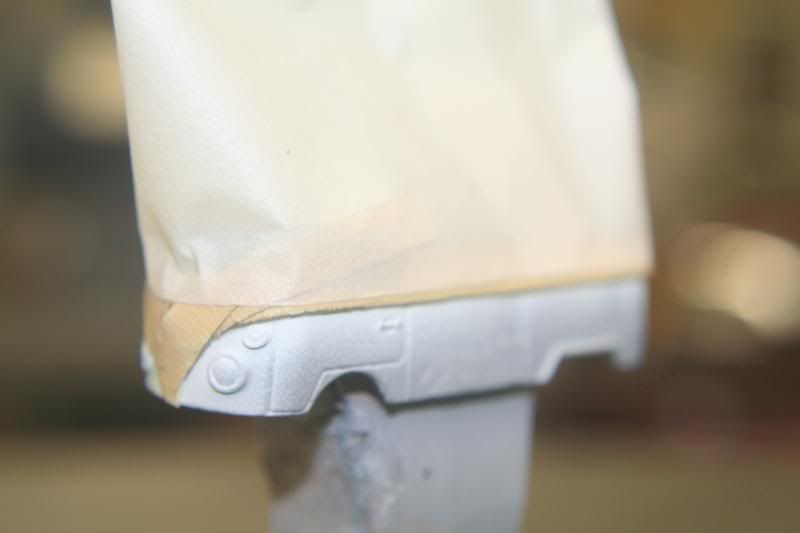
Let it dry and then taped it off.
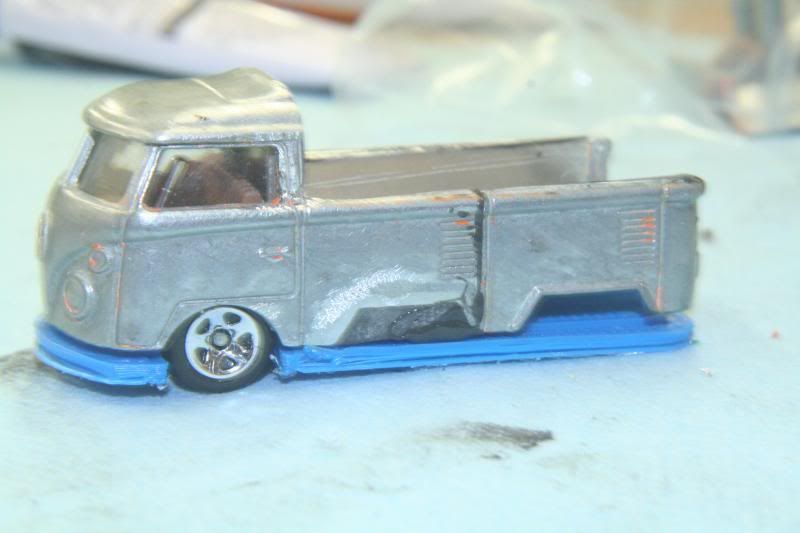
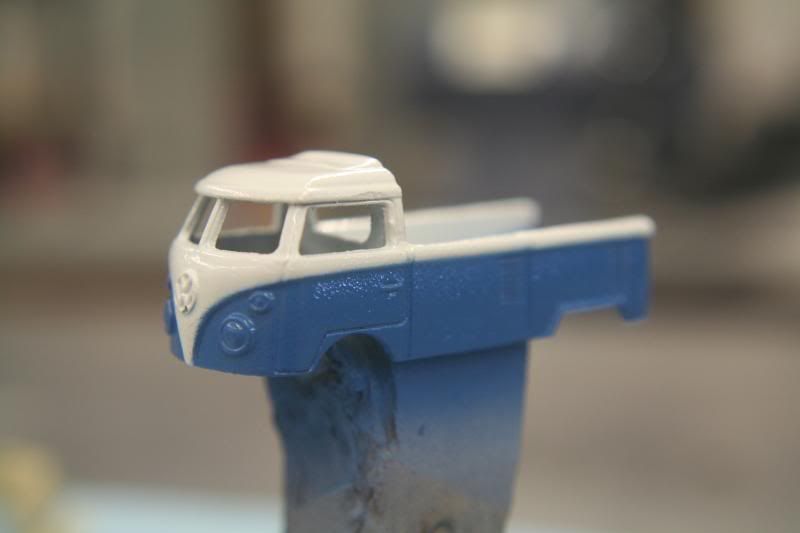
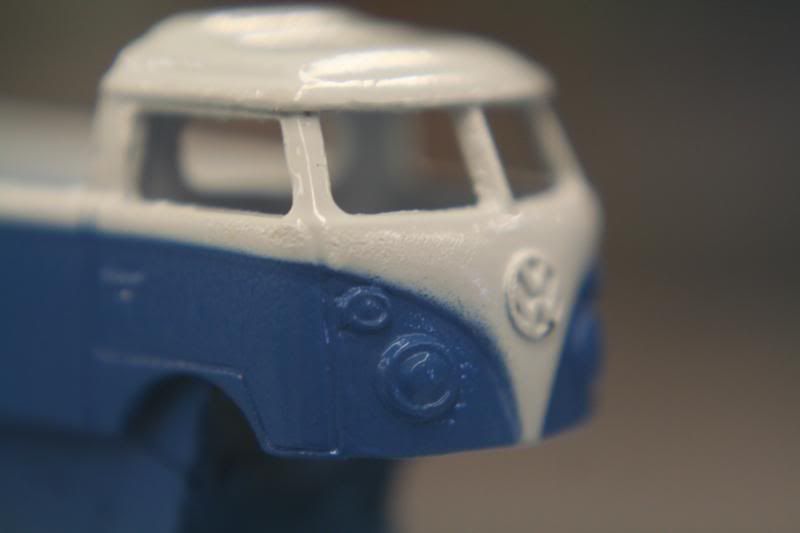
Mixed up some new blue paint- little darker this time but I like it better than my first attempt.
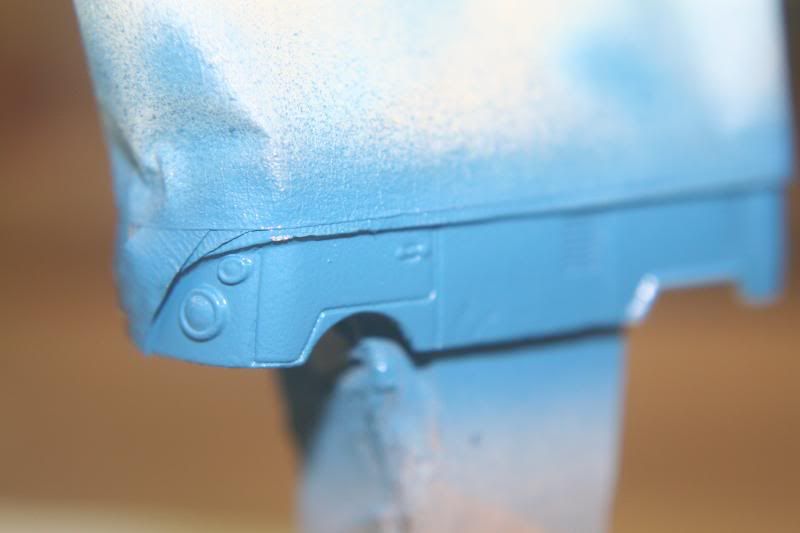
Peeled off the mask. It's... okay. Need to turn my air pressure down a
bit I think but good enough for a first (second) attempt. Will try
some light buffing when it's cured to smooth it out a little, actually
looks a bit better than in the soooper up close pics.
Remember this was a "practice" to see what I can screw up. Take this, for example. My .50 cal cannon fell on the single cab.

Which of course, means experiment time! Tested a few different polishing techniques.
Wire wheel. Meh.
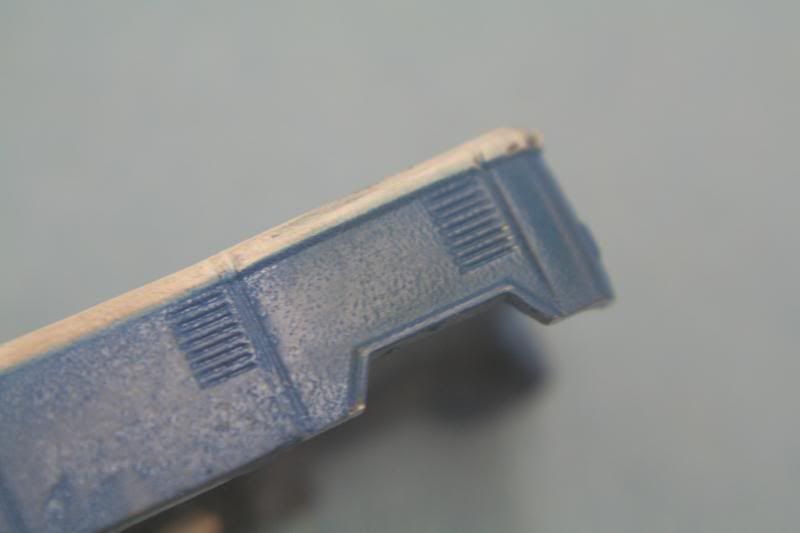
Buffing wheel with buffing compound. TOOO much.
Although when you clean it up it gives it a bit of a well used patina.
And lastly, buffing wheel with Turtle Wax. Worked out pretty well-
smoothed the paint out and gave it a bit of shine. Just have to be real
careful you don't rub through the paint.
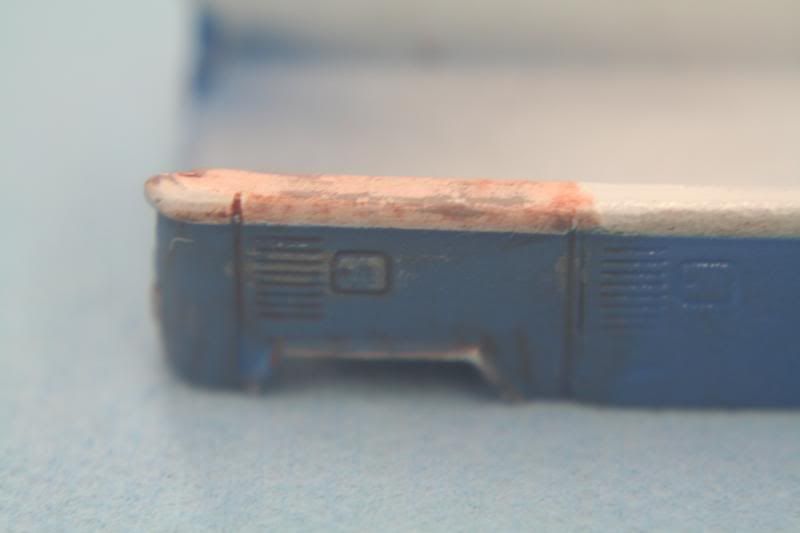
*sigh*... Strip it back to base metal and try for repaint #3.
While I had it stripped AGAIN, I filled in the extra bits and tried to smooth out the joint.
here. You happy?!

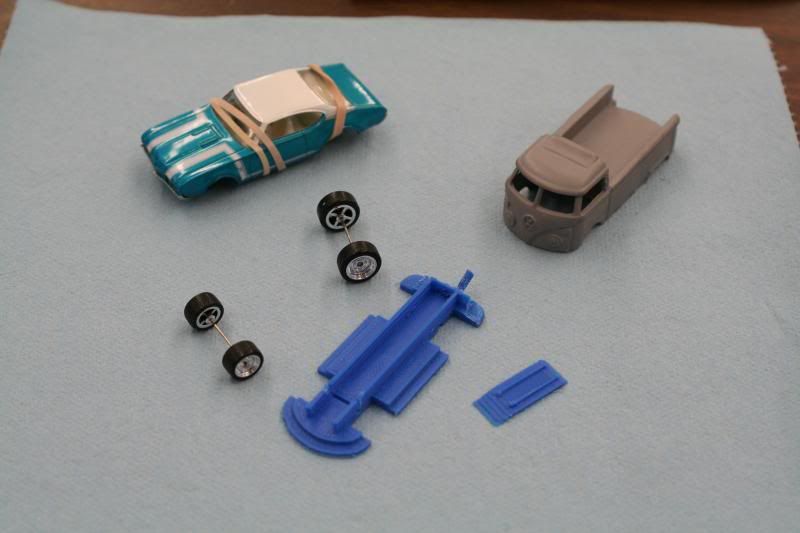
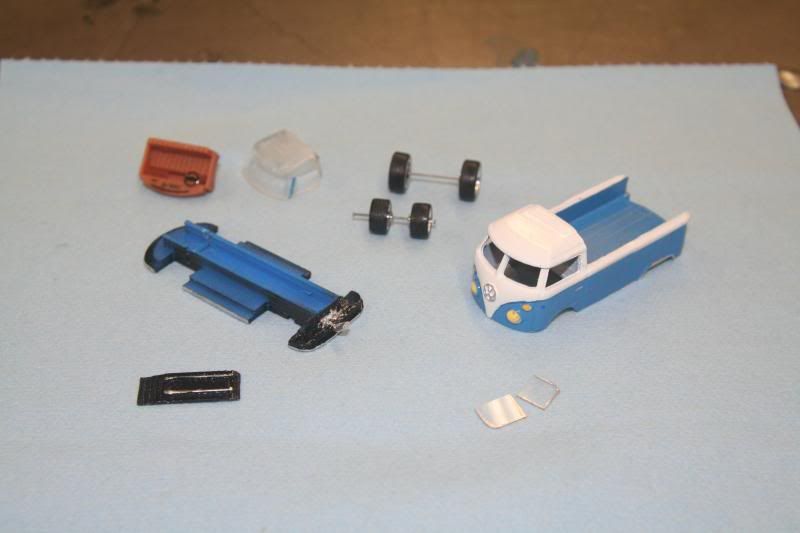
Wheel donor:
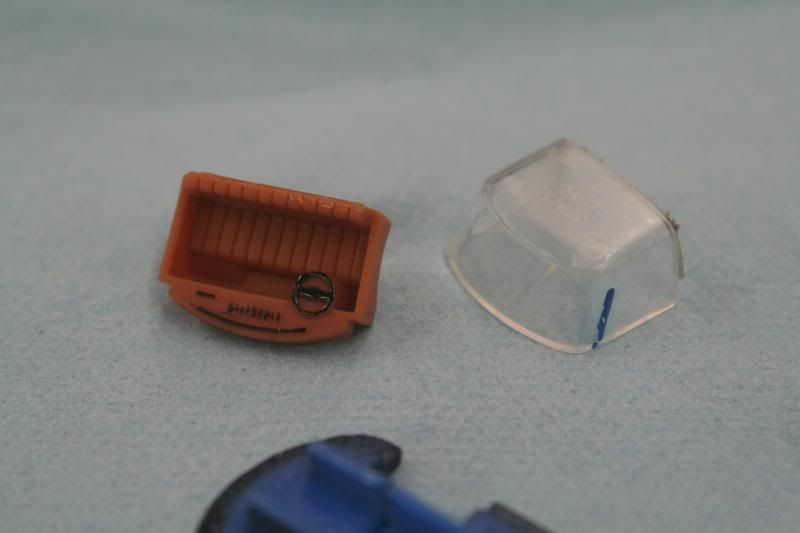
Parts.
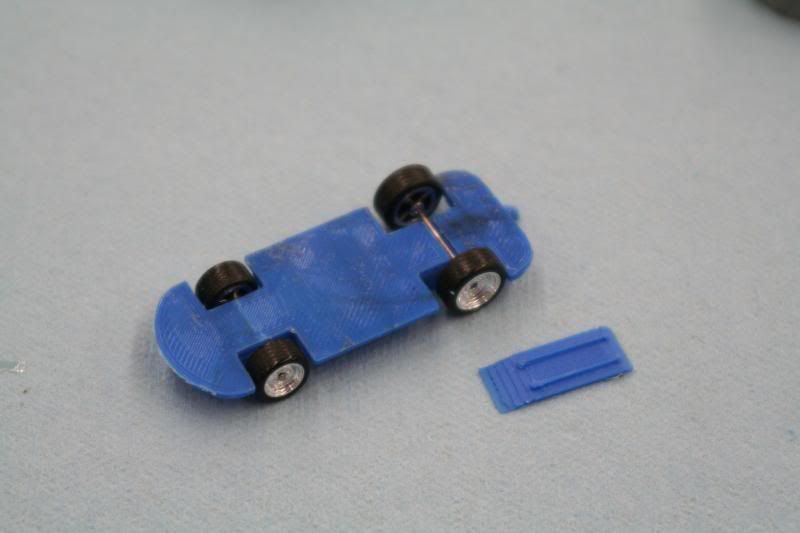
New frame design. Front wheels go in from the top, back wheels go in the bottom and are held in by the little piece.
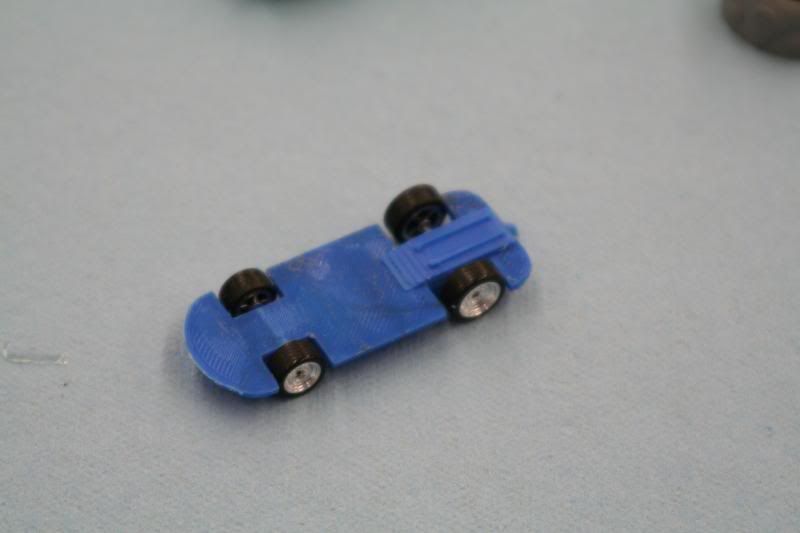
Just settin together.
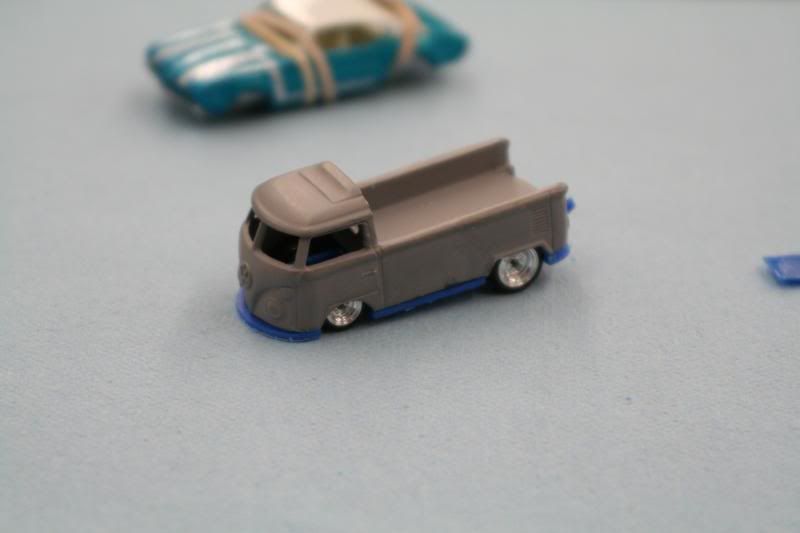
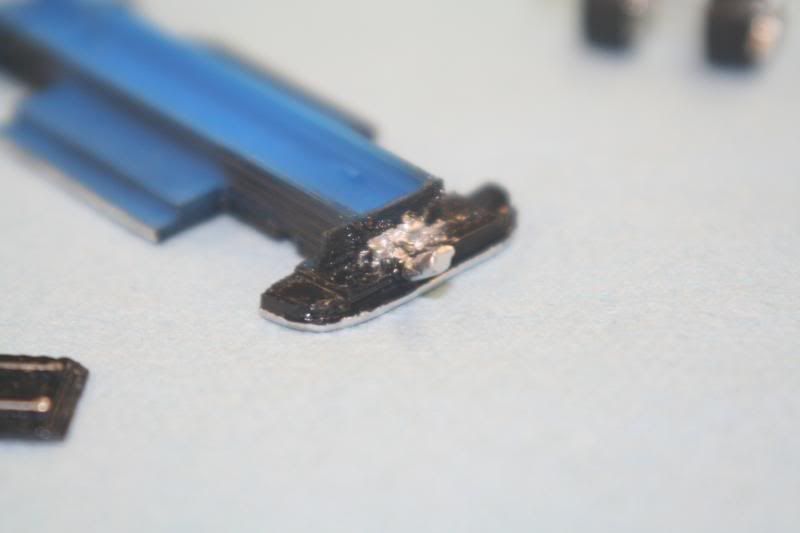
Check out the fart-can baja style exhaust pipe.

Also plan on making yet another frame-
will fill in the holes around the "engine" and adjust a little more for
better fit.
Getting close now!
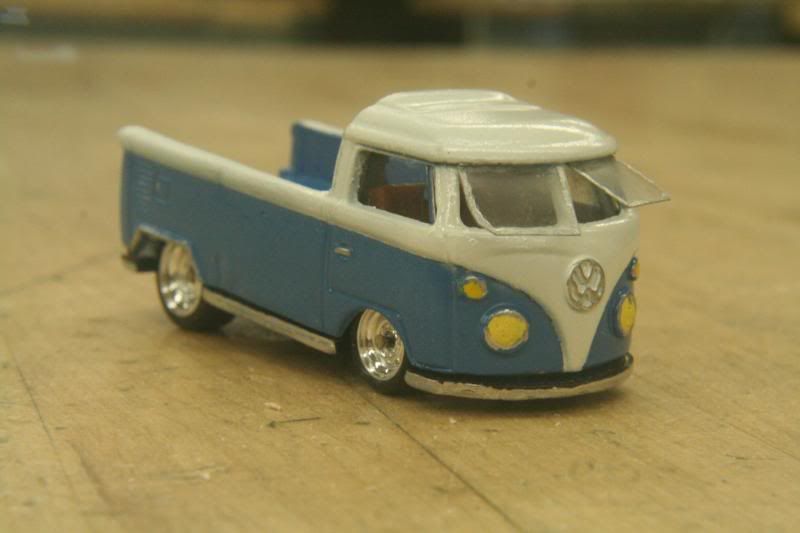
Detail work...
Parts.
Amazing what you can do with some model paint and a toothpick. Now if I just had a steady hand.
Think I liked it in primer better.
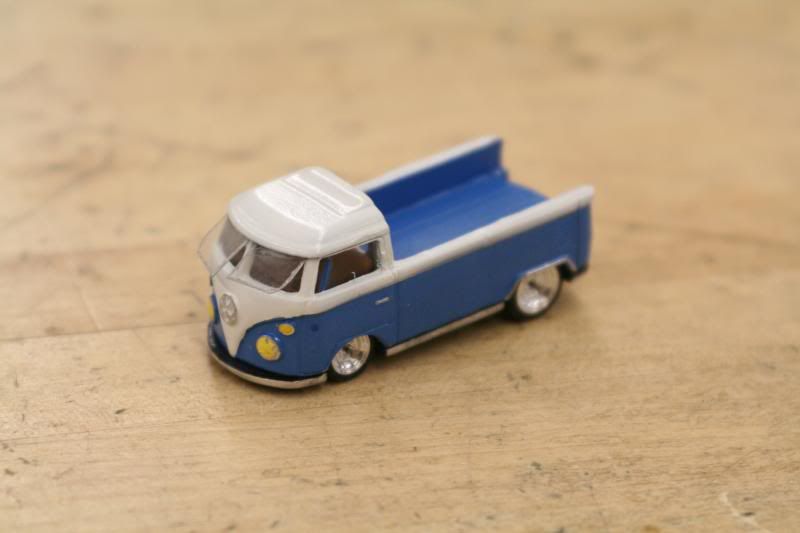
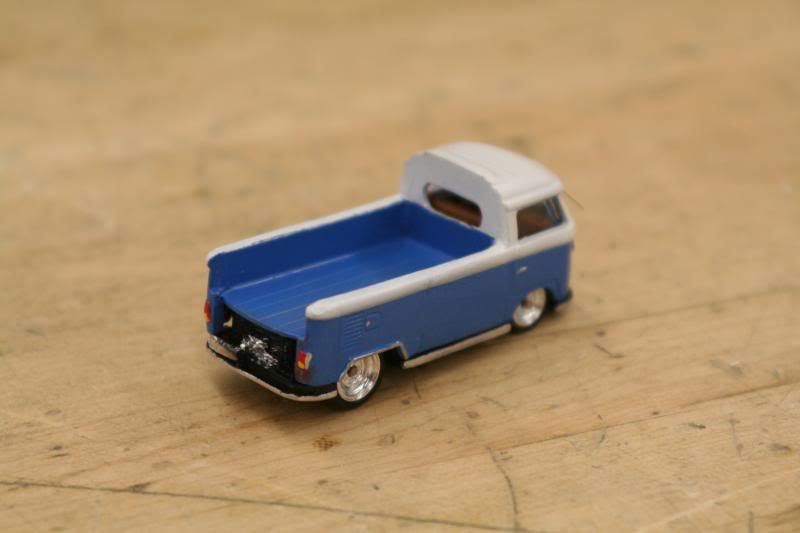
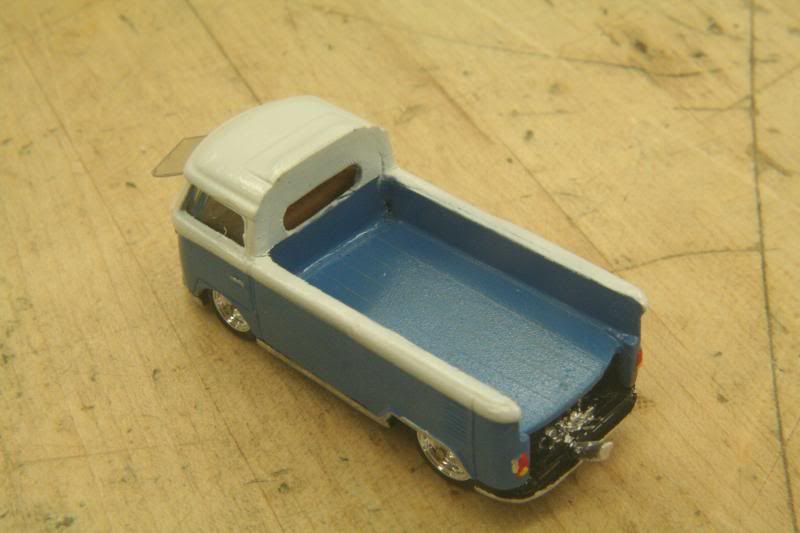
So here you go, my first "custom" hot wheel. I think I could have spent
several more hours re-doing things but it was time to call it good. As
may have been mentioned a time or two, I have other projects that are
getting neglected.
I think it turned out pretty good, but I have a long ways to go on the detail work.

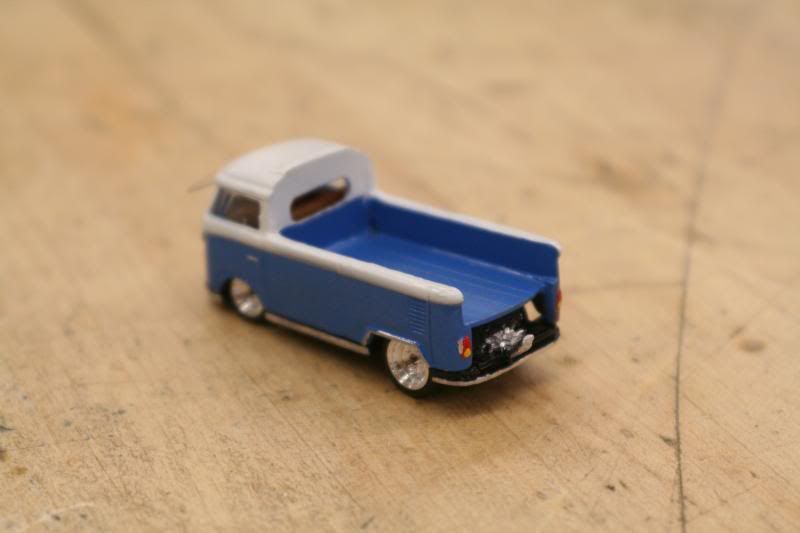
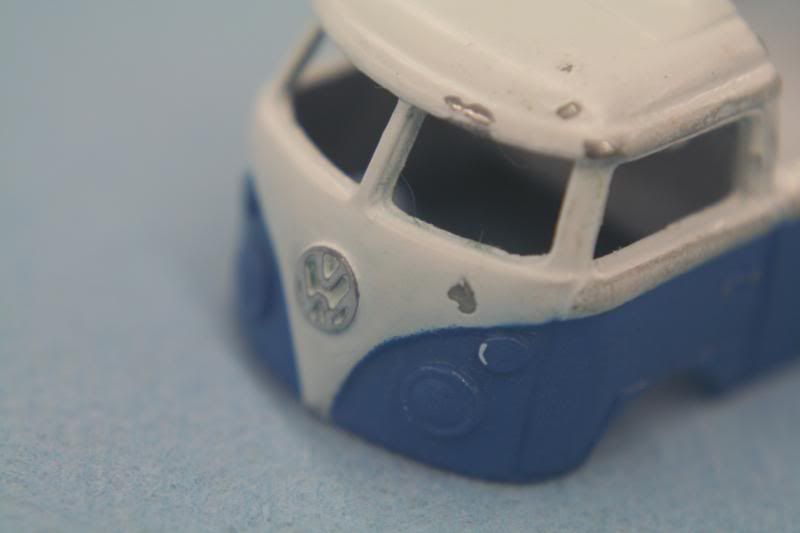
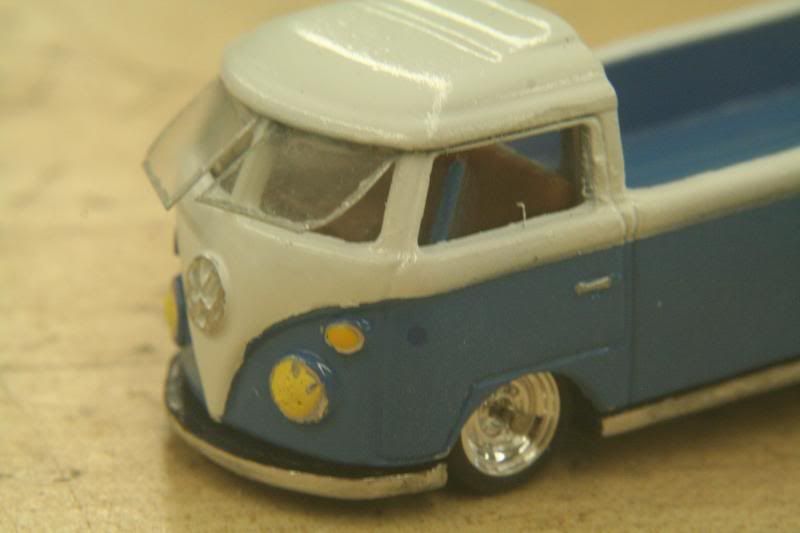
Close ups. You can sort of see the metallic flake in the the blue from the silver I mixed in.
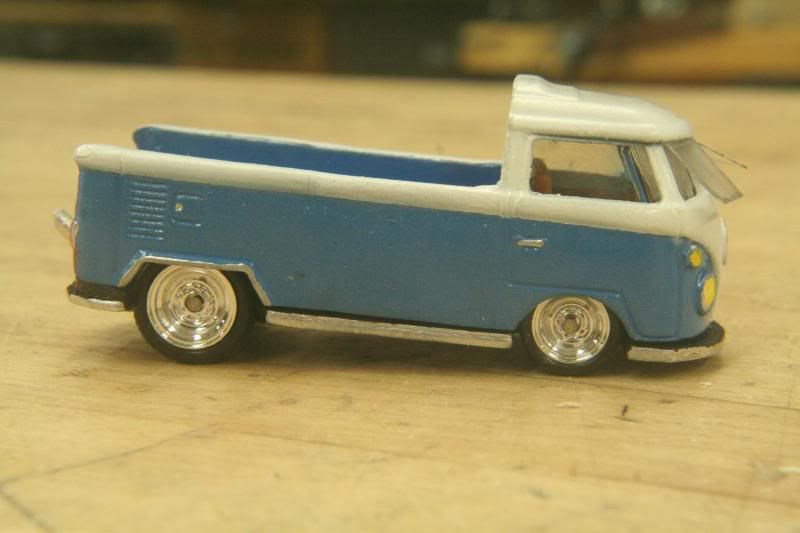

Opening windows could have been a little closer...
Fun stuff. Ultimate hobby / time-waster- takes a fair bit of skill to do right (this ain't done right...), it's not really expensive (but could be), and it definitely doesn't take up a lot of space!
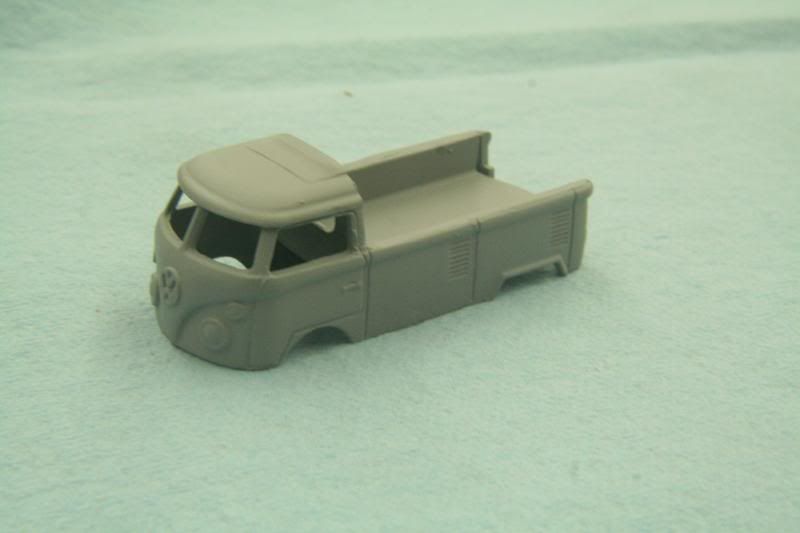
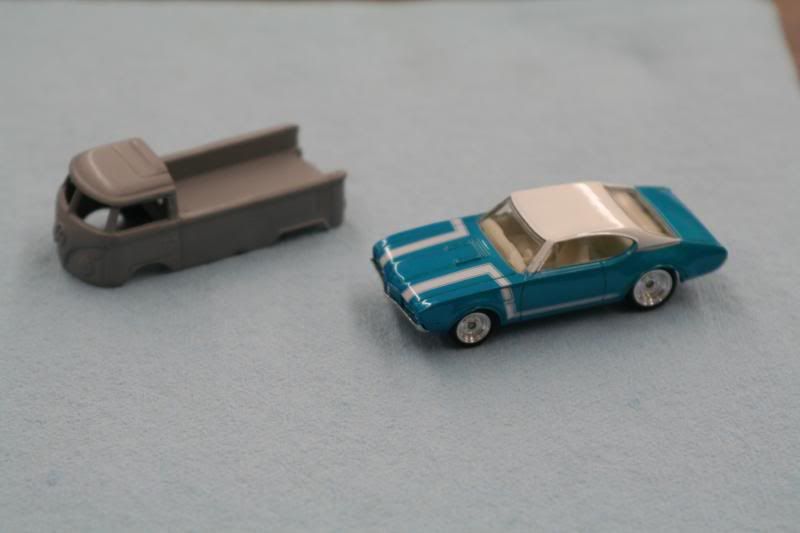
Here's what I was basing my project on.
Frankie Floods single cab:


