
Motorcycles, metal working, sheet metal, welding, TIG, MIG, education, cafe racers, old trucks, mendelmax 2.0 3D printer, vintage, technology and design, custom hand made Hot Wheels, old John Deere, stationary, hit and miss engines. A little bit of everything in the garage.
Sunday, October 25, 2015
![[IMG]](https://scontent.xx.fbcdn.net/hphotos-xfa1/t31.0-8/12030540_1488182684824373_532332077066711255_o.jpg)
![[IMG]](https://scontent.xx.fbcdn.net/hphotos-xap1/v/t1.0-9/12019990_1488182798157695_8922588572129650370_n.jpg?oh=3311d56c201952bc2f5561e3a44d397a&oe=568A5289)
![[IMG]](https://scontent.xx.fbcdn.net/hphotos-xtf1/v/t1.0-9/12038043_1488182824824359_4884943193293968683_n.jpg?oh=a4e5af21d2664aa058dcec9bb91f6436&oe=56C7B273)
![[IMG]](https://scontent.xx.fbcdn.net/hphotos-xpt1/v/t1.0-9/12063700_1488182881491020_967113616906072926_n.jpg?oh=824d4bce5c1dba008e7f20912167a151&oe=56CD6229)
![[IMG]](https://scontent.xx.fbcdn.net/hphotos-xtf1/v/t1.0-9/10403057_1488182924824349_1886832684080398241_n.jpg?oh=09d2398c2572c8fab62952446c0d0771&oe=56C184B9)
![[IMG]](https://scontent.xx.fbcdn.net/hphotos-xaf1/v/t1.0-9/12063877_1488182964824345_5731529634751743297_n.jpg?oh=8381123eab17a07c9937d7241ba36a36&oe=56CCD663)
![[IMG]](https://scontent.xx.fbcdn.net/hphotos-xfa1/t31.0-8/12185214_1488182994824342_4401997235638866258_o.jpg)
![[IMG]](https://scontent.xx.fbcdn.net/hphotos-xla1/t31.0-8/905588_1488183018157673_596772872527564622_o.jpg)
![[IMG]](https://scontent.xx.fbcdn.net/hphotos-xpa1/v/t1.0-9/12042817_1488185854824056_7430793380047419092_n.jpg?oh=ed006ac33d6537e6d9cbf4125a185950&oe=56D26288)
![[IMG]](https://scontent.xx.fbcdn.net/hphotos-xfa1/v/t1.0-9/1798075_1488198088156166_5070834406125550094_n.jpg?oh=2270dff16614ce9605252330a2435d6a&oe=56CD7D2C)
![[IMG]](https://scontent.xx.fbcdn.net/hphotos-xpt1/v/t1.0-9/12112032_1488198581489450_6122343386711356585_n.jpg?oh=3ebd1faecf1f82d50fcc17c1850df81d&oe=56C05EAC)
![[IMG]](https://scontent.xx.fbcdn.net/hphotos-xap1/v/t1.0-9/12074661_1488224464820195_2467667067682945584_n.jpg?oh=13b36f29a83cede35cbe431c83b69b96&oe=56B9B296)
Saturday, October 24, 2015
dorkpunch Engines- 2 cylinder Wobbler.
If you go back aways, you'll see the wobbler air engine I have my 8th grade students build in Metals 2. Well, I've been working on another version of it. Pretty simple really- just welded another valve plate on the opposite side, added another cylinder and piston, and cut the pistons so they can share the same crank pin.
Works okay, but still needs some tweaking. Will run fairly slow but if I try and crank up the speed, it seems to be fighting itself and won't rev way out like the single cylinder version does.
Fun to play with, anyways!
Works okay, but still needs some tweaking. Will run fairly slow but if I try and crank up the speed, it seems to be fighting itself and won't rev way out like the single cylinder version does.
Fun to play with, anyways!
Sunday, October 18, 2015
Missed the blood moon, but not the full moon!
Not great quality, so forgive me. Picked up this telescope at a local goodwill store for cheap.
![[IMG]](https://dorkpunch.smugmug.com/Other/Dugs-Junk-2015/i-RNNT7H4/0/L/20150901_173119-L.jpg)
Finally had a chance to try it out the other day (the day AFTER the blood moon... we were socked in with clouds).
I though these turned out pretty nice for just holding my phone up to the lens and trying to snap some pics!
The complete moon:
![[IMG]](https://dorkpunch.smugmug.com/Other/Dugs-Junk-2015/i-KCpzpDM/0/L/20150928_214129-L.jpg)
Moon is only the bottom right corner of the pic, the other arc is the edge of the eyepiece.
![[IMG]](https://dorkpunch.smugmug.com/Other/Dugs-Junk-2015/i-pfb6wQ8/0/L/20150928_214007-L.jpg)
Don't know anything about the moon but that big 'ole bug splat mark is pretty neat.
![[IMG]](https://dorkpunch.smugmug.com/Other/Dugs-Junk-2015/i-WCBR3jg/0/L/20150928_213826-L.jpg)
Closest I could get. Check out the craters!
![[IMG]](https://dorkpunch.smugmug.com/Other/Dugs-Junk-2015/i-QrSWbLK/0/L/20150928_215539-L.jpg)
It was really hard to get that pic- you could actually see the moon moving across the field of view!
Finally had a chance to try it out the other day (the day AFTER the blood moon... we were socked in with clouds).
I though these turned out pretty nice for just holding my phone up to the lens and trying to snap some pics!
The complete moon:
Moon is only the bottom right corner of the pic, the other arc is the edge of the eyepiece.
Don't know anything about the moon but that big 'ole bug splat mark is pretty neat.
Closest I could get. Check out the craters!
It was really hard to get that pic- you could actually see the moon moving across the field of view!
Monday, October 12, 2015
This Old House #7: Up to the HIGHEST heights!
Although no flying kites...
We had a slightly chilly night the other day- it got all the way down to mid '40's and had been "cold" all day, so I lit the stove. Burned some paper to see if it actually drew as it has a really short chimney, then threw a couple of small logs in there. Don't need to worry about draw- sounds like a vacuum cleaner its sucking so much air. Puts out a fair amount of heat. Will probably keep this corner of the upstairs nice and toasty but I don't think it'll warm the rest of it.
![[IMG]](https://dorkpunch.smugmug.com/Other/This-old-house-/i-kxGCQw2/0/L/20151008_210610-L.jpg)
In other news, we got a "notice of cancellation" letter from our insurance policy. Was expected, but I was kind of hoping to be able to put off re-roofing the carport until next spring. Now I have 30 days.

I had a fellow come "inspect" and clean the chimney for me. Learned some new things and think I can handle the cleaning duties now. Well, as soon as I get a couple of ladders, anyways...
Heck of a view from up there.
![[IMG]](https://dorkpunch.smugmug.com/Other/This-old-house-/i-rTRSvNV/0/L/20151012_180711-L.jpg)
![[IMG]](https://dorkpunch.smugmug.com/Other/This-old-house-/i-pBpLszG/0/L/20151012_180719-L.jpg)
![[IMG]](https://dorkpunch.smugmug.com/Other/This-old-house-/i-Q4v2FCB/0/X2/20151012_180802-X2.jpg)
The "main" chimney is pretty solid. Not very straight, but solid.
![[IMG]](https://dorkpunch.smugmug.com/Other/This-old-house-/i-JqMQrTw/0/L/20151012_180554-L.jpg)
![[IMG]](https://dorkpunch.smugmug.com/Other/This-old-house-/i-HLhkwZX/0/L/20151012_180639-L.jpg)
You can tell where its been extended some time in the past. One of my questions was weather or not we could convert one of the holes back to wood burning so we can put a woodstove in the dining room where the little gas stove is. Answer- most likely. I didn't want to peel this cover up and then have to worry about re-sealing it later, so we left it at that. There are definitely two separate holes at the base of the chimney, and there looks to be enough room for a split at the top. Interestingly, the LITTLE pipe is for the furnace, and the big pipe is for the little gas stove.
![[IMG]](https://dorkpunch.smugmug.com/Other/This-old-house-/i-HkCTKhM/0/L/20151012_180544-L.jpg)
![[IMG]](https://dorkpunch.smugmug.com/Other/This-old-house-/i-HK7mqFh/0/L/20151012_180920-L.jpg)
The other chimney is in pretty rough shape. Really just a loose stack of bricks...
![[IMG]](https://dorkpunch.smugmug.com/Other/This-old-house-/i-x7bdmmq/0/L/20151012_180818-L.jpg)
![[IMG]](https://dorkpunch.smugmug.com/Other/This-old-house-/i-bG6bPhq/0/L/20151012_180606-L.jpg)
Apparently didn't look too bad though, no build up of any kind and it draws great. Well, as long as there's no wind.
Another view from the back-
![[IMG]](https://dorkpunch.smugmug.com/Other/This-old-house-/i-95qFcdr/0/L/20151012_180600-L.jpg)
and the carport roof that needs to be redone.
![[IMG]](https://dorkpunch.smugmug.com/Other/This-old-house-/i-mTDFkZz/0/L/20151012_180630-L.jpg)
It's a long ways up there!
![[IMG]](https://dorkpunch.smugmug.com/Other/This-old-house-/i-SJ7LmTh/0/L/20151012_180515-L.jpg)
Meeting a brick mason tomorrow to see what he would charge to raise the chimney 4 feet or so to get it over the peak of the roof. Might try doing it myself, never done any masonry before but I've got a neighbor that I think could point me in the right direction. So many things to do, so little time...
Also need to get with the rain gutter guy and see what he thinks about the spot above the light in the last picture. When it rains water drips off that edge and hits the roof of the carport. When it does, it splashes up quite a ways on the side of the house. There has been some water damage in this area in the past and I'm thinking the water is soaking into the bricks and getting behind the flashing on the carport roof.
Sunday, October 11, 2015
Kub Kars!
Okey DOKEY! Time for the adult PINEWOOD DERBY!!! Race is only ONE WEEK
AWAY, life has been crazy, so lets see what I can throw together
between helping my boys make theirs!
Here's the plan.
![[IMG]](https://dorkpunch.smugmug.com/Other/Dugs-Junk-2015/i-bxzp3jZ/0/L/20150922_134241-L.jpg)
Mill this little chunk out.
![[IMG]](https://dorkpunch.smugmug.com/Other/Dugs-Junk-2015/i-JXFSSpm/0/L/20150922_135246-L.jpg)
Choppy choppy.
![[IMG]](https://dorkpunch.smugmug.com/Other/Dugs-Junk-2015/i-8btRLhF/0/L/20150922_140738-L.jpg)
![[IMG]](https://dorkpunch.smugmug.com/Other/Dugs-Junk-2015/i-WhshK88/0/L/20150922_141506-L.jpg)
Front "axle"
![[IMG]](https://dorkpunch.smugmug.com/Other/Dugs-Junk-2015/i-6G6DtXG/0/L/20150924_134703-L.jpg)
![[IMG]](https://dorkpunch.smugmug.com/Other/Dugs-Junk-2015/i-2jMrFpd/0/L/20150924_134645-L.jpg)
![[IMG]](https://dorkpunch.smugmug.com/Other/Dugs-Junk-2015/i-XPxd6WV/0/L/20150924_141719-L.jpg)
Some paint.
![[IMG]](https://dorkpunch.smugmug.com/Other/Dugs-Junk-2015/i-mhLpG3c/0/L/20150924_164147-L.jpg)
![[IMG]](https://dorkpunch.smugmug.com/Other/Dugs-Junk-2015/i-NCmrC4L/0/L/20150924_164137-L.jpg)
Only have a week to get this thing finished up!
Here's the plan.
Mill this little chunk out.
Choppy choppy.
Front "axle"
Some paint.
Only have a week to get this thing finished up!
Sunday, September 20, 2015
Throw Back Sunday: The original dorkpunch garage!
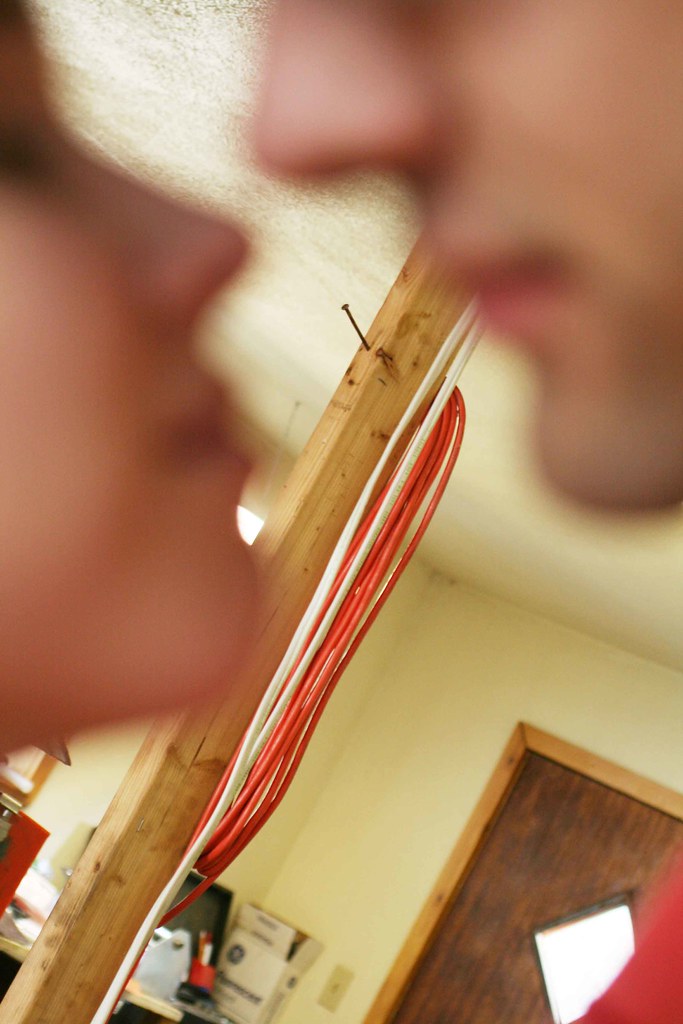
Once again was perusing Mrs. Punch's old flickr account and came across this pic. I don't remember it, although I can easily identify her (short) and me (tall) and I can tell you exactly where it was taken. This was in the garage of our very first house when we lived up in Washington. The garage had been converted to two classrooms for the church next door, then used as storage units when the house was a rental. When we bought it, I tore down the wall splitting it in half and uncovered the garage door again. You can see one of the studs I left up that was part of the old wall, and the nail for hanging the extension cord on.
dorkpunch engines #3: Boring the cylinder.
I had some time to kill at the shop while waiting for my wife. She
said she would be over in half an hour, which of course means 2 hours.
She even ran a little late so it was more like 2 and half so I was able
to knock some holes in some aluminum.
1/8" pilot holes, 3" deep through the cylinder. The two for the valves are the finished diameter for the valve guides. The cylinder has a long ways to go... 7/8" more to be exact.

To drill them I had to use a big 'ole aircraft drill. Started with a normal drill bit, got as deep as it could go, then switched to this long one. Figured there was less chance of the holes going crooked on me.

Makin' chips.


Makin' BIG chips...

and big messes.

"Finished" cylinder. The drill bit is obviously a bit rough, so I plan to hone it with a brake master hone and then match the piston to the finished bore.

Because of the vice I was using, I couldn't drill all the way through. This is not a problem though, because I still need to machine off about 1/4" to get it down to the stroke I want.

Bottom.

Will hopefully start doing some figuring on where the valve ports need to go and the final diameter of the valve heads.
Thinking I should have left the bore a tad smaller- its pretty close to some of head bolt holes. Won't have a lot of gasket area in those two spots.
Live and learn...
1/8" pilot holes, 3" deep through the cylinder. The two for the valves are the finished diameter for the valve guides. The cylinder has a long ways to go... 7/8" more to be exact.
To drill them I had to use a big 'ole aircraft drill. Started with a normal drill bit, got as deep as it could go, then switched to this long one. Figured there was less chance of the holes going crooked on me.
Makin' chips.
Makin' BIG chips...
and big messes.
"Finished" cylinder. The drill bit is obviously a bit rough, so I plan to hone it with a brake master hone and then match the piston to the finished bore.
Because of the vice I was using, I couldn't drill all the way through. This is not a problem though, because I still need to machine off about 1/4" to get it down to the stroke I want.
Bottom.
Will hopefully start doing some figuring on where the valve ports need to go and the final diameter of the valve heads.
Thinking I should have left the bore a tad smaller- its pretty close to some of head bolt holes. Won't have a lot of gasket area in those two spots.
Live and learn...
Subscribe to:
Posts (Atom)