
First attempt involved a tupperware container, some acetone, and a few hours of soak time. Didn't work out so well- the part was fairly thin walled and it just crumpled up.
Second attempt I tried it again the same way on a thicker part... but gave up after about an hour.
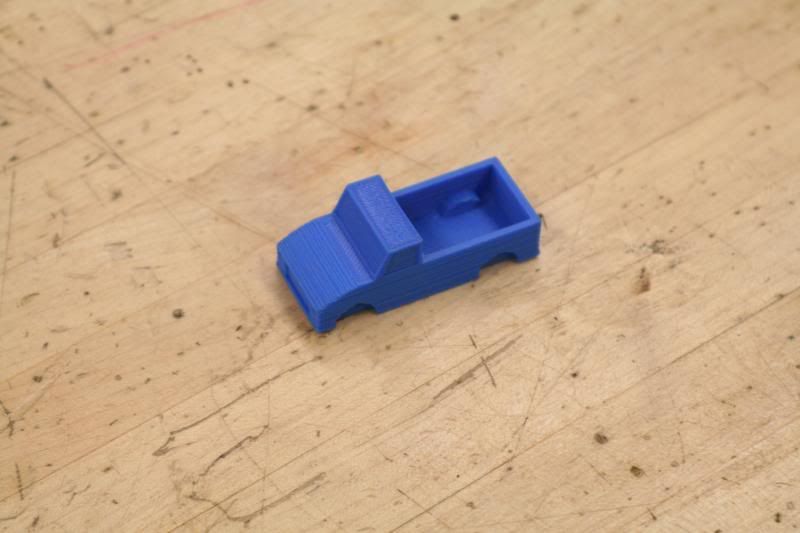
Part:
Fuming set up:
Did a little more research and learned a few more things. HEAT helps this process out a LOT. Speeds it up and seems to make the whole part flow out more evenly.
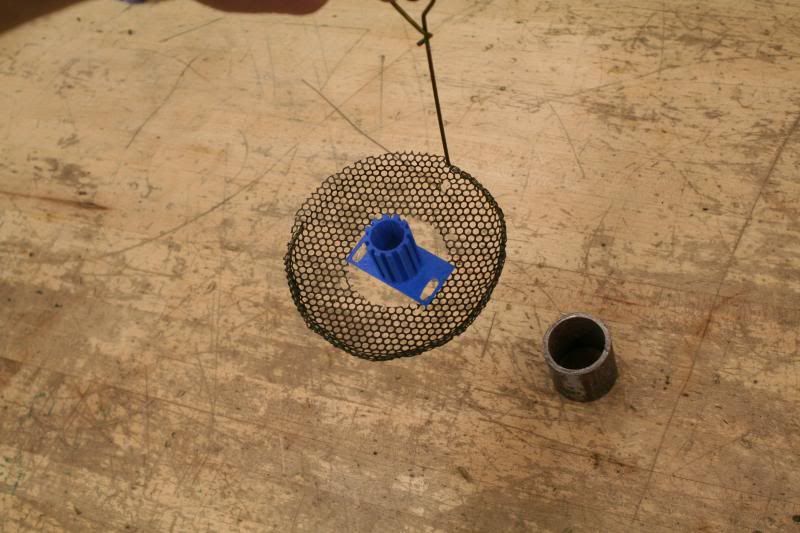
First step was to build me a catch plate. Took an old hanger and a grass screen from a Briggs & Stratton lawnmower engine, and bent 'em up.
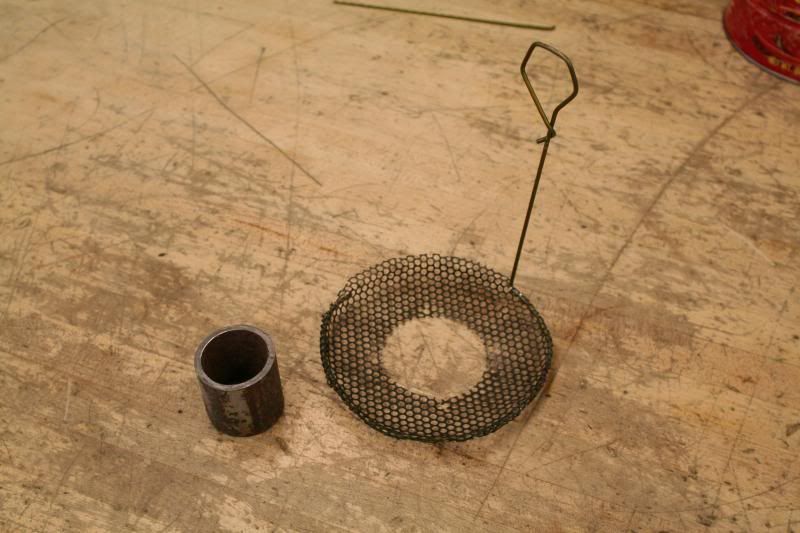
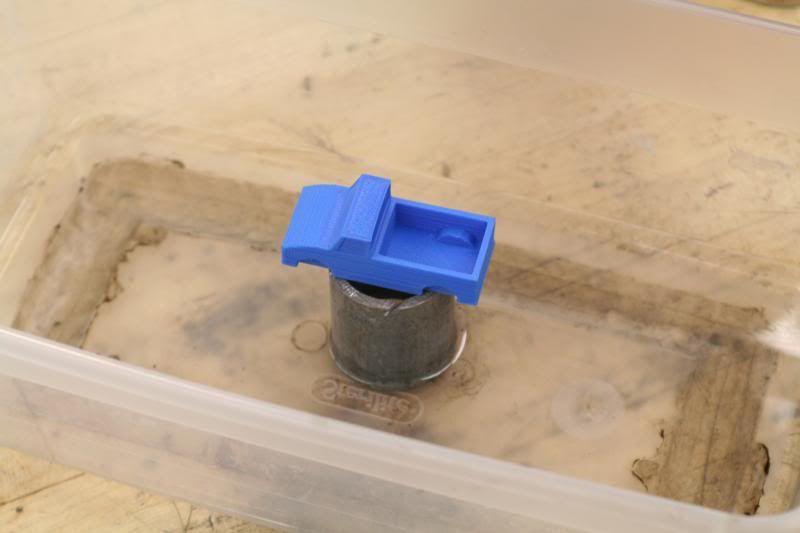
Theory being the part will sit on a piece of pipe up out of the acetone, the catch tray will sit in the acetone until I'm ready to take the part out, like so.

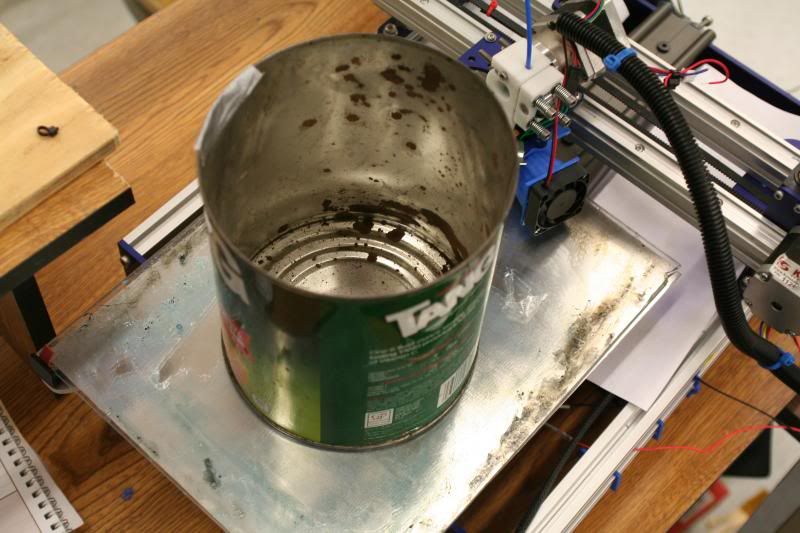
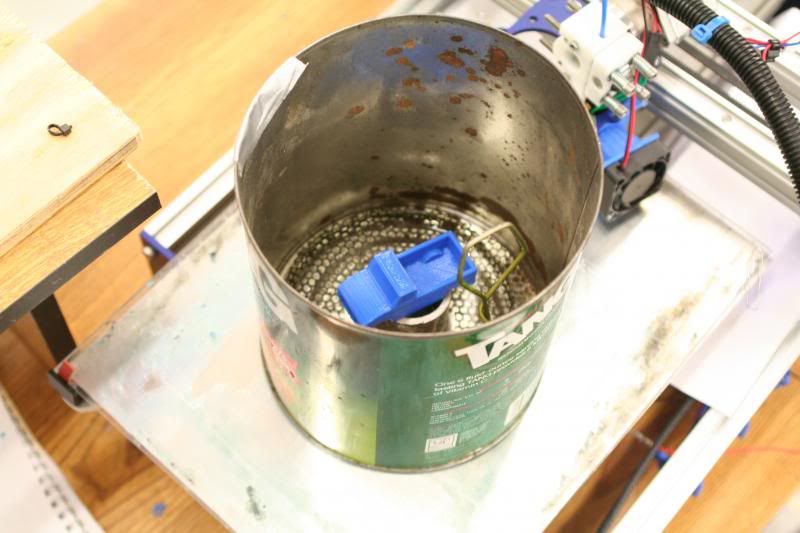
Found an old #10 can, put maybe half an inch of acetone in the bottom, and put the whole thing on my printer bed. Turned the bed heater on and set it to 90 degrees C.
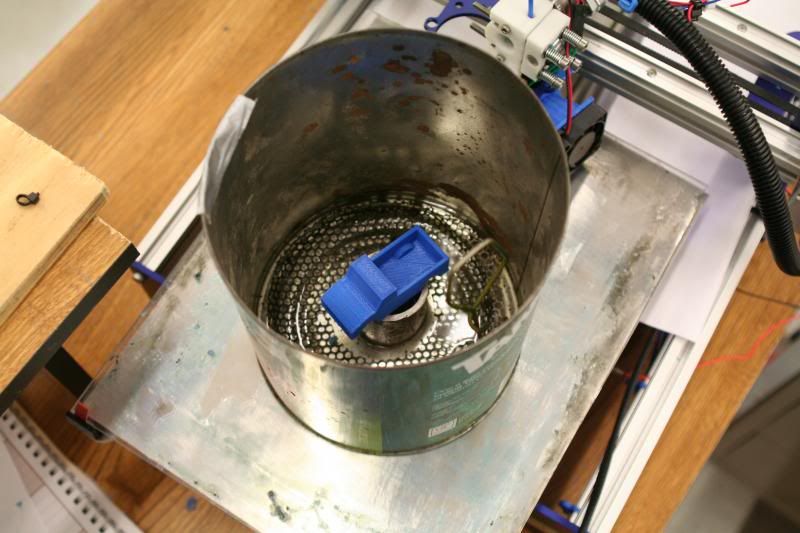
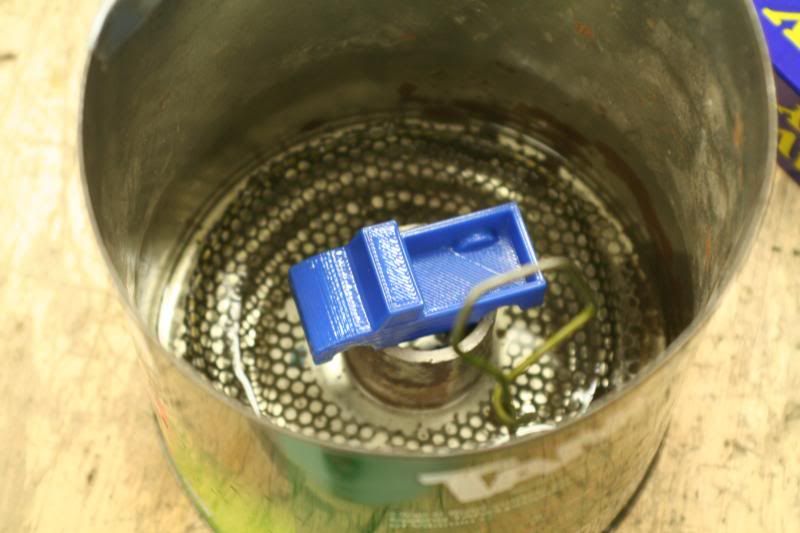
Once it was warmed up, I set the pipe, catch tray, and part in there.
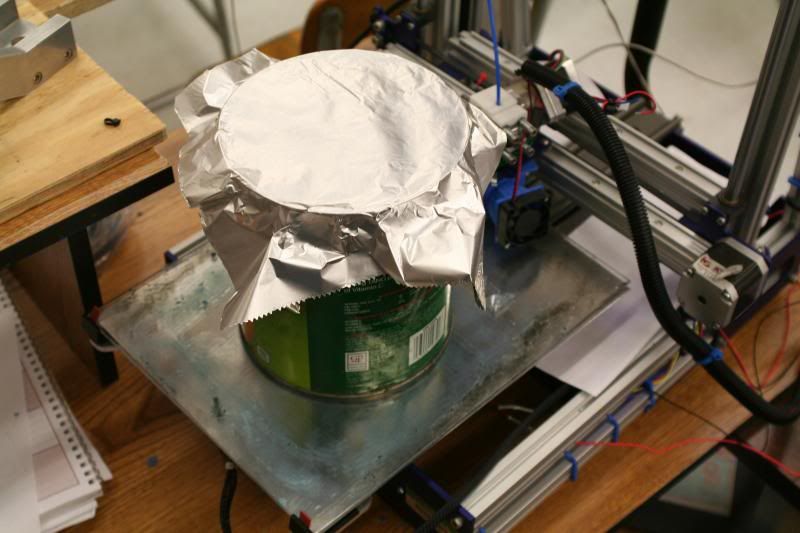
Quick cover out of tin foil.
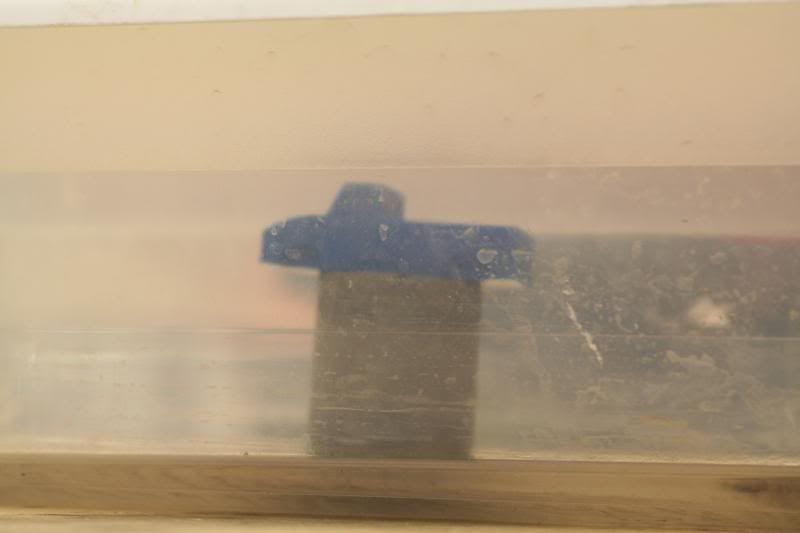
It was weird, you can't see anything but when you stick your hand in there you can feel instantly where the fumes are- they condense on your skin and your skin gets cold.
10 minutes in.
I probably should have heated it up more before I put the part in. Eventually it got warm enough that the acetone started to "boil".
About 20 minutes in.
Short vid of the fuming:
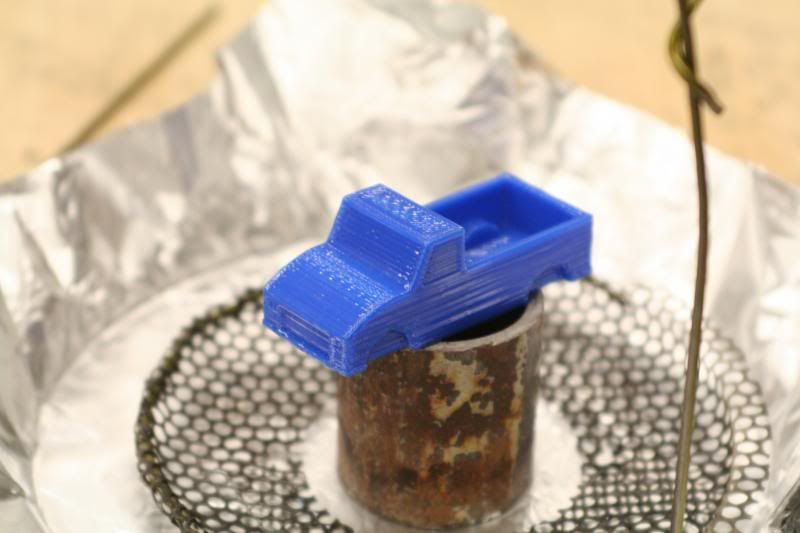
Part out, after roughly 25 minutes of cooking and 15 minutes of "cooling down" in the can.
Another 10 minutes and the part has started to get harder again. Still soft enough that if I squished it it would leave finger prints.
Bottom, where it sat on the pipe. I have an idea for this I'll show you in a bit...
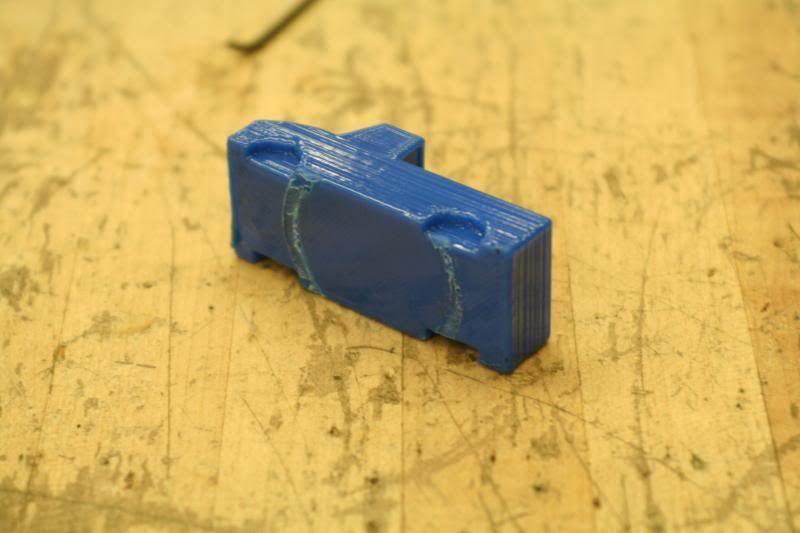
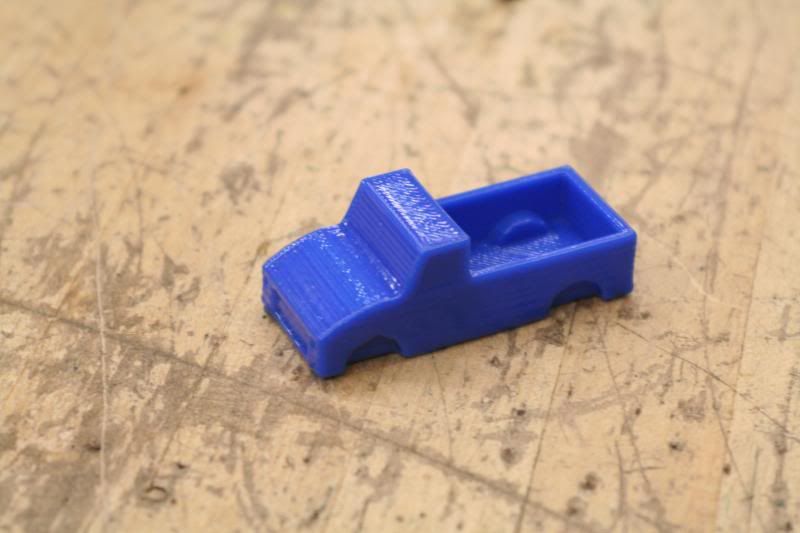
Finished part on the right, first attempt on the left. Came out pretty nice! The part is MUCH smoother and a whole lot shinier.
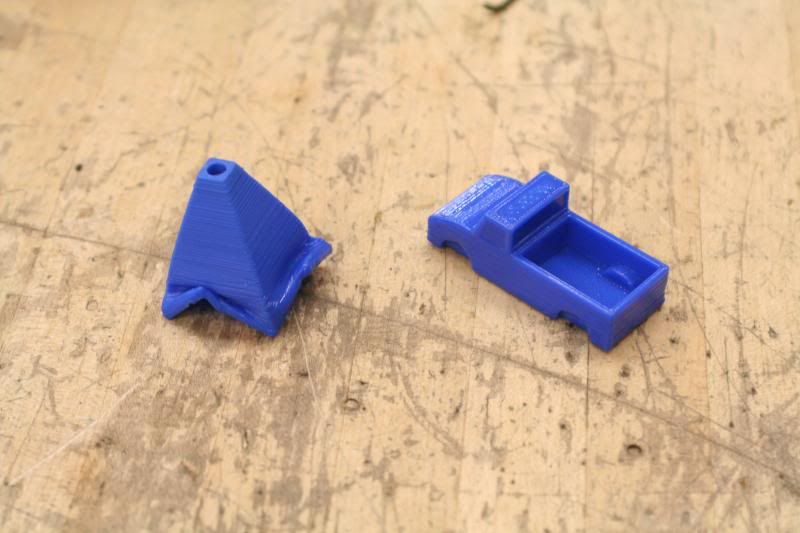
I think it would work a lot better if I had let the acetone heat up more before I put the part in- the bottom half looks really good, the top half didn't get as much exposure and it's not as smooth.
No comments:
Post a Comment