title

Motorcycles, tools, and garages! A little bit of everything mechanical and technical.

Showing posts with label CAD / Sketchup. Show all posts

Monday, May 20, 2013

Mendelmax 2.0- Updated to the "Birdstruder"

I downloaded and printed my first "thingy" from thingiverse the other day- the "birdstruder".  Noticed my extruder idler was cracking!


It was still working, but occasionally the filament would slip and the print would skip.  Here's where thingiverse comes in- downloaded and printed this little gizmo to replace the Maker Gear plastruder.  The new one is even quick change capable!

Parts freshly printed:


Assembly (you can probably see why its called the birdstruder):


Latched,


Open:


Installed, tested, and working!


Pretty happy with it so far, seems to be much better designed and I love the tool-less filament change now. Took a tad bit of dremel-ing to get things to fit perfect but overall it was pretty darn close.Had to buy 2 longer screws and nuts to go with them, for a grand total of something like 78 cents.  Can't argue with that!

Tech 2 has been working on their "big" projects.  Went back and forth with a few different ideas of what they could do but in the end here's what we decided. 

I gave them some real basic guidelines- must have at least 3 different parts, one of which must "move". So far we have 3 Ipone / Ipod cases, a pair of glasses, a boat anchor and winch, 2 lego people, a folding lawn chair, and an airplane. This oughta be interesting...  Hoping to start a batch printing tomorrow, because we've only got a week and a half of school left!!!

Wednesday, May 15, 2013

Mendelmax 2.0- First batch of Student Projects!

Finally got around to finishing up the wheels for the student cars.  Think they turned out pretty nice!

Started out just running 4 at a time but got to where I did 8 in one fell swoop.


4 down, 33 to go.

Printed wheels of in batches of 100.  Looks like I finally got my bed pretty darn level.


Pile of wheels and my sample with 'em glued on.


And the finished products!


Some of them followed the instructions great, a few didn't and their wheels didn't fit in the wheel wells... Mostly they turned out pretty good! 

My Tech 2 class (Grade 8) has been playing with the printer this week, here are a couple of their "practice" prints.


They drew them up, exported the .stl, repaired it in Netfabb, and a few of them played a bit with Repetier. Couldn't get it to install on all of the computers though so we loaded them all in one file to generate the code.


We started on their big projects- have a couple students attempt ipod / iphone cases, one pair of glasses, an airplane, a couple of "lego" people, a trailer jack (?!?!?), a boat anchor and winch...  The things kids come up with.  Should be fun!

Sunday, April 28, 2013

Mendelmax 2.0 in the classroom!

Our school district PR guy came to my class last week to take pics... Heres the scoop.  He took several great pics, most of which I've posted here but you can see the entire album on the Districts Facebook page here:  District 55 Tech Class


Without further ado, here they are.

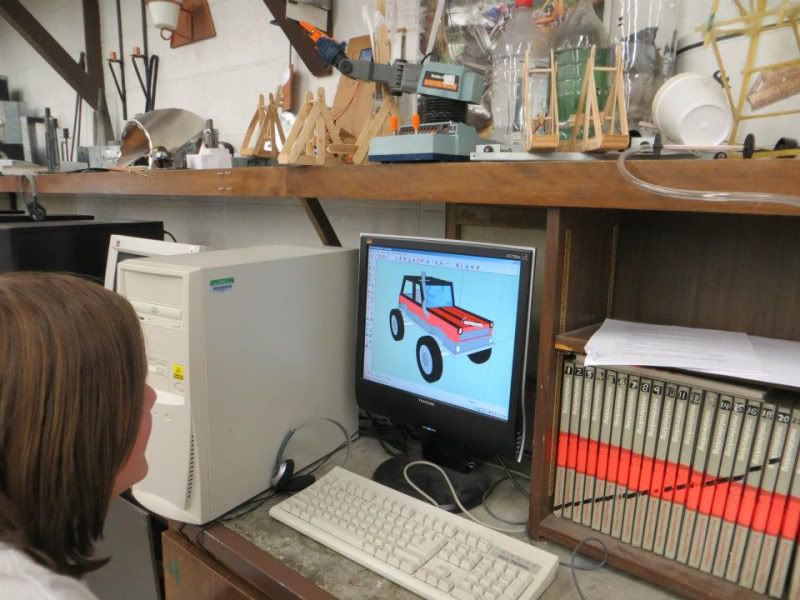
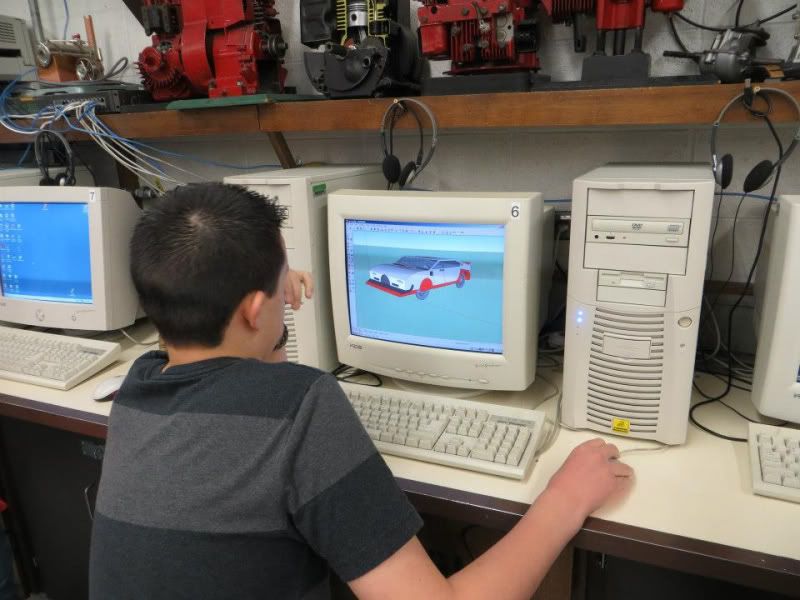
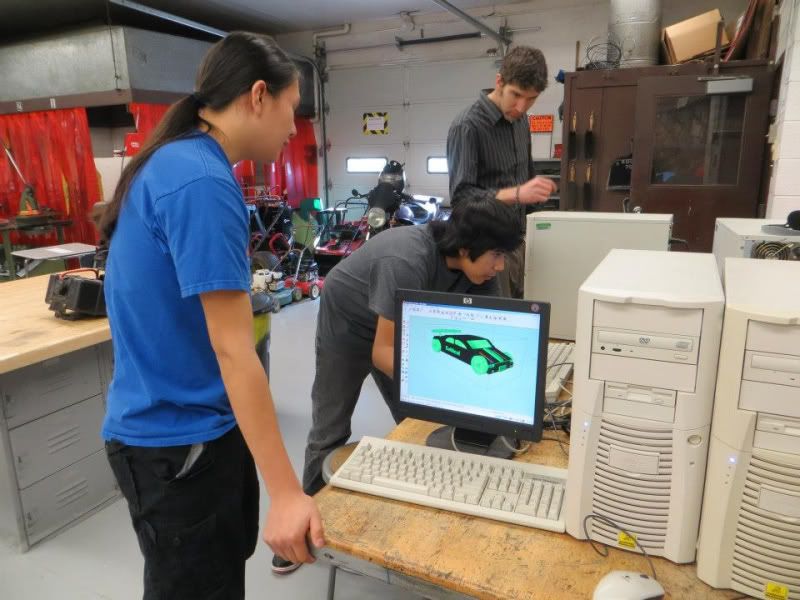
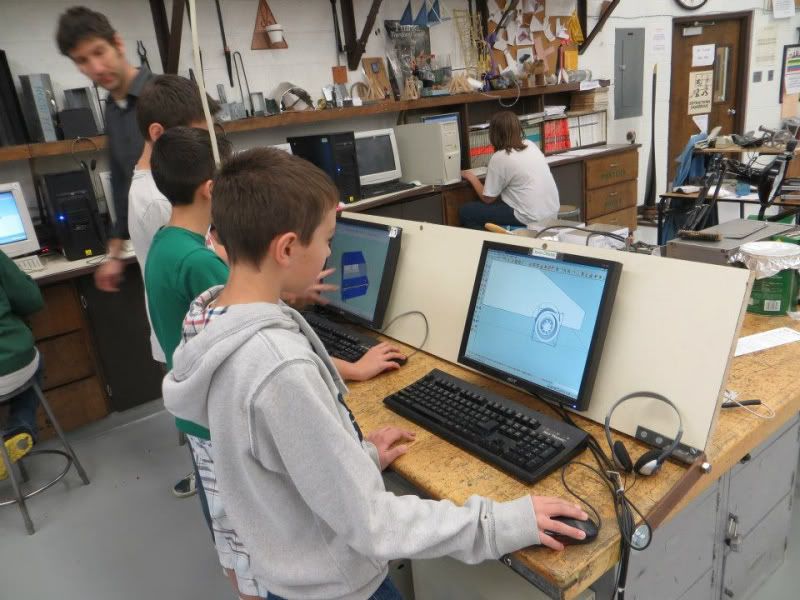
Students finishing up their Sketchup projects. Yes, we have ancient computers.  When I started teaching here almost 4 years ago, I only had TWO, so I'm not going to complain!


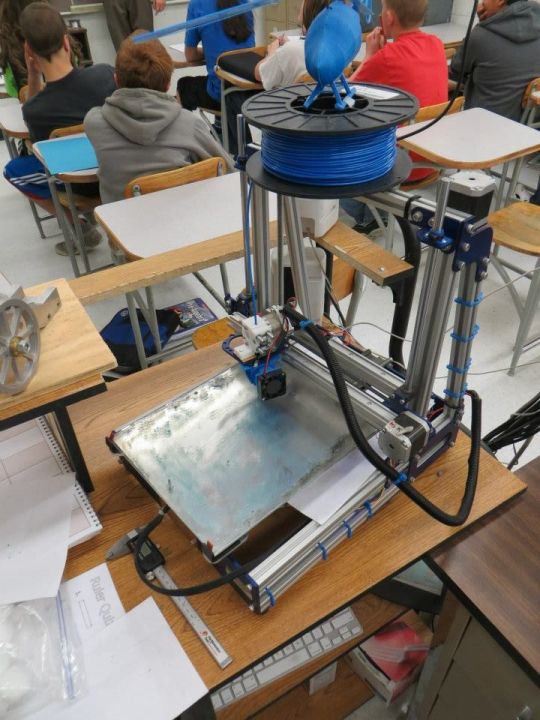
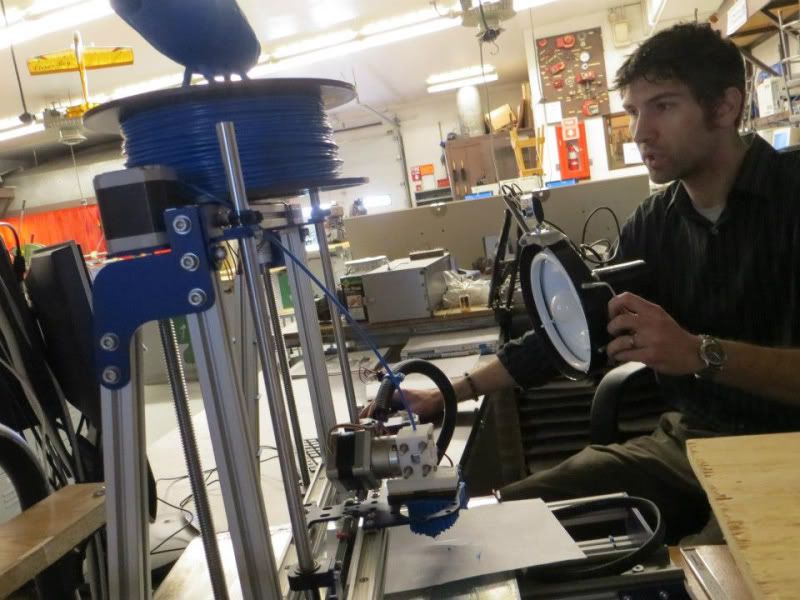
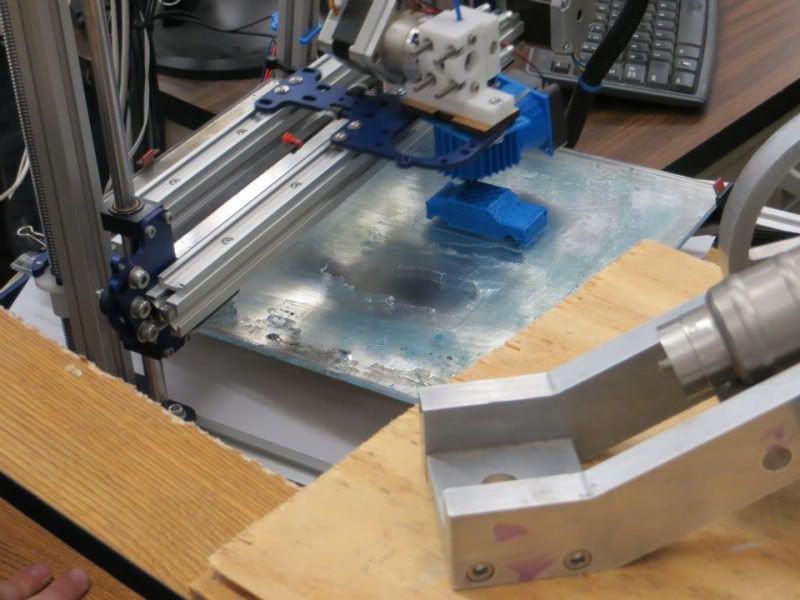
The printer... Y'all have seen it before it here it is in it's "home".  Had to slightly modify the desk so it would fit.


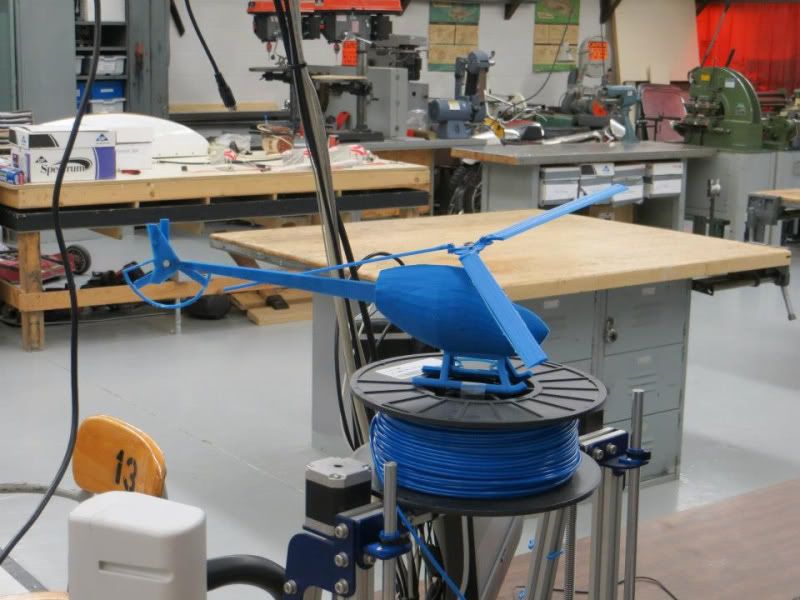
The heli's final resting place.


Edumication. Walked them through the process of exporting the file from Sketchup as an .stl, repairing it in Netfabb, and finally loading and positioning in Repetier.


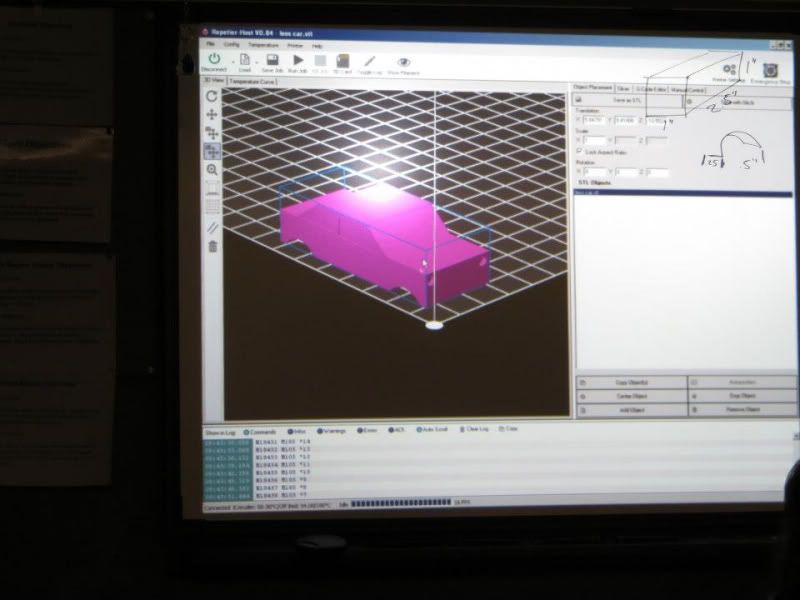
Explained to them how Slic3r worked and showed them a few of the basic settings, then we sliced. They were pretty impressed that we generated 18,000 lines of code for one simple car. It was fun to make them think math for a bit- vectors / coordinates on an X/Y grid, and explain to them a few different g-codes and how the computer interpreted them the same way they do in their math classes.


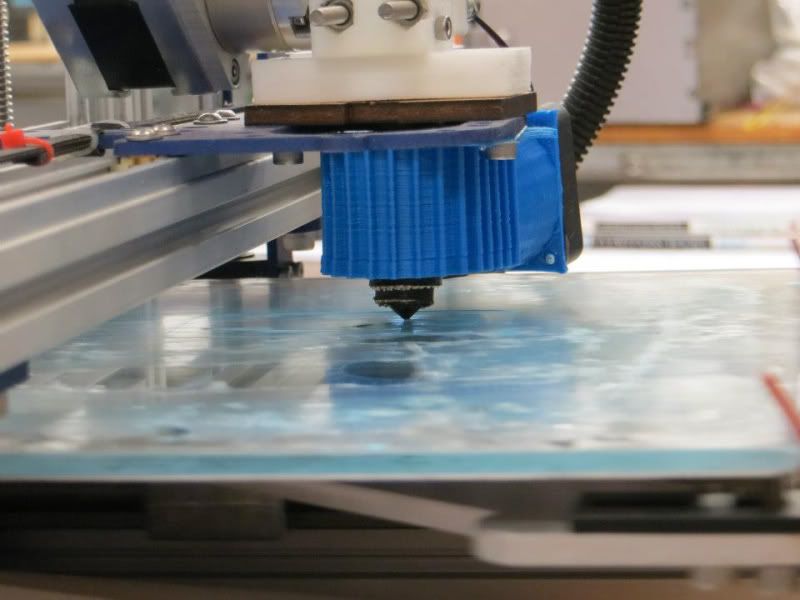
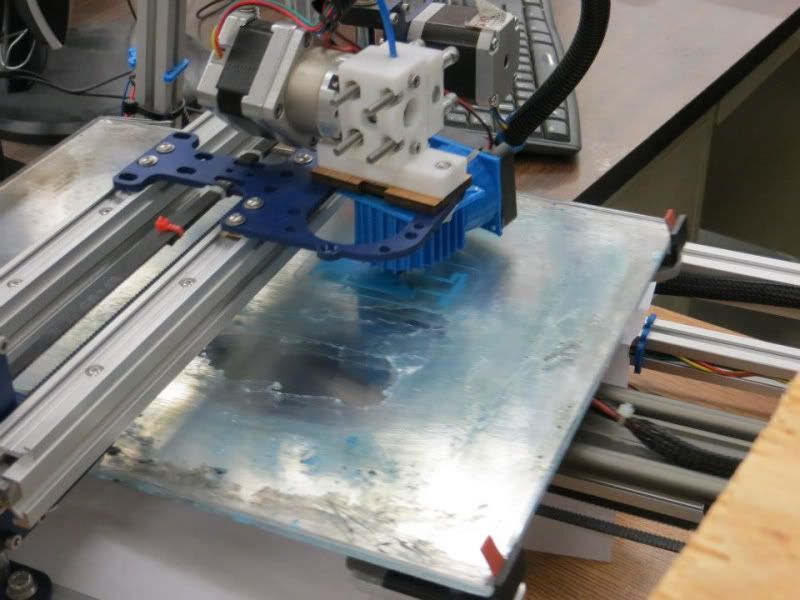
Business end of the printer all set up and ready to go.


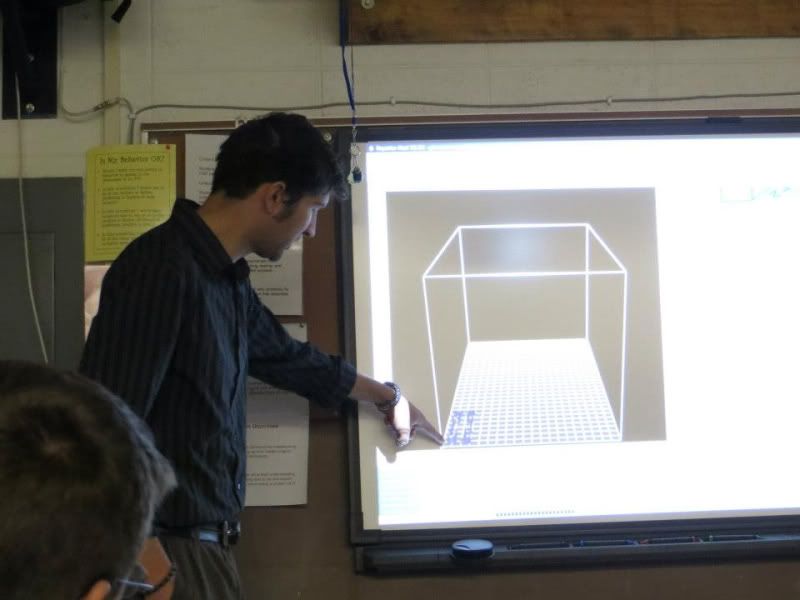
One of my most useful tools- a webcam, duct taped to a light arm. I can point it anywhere (including my monitor) so they can see what I'm doing up close on the screen without having to crowd around me.


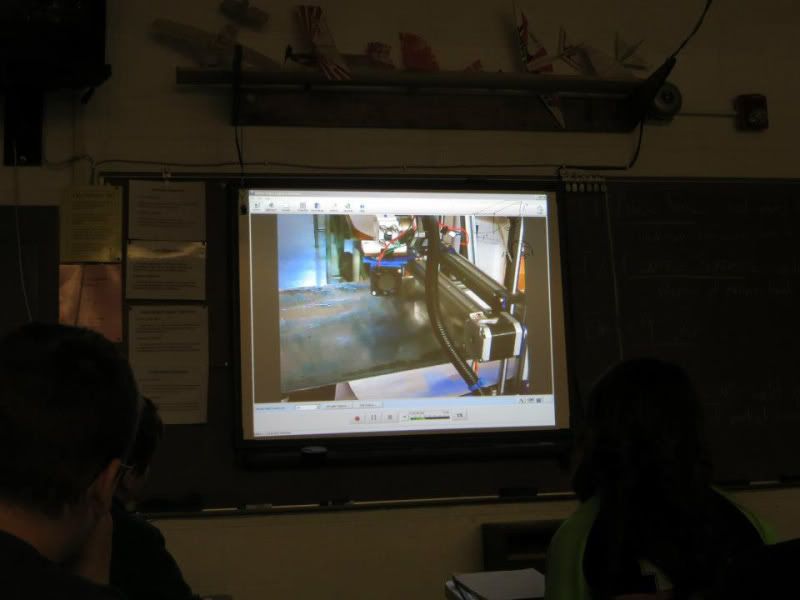
What they see on the screen:


Annndd..... PRINT!


Not real great quality because I had the speeds cranked way up so they could see it finished during class.  This print only took about 12 minutes-  10% infill.


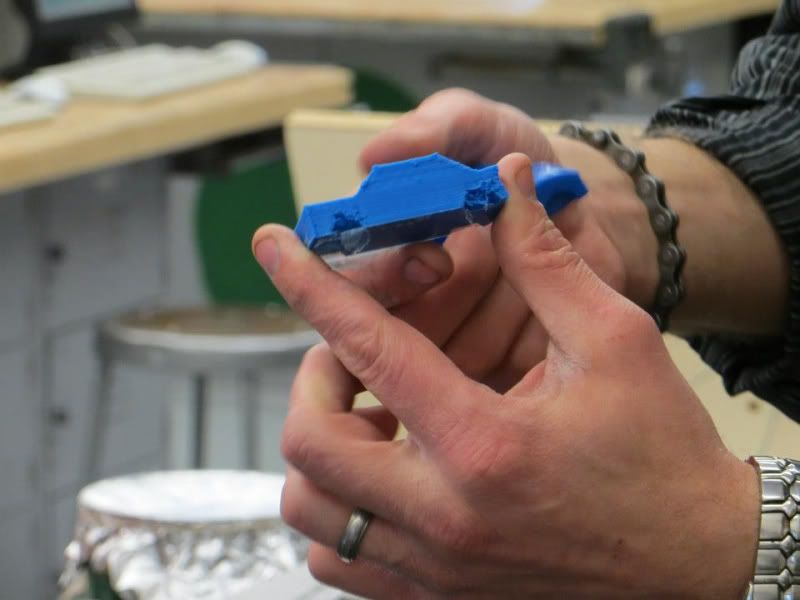
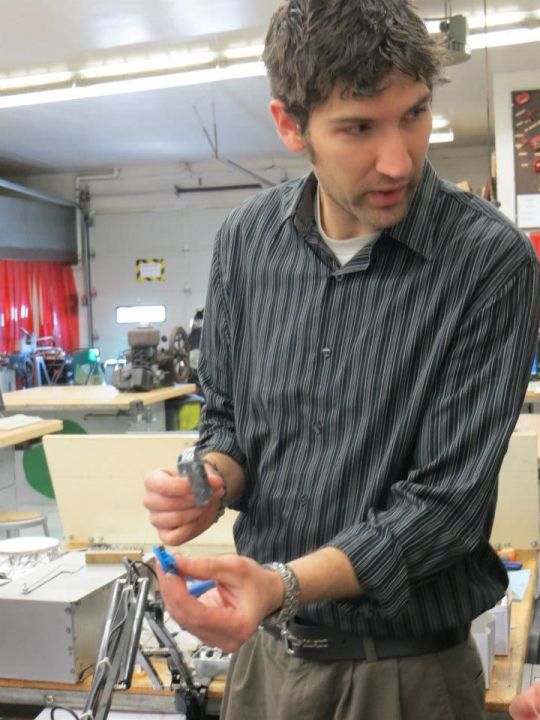
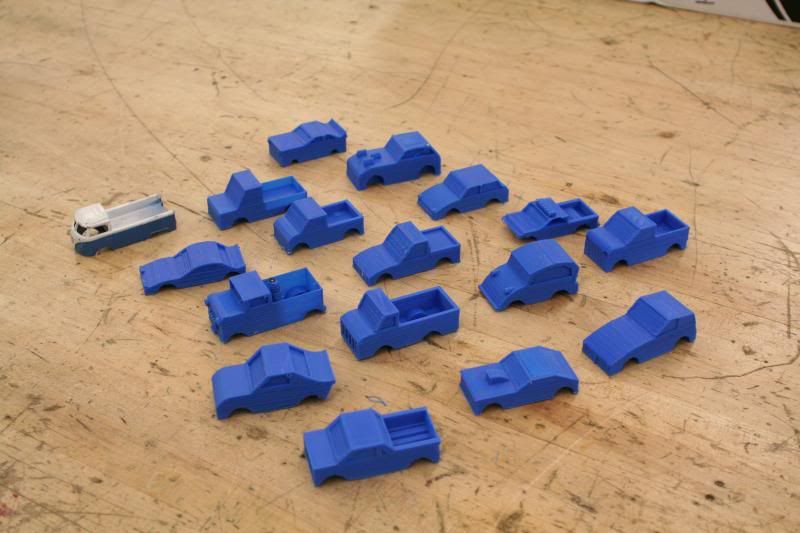
Explain some of the capabilities- manufacturing custom parts for Hotwheels.


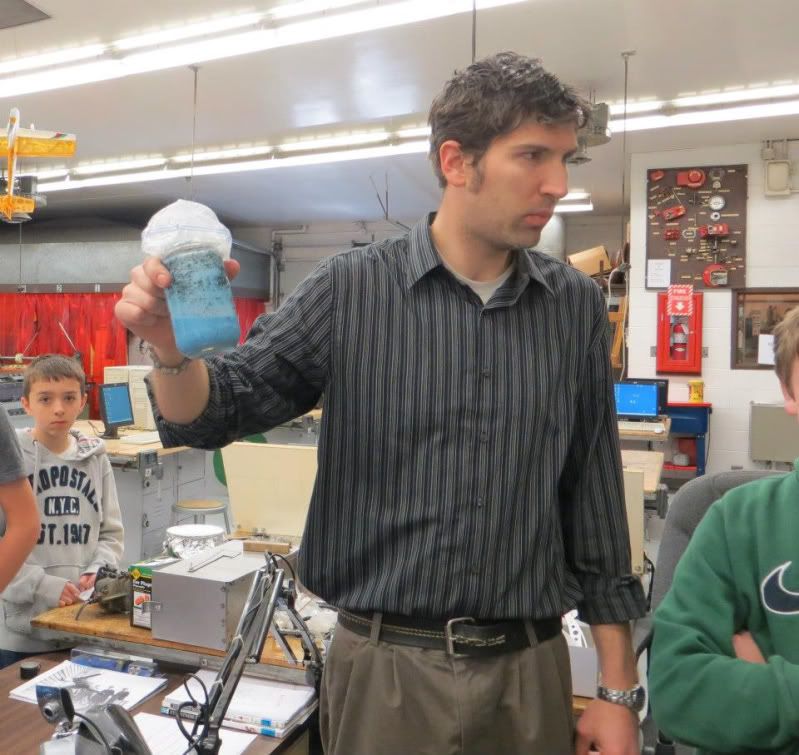
Yeah, this pic... "BEHAVE, or I shall turn you into this vile blue goo!"


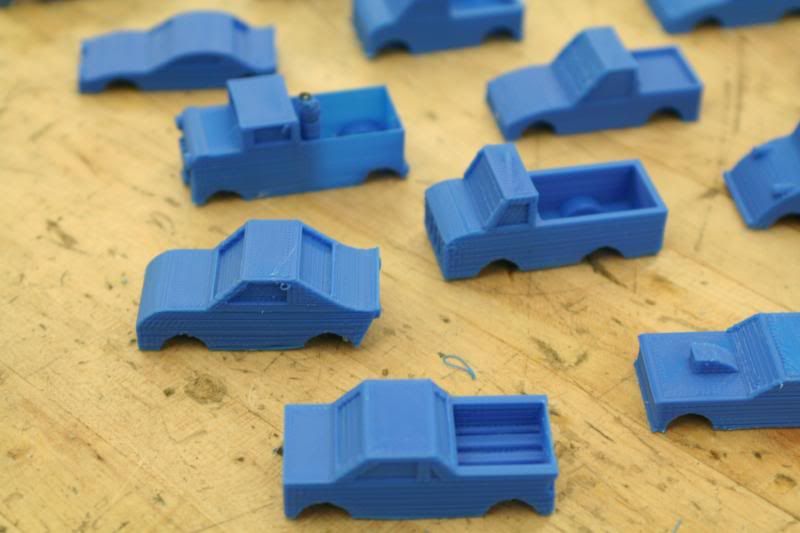
Got a bunch more done- up to 26. Have just a few to finish up and then we start printing wheels.


Print quality is much better on these but still getting some defects.  Think its a combination of things, mainly the fact that the desk the printer is on tends to shake as the printer runs.  Plan on doing some experiments there in the future.


The students love watching the printer run... We had a test on sketchup / printers on Friday, which I haven't had a chance to look through yet but one of the questions was about what they thought the future would bring to the 3D printing scene. Kind of excited to see what they think!

I'm still impressed with the Mendelmax 2.0.  I ran it over 8 hours straight one day and about 6 the next with no issues whatsoever.  It's been a long process getting bugs worked out and everything working, and I have a ways to go still as I learn more and attempt new things, but the printer has been more than up to the challenge.

Makers Tool Works, job well done!  

Tuesday, April 09, 2013

Mendelmax 2.0, latest project and more review!

So here's the project I've been toying with for the last week or so. Been experimenting with Sketchup and all of the cool plugins- taught myself how to skin shapes, joint push/pull, and a few other tricks I scrounged up to make this work.  If you use Sketchup, be sure to stop in at http://sketchucation.com/ and set up an account so you can download all of the free plugins! 

Also have become a lot more proficient at understanding the Netfabb software and repairing exports .stl's. Getting the printer set up and running now has become a breeze, although I am still playing with Slic3r settings trying to get things more better-er.

Helicopter time. There was honestly no real thought put into this effort, and it shows a bit but I think it turned out nice. Started with a blade, printed it, made the next part, printed it, saw how it fit, made changes if necessary, and here's the final product.

Sketchup files:


Printed parts. I made a different tail than the one pictured here...


Get a tube of crazy glue and start assembling.  The shell did require some triming to get to fit right- mainly due to warping.  Getting better at controlling that.


Plan on printing something to replace the screw, but for now...


Again, I've got a different tail now.


And fully assembled with the old tail.


"Finished", for now...


I want to add some turbojet exhaust pipes out the back here some day...


I think the print quality is great!


Learning all sorts of things. Need to keep the bed temps up higher to prevent warping- very noticeable on the body halves. Tolerances aren't quite what I'd like- sometimes printing a 2mm hole the hole turns out more like .5mm if the z-axis isn't set just right for the first layer. More my problem, probably should set up some endstops.

All in all, I'm still very impressed with the capabilities of the Mendelmax 2.0. The quality I think is great, but I don't have any other prints from other printers to compare it to. Speed is very adequate, reliability for me so far has been a non-issue. I have had a few bugs to sort out, but they have all been solely electronics related. The worst problem I've encountered so far with the hardware end of the printer is the belts- the printed tensioner on the y axis tends to twist a bit and the belt started to rub on the side of the frame. Adjusted it once and it's been fine ever since. Still need to install my updated z-axis parts too.


The electronics end of these things seems to be a never ending excersize in tinkering.  I'm forever altering Slic3r settings or trying different configurations with the control board or firmware.  Good think I like tinkering!

My students are working on their Sketchup projects right now, so I'm hoping to start running their prints by this time next week!