
Now that its spring break, I'm hoping to get this thing built. For now, here's the old info for y'all to catch up on.
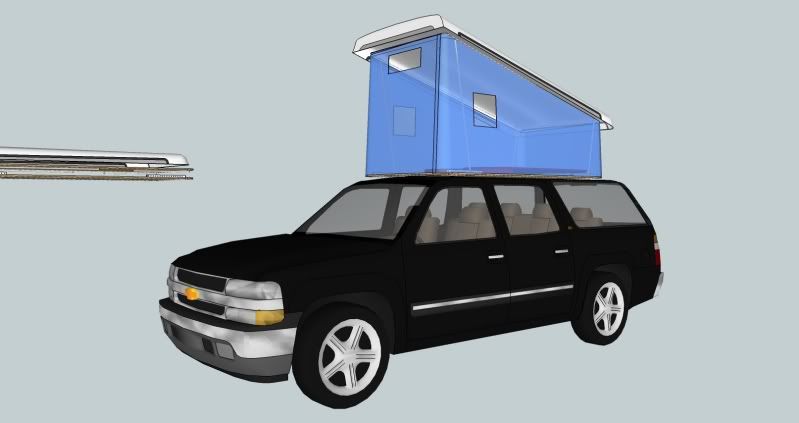
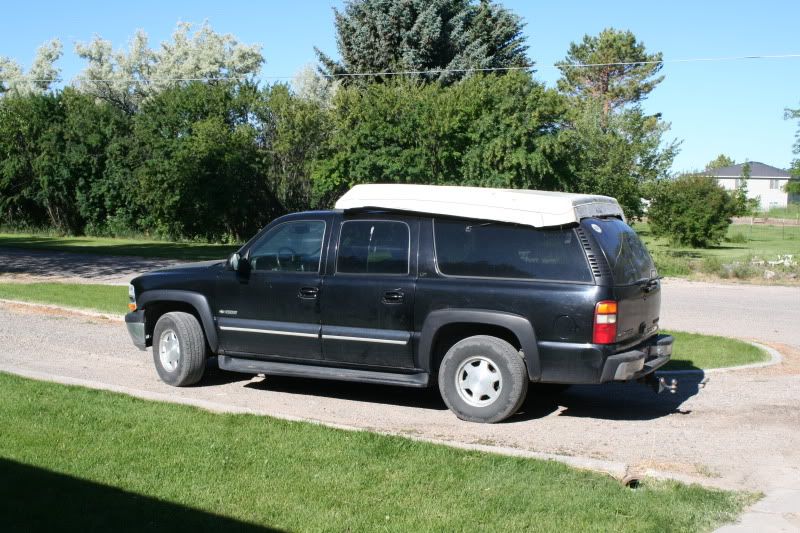
This idea has been kicking around in the back of my head for a couple of years now. I want a "Poptop" that I can mount to the roof rack of my Suburban. I had a few basic design requirements-
1. Has to be TALL. At least 6 feet on one end. I'll still have to slouch majorly, but I can handle 6 feet.
2. Room for two people.
3. Simple construction, easy to build, no large time commitment.
4. CHEAP.
5. Was hoping that one person would be able to mount / dismount from the roof, but I don't think thats going to be possible unless I have a "hoist" of some sort in my garage... Also a possiblity.
After monkeyin around with this idea forever, Here's what I came up with. Got LOTS of other drawings with a ton more ideas, but here are a few basics to show you the idea.
Havent decided WHERE on the roof its going, but I am planning on putting it as far towards the front for two reasons- I can have a "door" in the floor where the sunroof is, allowing me to get in and out through the sunroof, and it will also leave the back end of the roof rack free for tying other stuff on.
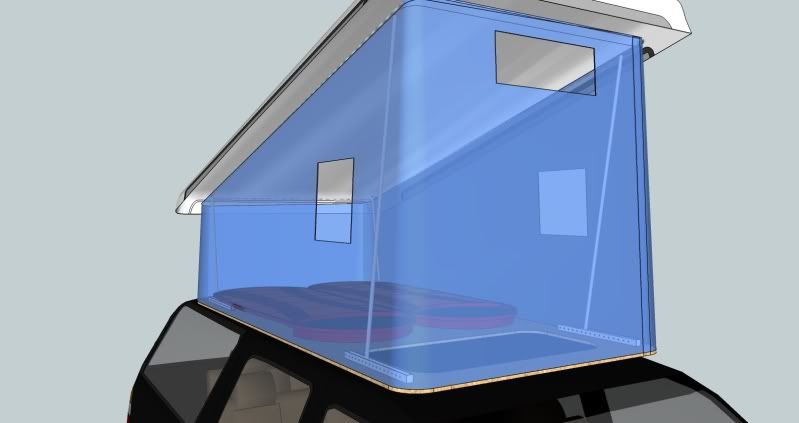
Here you can see a little on how I plan to hold the lid UP. 4 pieces of conduit near the corners- once side much longer than the other. Not 100% on how I'm going to attach them to the lid, but current thinking is I will flatten the upper end of the conduit enough to put the skinny end of a T hinge in it, then weld the two together and bolt the whole thing to the roof.
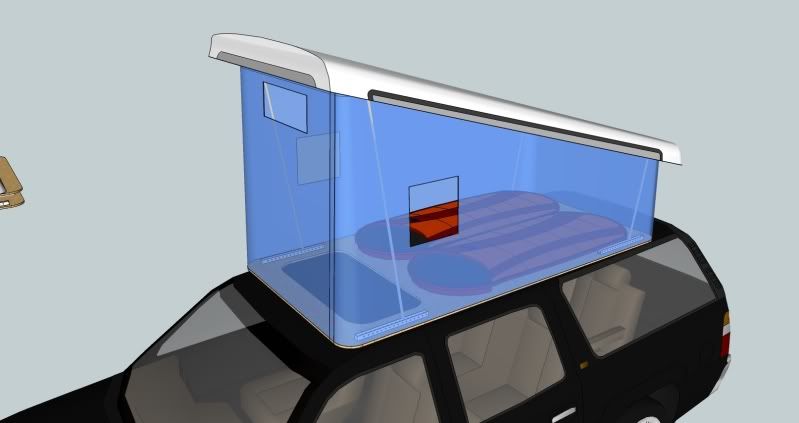
Sides of the camper will be coming from a ginormous canvas cabin tent I picked up at a yard sale a few years ago. The floor is likely going to be 3/4 CDX, but open to suggestions? Canvas will be stapled to the underside of the floor on the bottom, then a pocket will be sewn all the way around the top of the canvas. Inside of that pocket will be conduit to keep the shape, which will be bolted to the roof.
Lower end of the conduit will have something like pictured, but just a piece of angle iron or aluminum with slots cut in it for the conduit support pole to rest in- several of them to allow for adjusting tension.
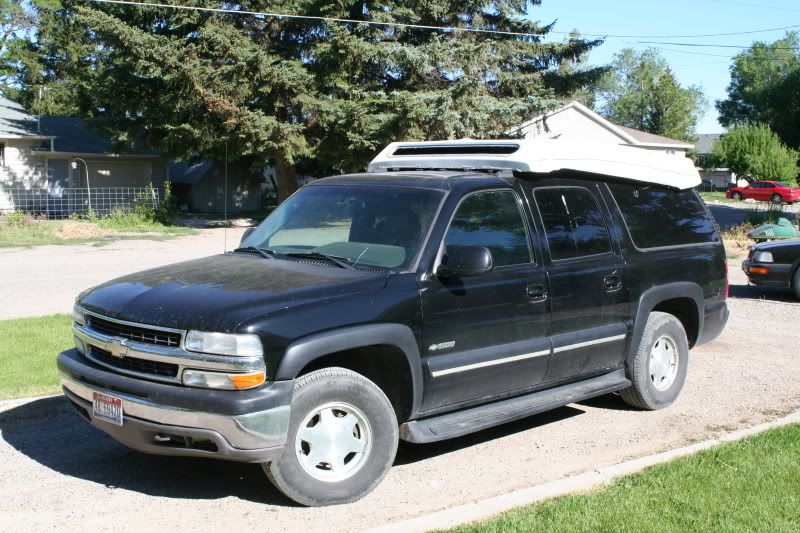
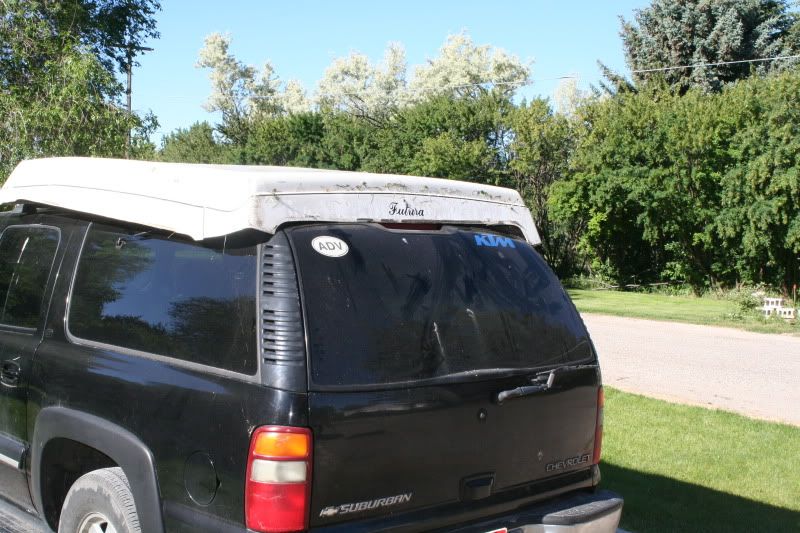
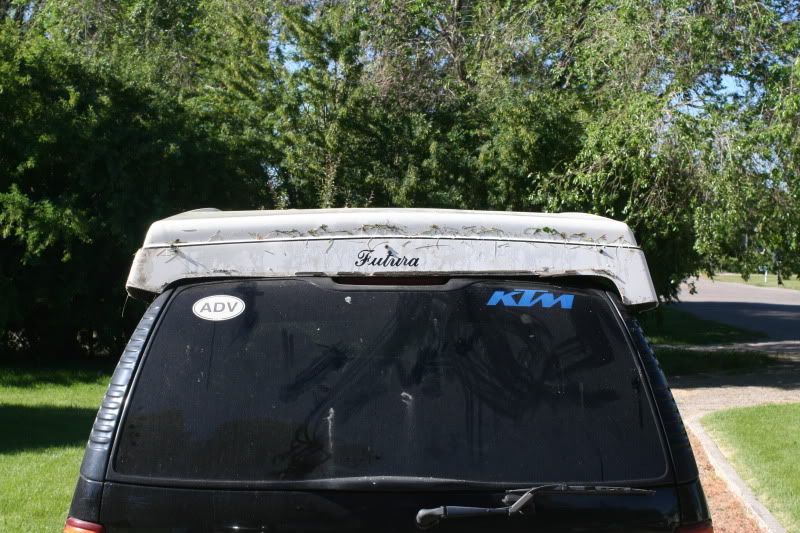
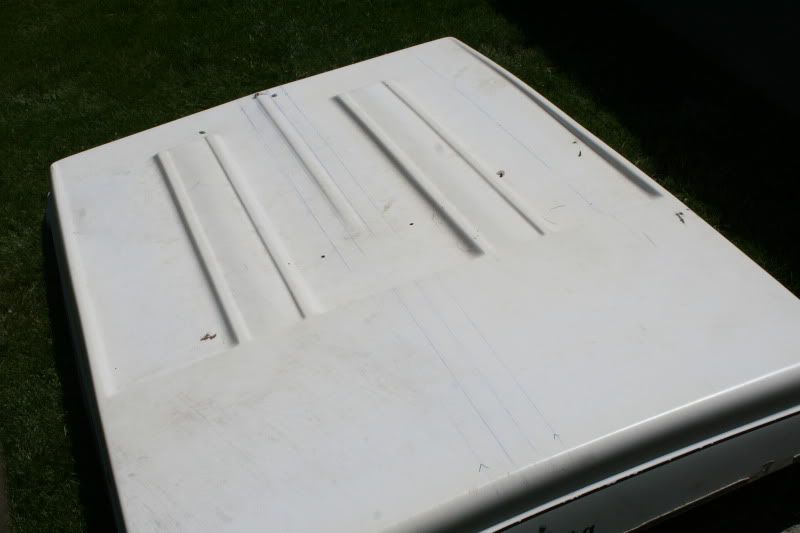
Course, all them's ideas are about 2 years old. I've been doing a lot of doodling and have come up with a lot of other ideas. Last summer, I scored this.
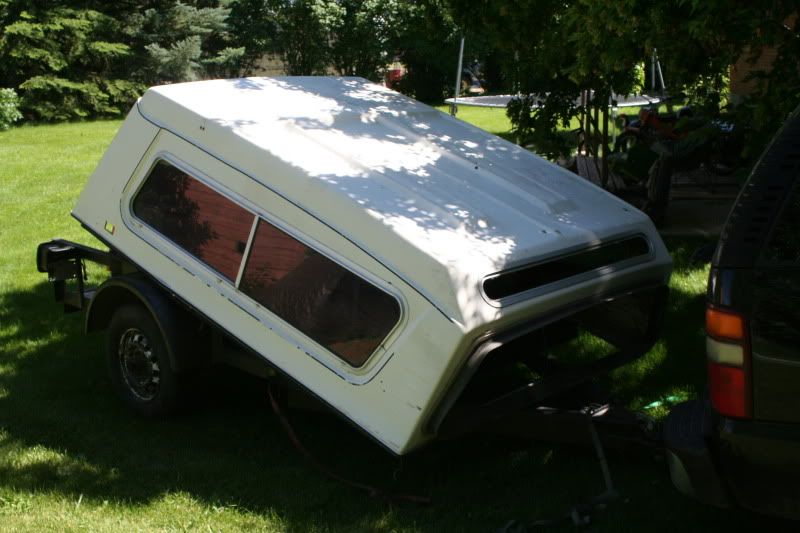
It was free.
 Came off of a '70's Ford long box, ironically.. Measurements are a little off for what I want but we'll get there in a bit.
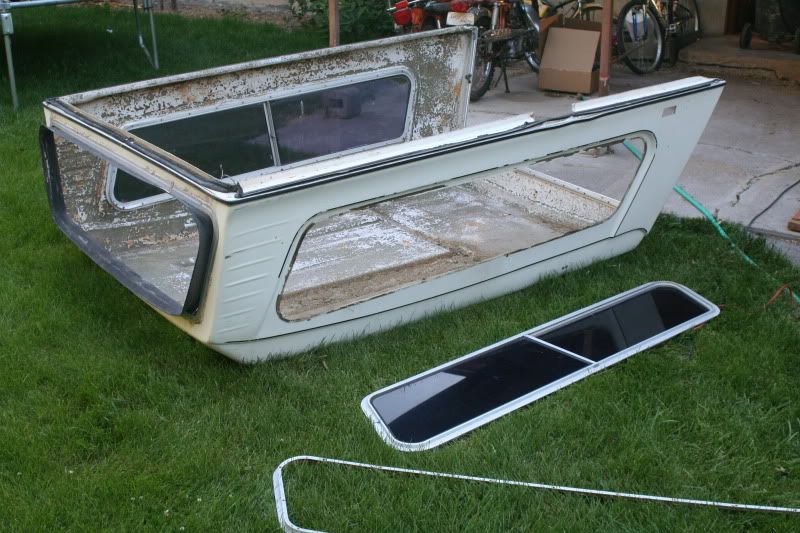
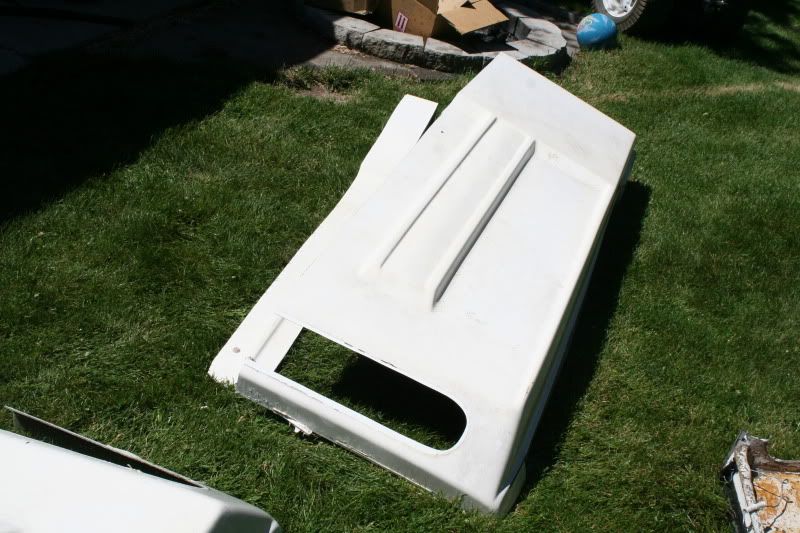
I got the saw out and started hacking. Jig saw- Not so much.
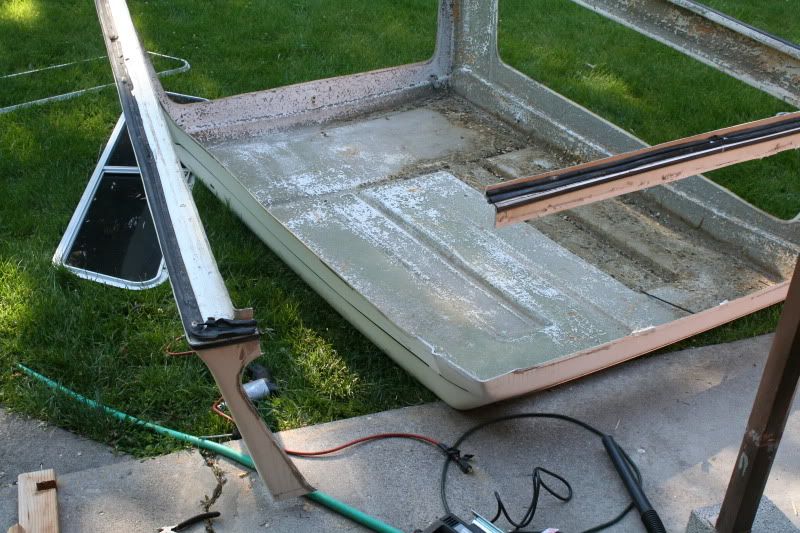
Skill saw with the blade on backwards- much better!
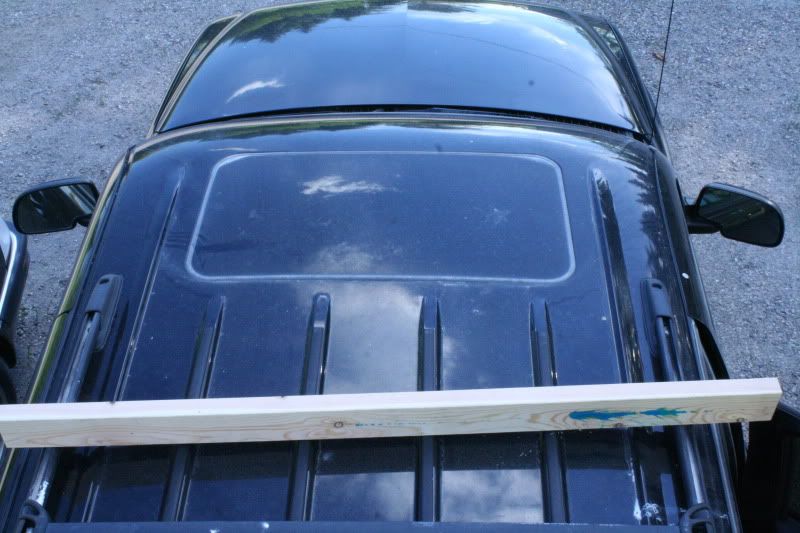
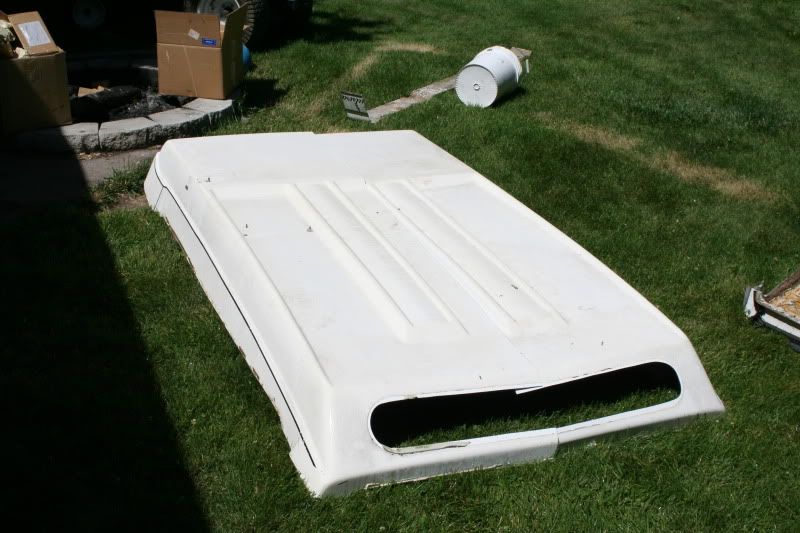
Here's where it'll be mounted.
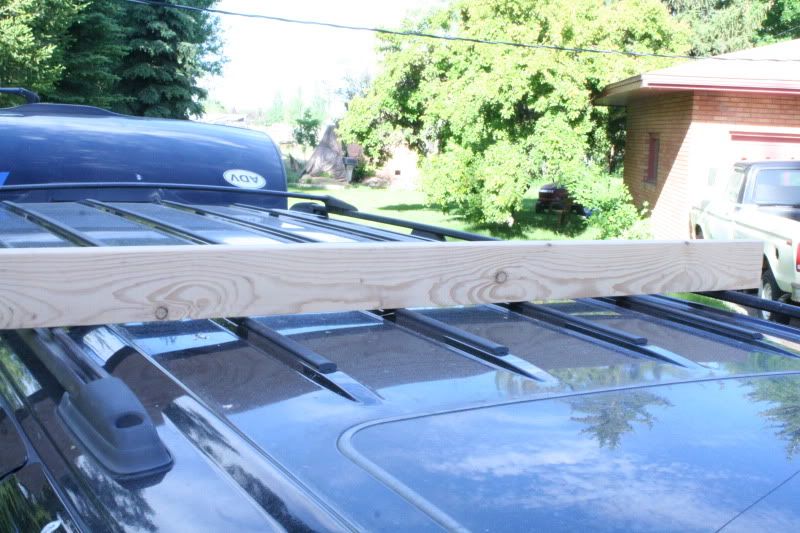
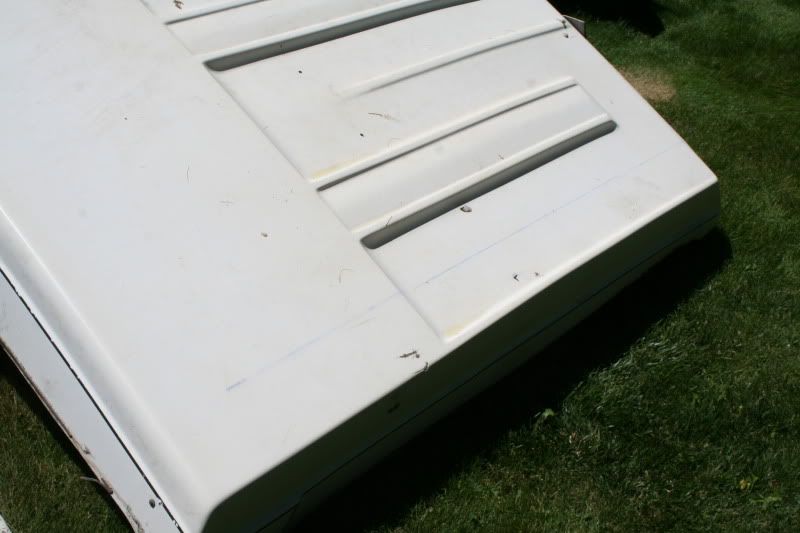
A sheet of plywood would sit on both outer racks and have the support of the middle rib all the way down. The roof is definitely strong enough to hold me standing on it with zero flex or dents in the roof, so I'm pretty sure a 3/4 chunk of plywood supported by the 2 roof rack bars and the center ribs will be plenty strong without any cross braces underneath, which will help keep the profile LOW.
Next issue- the roof curves down towards the front of the 'burb. This was going to be a problem because this is where I wanted to be able to stand- there wouldn't have been any support under this section of floor. Problem solved- I just wont stand. The sun roof entrance will be at the very far end of the floor meaning whoever's sleeping up there won't be able to do anything there anyways.
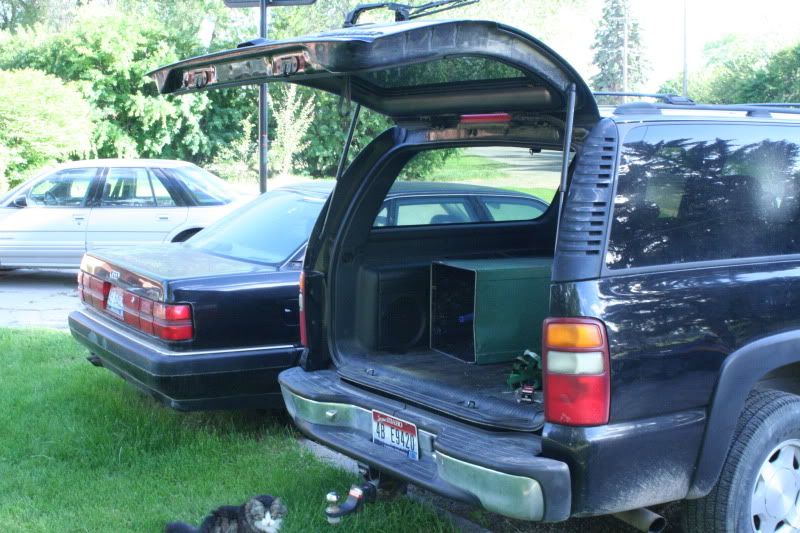
Another idea I've had kickin around for a while is to enclose this area- make some type of wall that hooks to the hatch when its open like this creating a "room" off the back of the 'burb. This is a long ways down the road but you never know. I can *just* stand under this without bonking my head.
Test fitting.
Its way too wide. Going to chop it about 5 inches in from one side, overlap the two pieces, and bolt them back together with copious amounts of silicone in between. Think it'll work?
Hardest part is going to be trimming around the edges to match the contours of the suburban after I get it cut down to the right size...
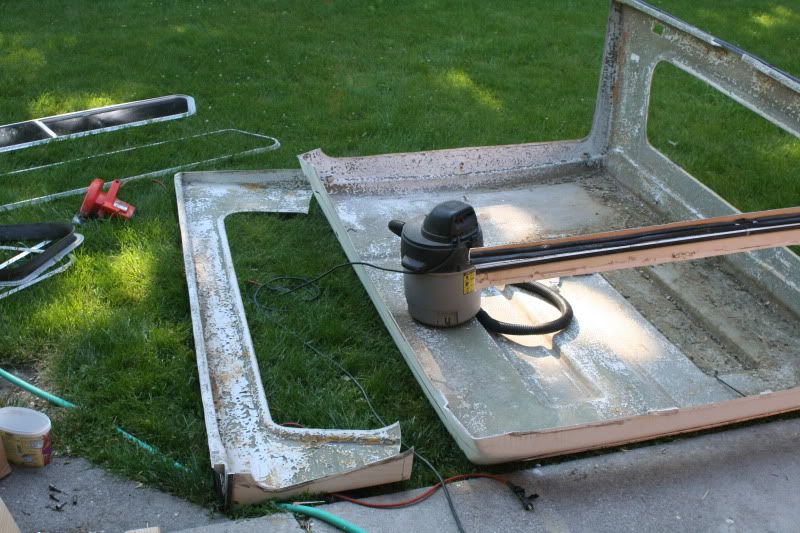
Chopy chopy.
Here's what I was thinking at first- cut on blue line, overlap, bolt together.
Wasn't going to give me enough room, and I didnt want to chop BOTH side and bolt them together, so I decided to cut the middle. REALLY didnt want to do this cause it seems like a guaranteed leak point, but oh well. We'll see how it works. Markin and measurin.
Chop chop.
Overlaps about 3 inches. Will be bolted & glued together down the center, and will have more support from the conduit frame that holds up the tent wall.
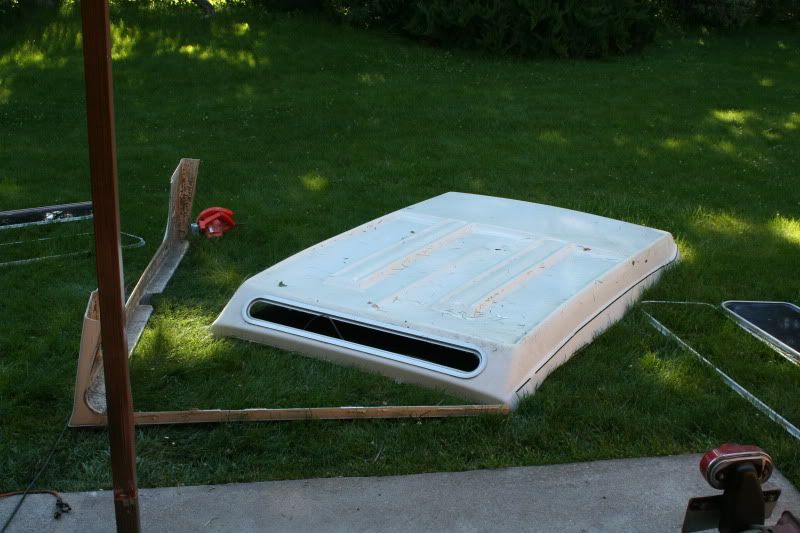
So there you go. Should be all caught up. I do have the two halves bolted together, and have scrounged up some extra house wrap scraps to use for the tent walls. Changed the design for the struts quite a bit and am going out to Home Depot here in a bit to buy parts. *HOPEFULLY*, I will have more progress to report this week! Really hoping to be able to get out and use it on the Father-Son campout this year, which is usually in April.