title

Motorcycles, tools, and garages! A little bit of everything mechanical and technical.

Showing posts with label Dan's Chariot. Show all posts

Sunday, September 22, 2013

Dan's Chariot #6 - Test fitting.

Dan came down for a test fit!


They are impressed so far, but I'll be making some changes.

We got the leg pan figured out, came up with a plan for fenders, and worked out a way to shorten the tongue up substantially. In addition, they decided to make the tongue detachable from the rest of the trailer for ease of storage and also possibly in the future make it easy to convert to a stroller. Will be adding some blocks to the back also, so we can build a stroller handle for it later if we want to. When I cut the tongue, I'm also going to stand the seat up a little straighter as well.

Started on the fenders one evening after school. Did some measurin, and drew this up.


Traced it on to some aluminum and added room for attaching it to things / strengthening with hems,


and cut 'em out.


I'm really starting to love my edge forming machine. Picked up some new Harbor freight tools that really compliment it as well. Here's one fender with one edge rolled so I can rivet it to the top:


Curled it up pretty badly. No problem- take it over to the shrinker/stretcher and straighten it out!


Way better! Time for a test fit.


The top piece was just a test- it will be longer to match the side cover and I still havent decided if I'm going to do the little rooster tail on the end. The front curve will blend in to the side piece, and the beads in the top will change- have to leave room for the rivets.


I will make a straighter version for the back side, and they will get holes punched so they fit over the axle. Will have to add a bracket and some support to the back side but with the bends its already pretty stout!


Punchin holes the old fashioned way!


Still have to rivet the top on to the other side and make both inside pieces.


Saturday, September 21, 2013

Dan's Chariot #5 - A "test" run!

I've been working on the bike trailer off and on over the summer, but have neglected to post much of it here so it's time for an update!

So I got kicked out of my shop for the summer so they could redo the floors. Over the last couple of weeks I've been working on pulling things back out and setting the shop back up.
 
The next step is seat mounting and seat belt mounting. I drilled a couple of holes for the seat and got it set in place. Did some measuring and bending and came up with this:


It goes around behind the seat and gives me a spot to mount 4 of the 5 points on the harness.

Marked some angles, cut it down, and tacked it on.


With the seat attached...


I would have liked it to be a little closer to the seat, but this should work great. Still need to finish weld, and I've got an idea for some gussets at the joint that can double as fender mounts.

I set it all up, climbed up and sat in it, then had my 9 year old try and lift the tongue- he lifted it easily. This is with me laying totally back. Dan's a bit lighter than me so I'm not sure how that will translate to tongue weight- almost think since theres less of him to counterbalance there might be MORE tongue weight. Guess we'll see.

I'm pretty happy that the balance seems to have worked out- that was one of my main concerns. So far the frame is still super light too. Have a few gussets to add and still need paint, leg holder, windshield (?), fenders, and a few other odds and ends but its starting to shape up.

Started going through the scraps I picked up at a local machine shop- scored a perfect chunk for a new axle so I began re-making it.

Makin' some HOT chips...


Also made some gussets for the seat belt frame out of more of the scraps.


And welded 'em on.


Spent the doing some "detail" work- little odds and ends that suck up the time.

Made another set of gusset plates for the frame.


Tacked 'em on,


And welded them solid. Will probably make one more set of gussets to go up on the sharp bend at the end of the big loop coming from the hitch.


Started figuring how to mount the seat belt.


What you don't really see here is I also made some brackets for the rear seat mounts and tacked them in place. 

Been hemming and hawing about how to attach the seat belts. At first I thought I would just drill some holes through the frame but decided that holes will probably weaken it, so I made up a few brackets.


Tacked 'em in,


Welded them and then cleaned everything up with the wire wheel.

.
 Test fitting the harness.


Yeah, I think that'll do nicely!


Did some figuring,


Laid it out,


and made a mock up of the foot pan.


Still thinking about options for this. Would be cool to build a framework and then lace it with straps, but I will probably build the pan out of aluminum and have some steel framework underneath for reinforcement.

Fender ideas...


Dan's coming over for a test fitting.  That will help me know where the leg pan needs to go, whether or not I need to shorten the tongue, and also if I need to bring the fenders down on the outside of the wheel to keep fingers out.

Hope they like it so far! 

Saturday, May 18, 2013

Dans's Chariot #4- Axle.

Took me long enough, but I finally got a belt for the lathe so I could run it in the higher RPM range and got the axle turned down. I'm using a Smithy CB1220-XL.  It's pretty beat- lotsa chatter but it works okay.  It's got a weird belt setup for changing the spindle speed- 2 short belts with an idler in the middle for the lower RPM's, or one long belt and remove the idler for higher RPM.  Long belt has been looong gone since before I started teaching here but I managed to find one that fits.  Took forever to get the idler loose enough that it came off the shaft too.  Got it all figured out and we're in business.

The axle started out as "sucker rod"... Not exactly sure what that is but I'm guessing it has something to do with well drilling.


After I hacked off the end and the goofy plastic piece, time to start spinning.


Haven't quite figured out how to change the crossfeed speed... It looks like there are a few gears that interchange but the other gears are missing.  With the spindle spinning about the correct RPM, the cross feed would fly down the metal.  Got a little warm, as you may be able to tell by the chips.


Finally got both sides turned down enough!


Looking good, although I think I may have to unbend a few of the curves to make the tongue higher of the ground. Right now, by my estimates the lowest point is 3-4 inches off the ground.


Picked up some castleated nuts, bushings, and washers so next week it should be a little more permanent.  Need to brush up on my welding and get the joints finished off too, then I can cut out the hitch end, make the seat brackets and mount the seat, and do some testing.  Long ways to go still and not enough time to do it!

Saturday, May 04, 2013

Dans Chariot #3- Frame Construction.

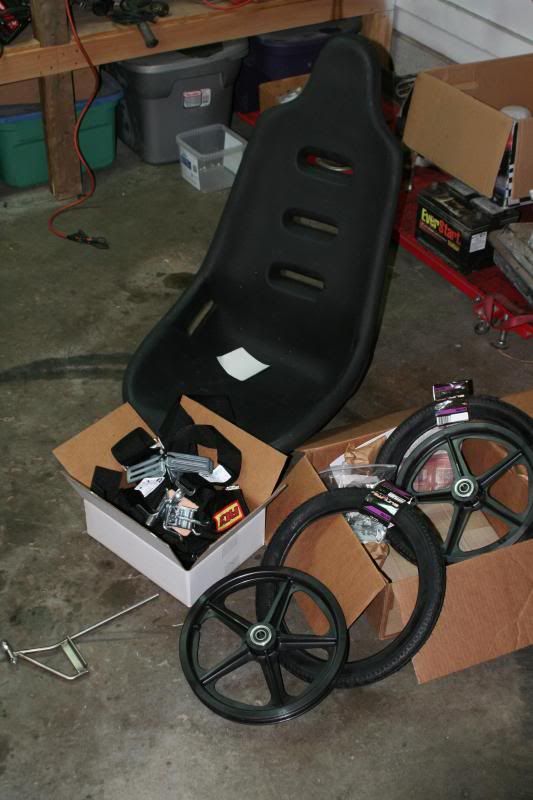
Parts came in a few weeks ago for the chariot. 


Seat looks great, very light weight. I think the harness weighs more than the seat! Looks like the harness does NOT bolt to the seat (I figured it didn't), so I'm going to probably have to come up with some kind of frame for it to bolt to behind the seat. Tires are pretty small but seem very stout.

Still need to stop off at the metal place and find some axle material, but I already have the frame metal and borrowed the tubing bender so I can start on it once I decide for sure how the seat is going to mount.


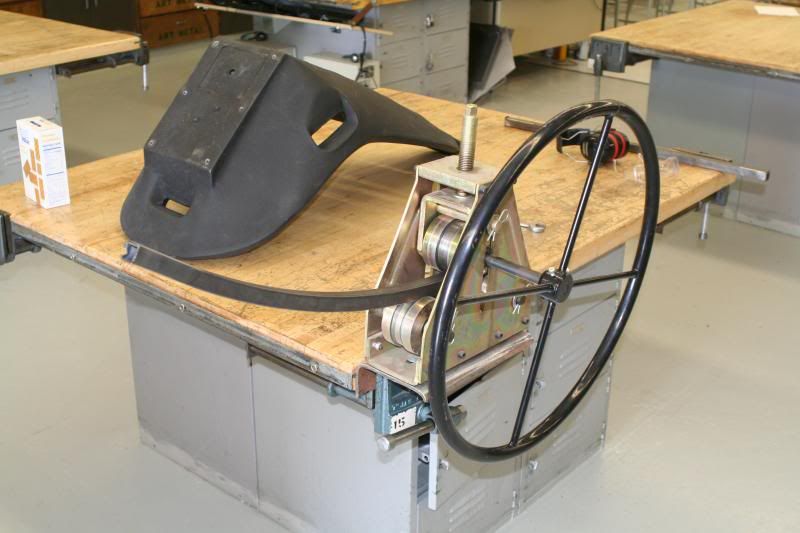
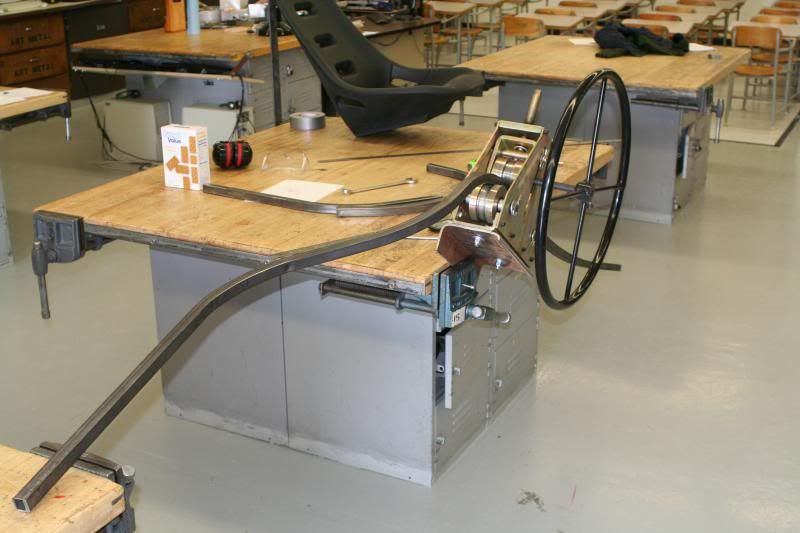
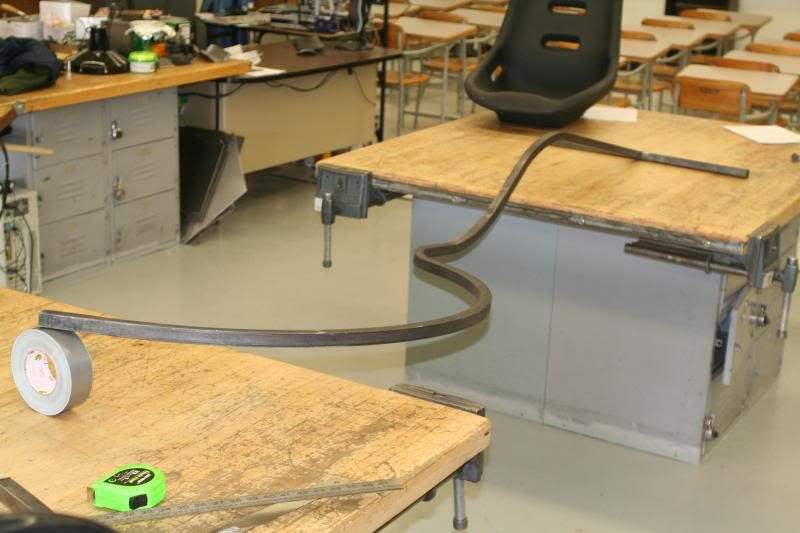
Spent a few hours in the shop today. Did a few practice bends with the tubing roller.


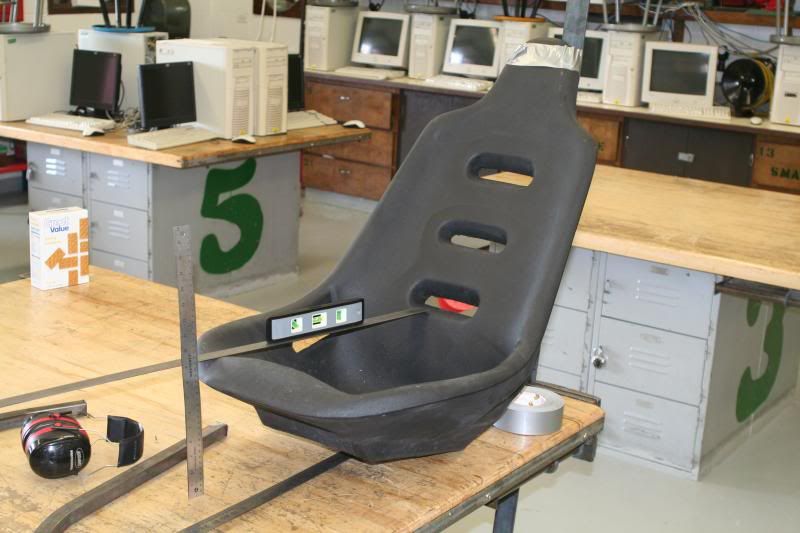
Started doing some figuring. Had an idea about a week ago on how to mount the seat to the frame with a whole lot less headache (I hope) so let's see if it comes together.  Kinda hard to see but the seat is tipped back a bit.  2 reasons for that- move a tad more weight back and also make it a little more comfortable to sit in.  With the seat flat, your legs just go straight out.  Unpleasant.


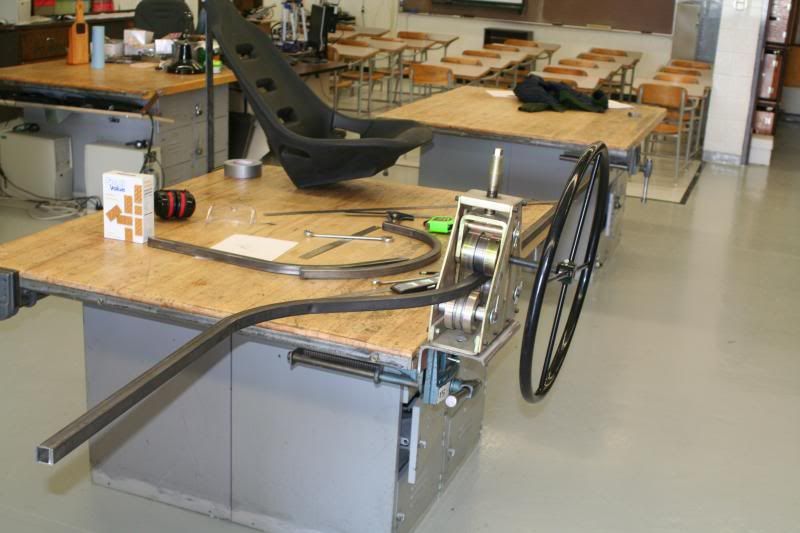
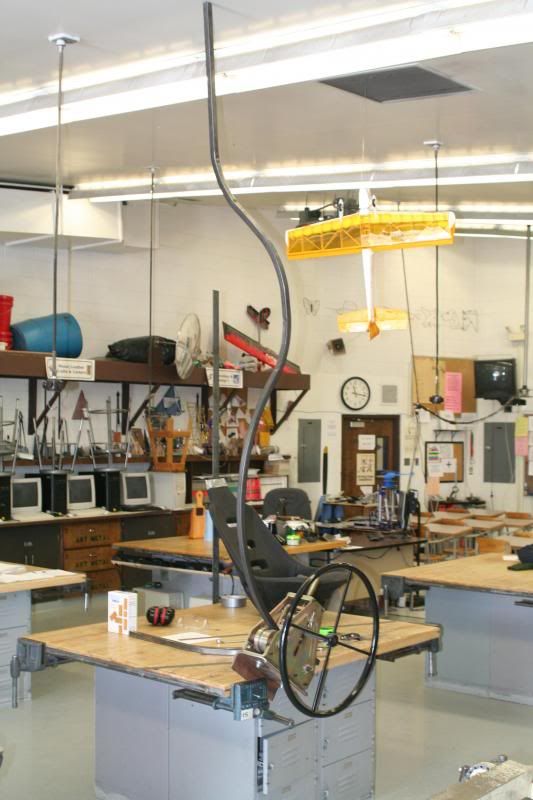
A few bends in on the main piece.  In the back you can see the angle the seat will be on.


Bending. Almost need a taller ceiling!


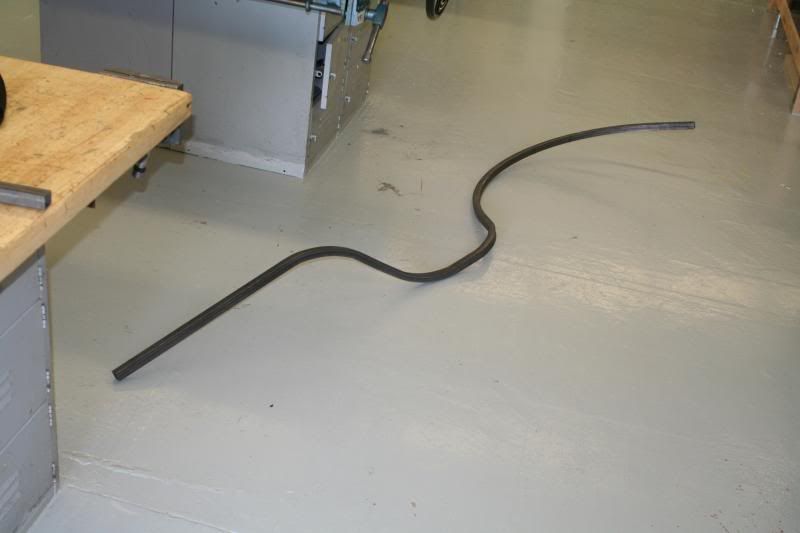
Thinkin thats going to be close enough.  Looks awful strange like this, but bear with me for a minute.


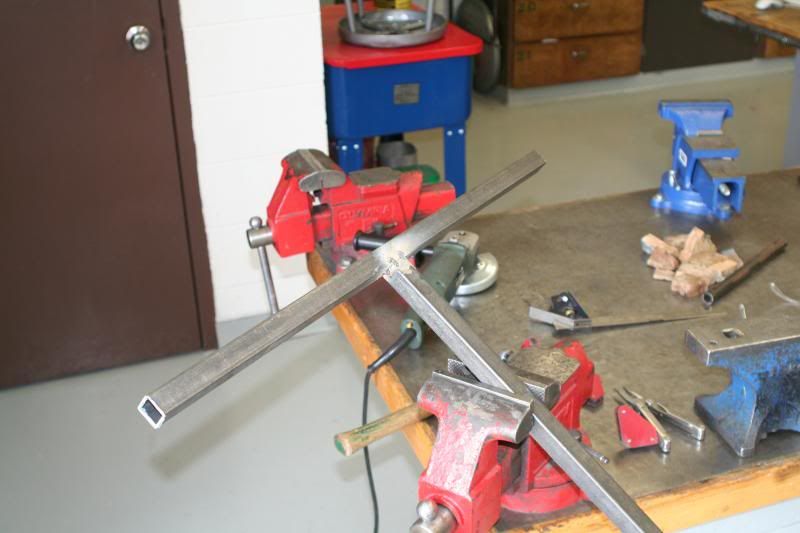
Tacked the axle tube on.  Thinking the axle will be a solid shaft inside the square tubing all the way through, still haven't decided how to attach it yet though.


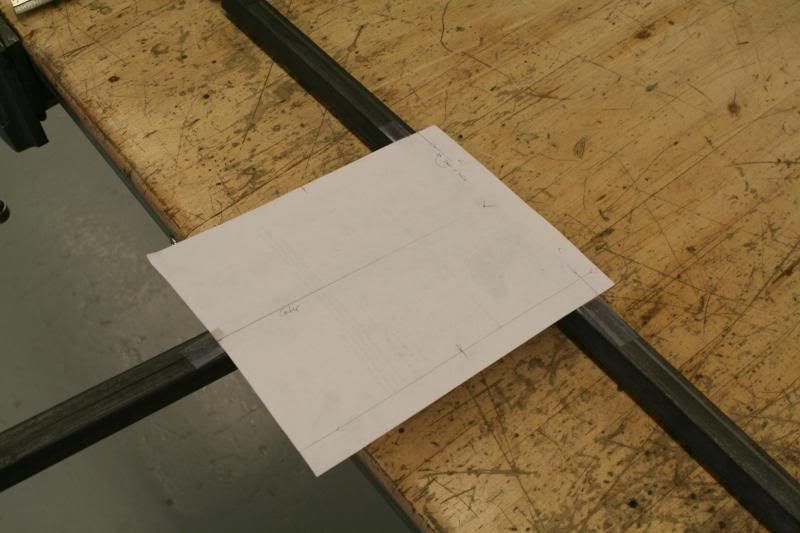
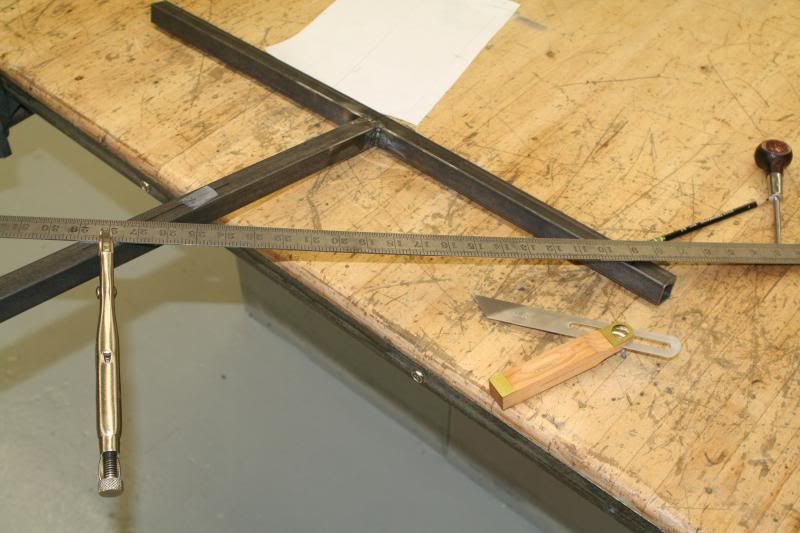
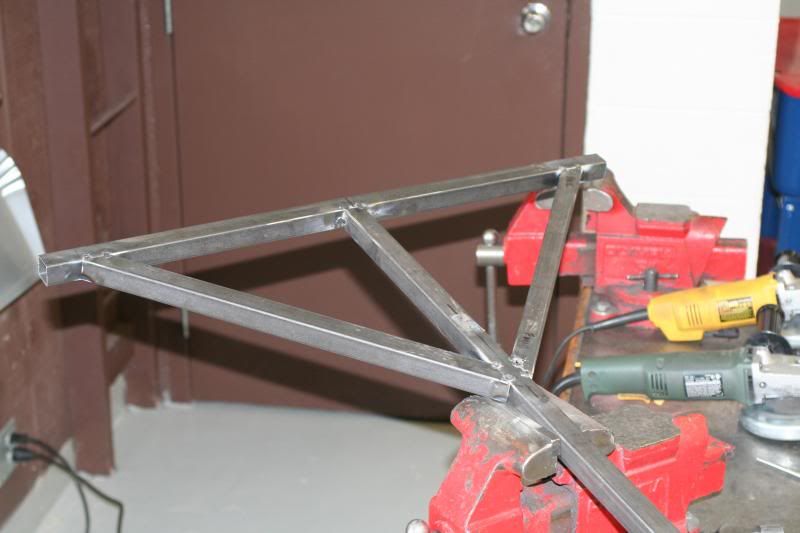
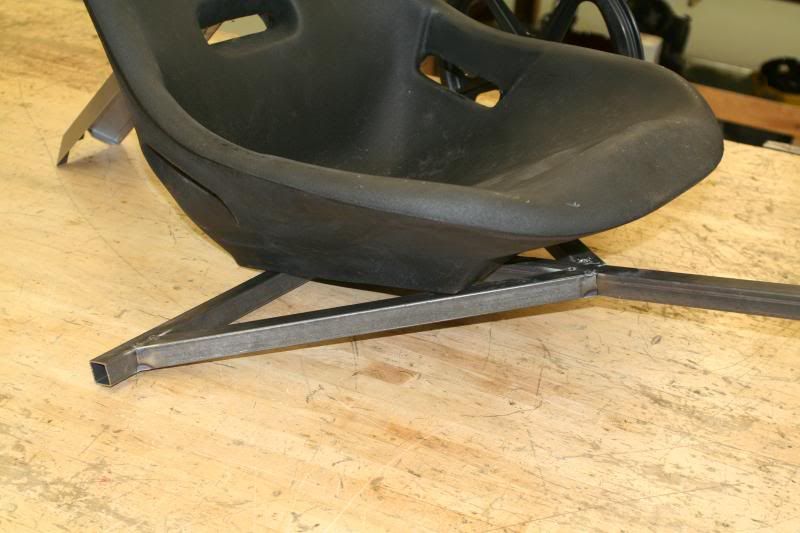
Doin' some more figurin'. The cross braces are going to double as the seat mount, so they need to be in the right spot to line up with the bolt holes on the bottom of the seat.


Paper seat template to get things aligned.


Need 2 pieces like this, one on each side.


Made up the braces and tacked them in. Managed to get one yucky burn through but I can fix that easy enough.


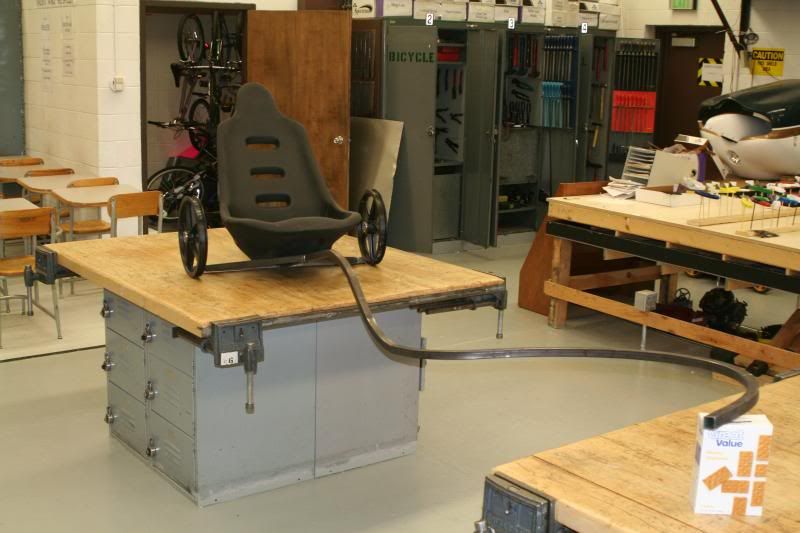
The days work. The seat is sitting roughly where it needs to be.  The wheels, obviously, are way higher than they are supposed to be- they will drop about 8 inches so they are lined up with the axle tube.  Feet will go near the bottom bend kind of where it drops off the table.


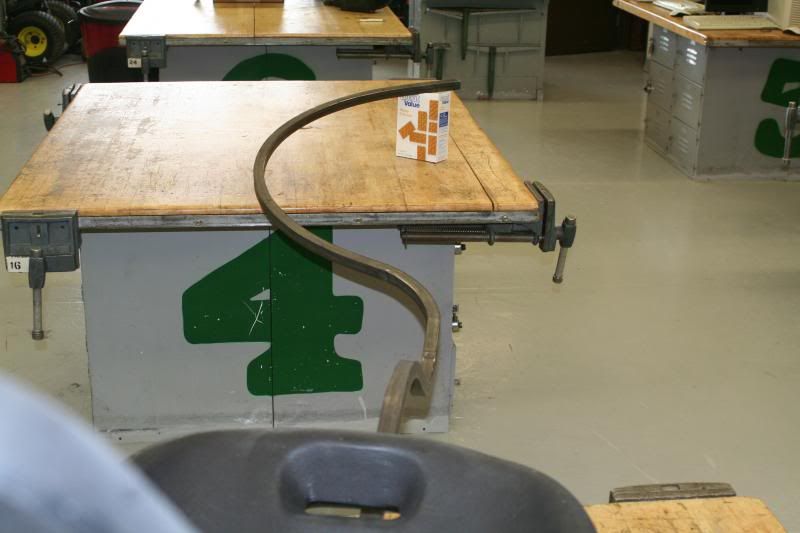
View from the chariot.


Not a bad start. Need to locate a shaft to use for the axle still, and it looks like I'm going to have to make up a "roll bar" behind the seat to mount the shoulder harnesses to. Once I get the seat holes drilled and the current frame welded and the hitch made on the end, I'll throw the wheels on there and do some testing.