title

Motorcycles, tools, and garages! A little bit of everything mechanical and technical.

Saturday, April 20, 2013

Just because I don't have ENOUGH things to do...

I started something new today.  I've been wanting to try my hand at building custom Hotwheels for a while now, and figured it was time to give it a shot.  Actually, I hold Dj iWeb fully responsible for all of this... I keep seeing all of his awesome customs. I have one project in mind that I really want to try, but I don't want to screw that one up so I came up with a "practice" project. 

My practice project is based on a Volkswagen single cab a fellow I know is restoring.  You can see his real true (baby) blue single on his blog: http://frankieflood.blogspot.com/ You might have to scroll though a fair bit of stuff to find pics of his single cab but he has a TON of cool stuff on there anyways, so have fun!

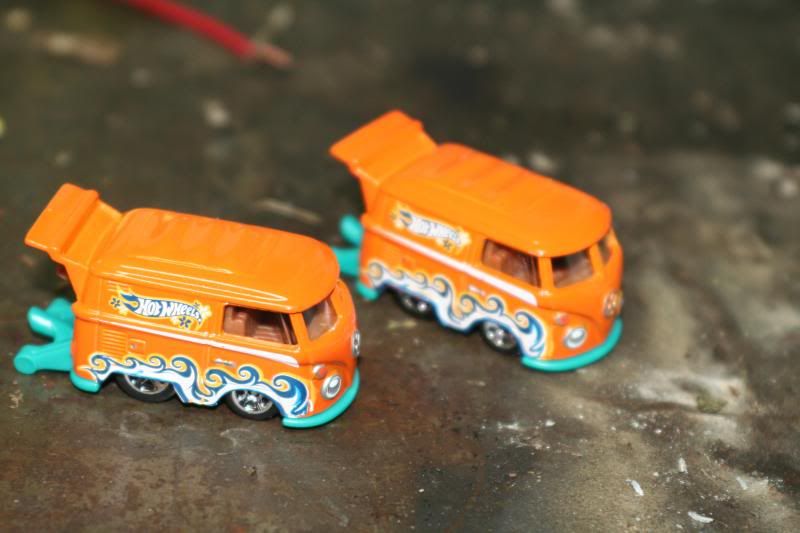
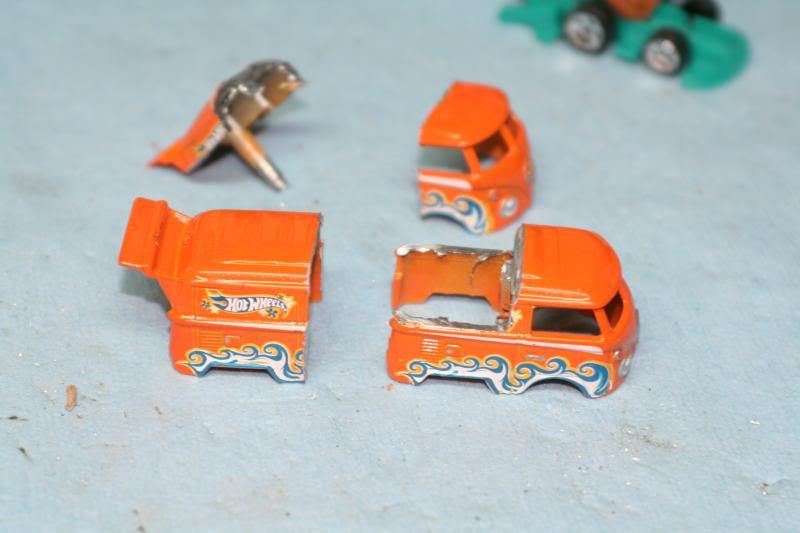
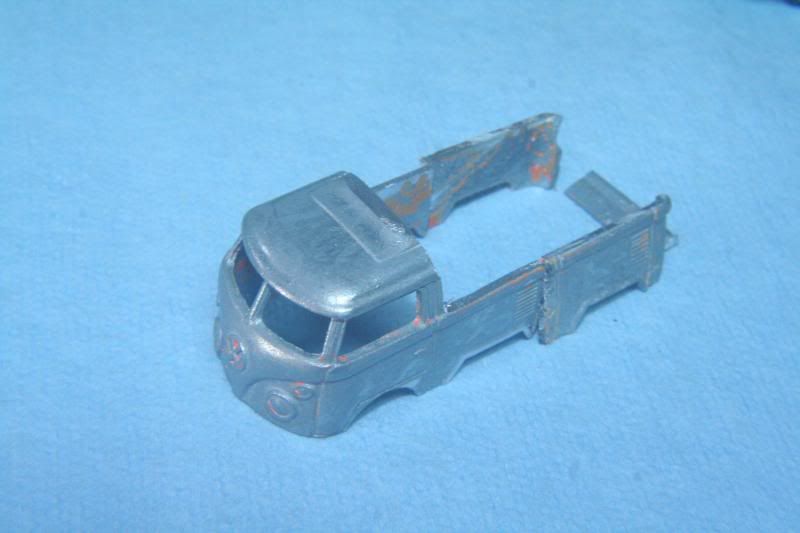
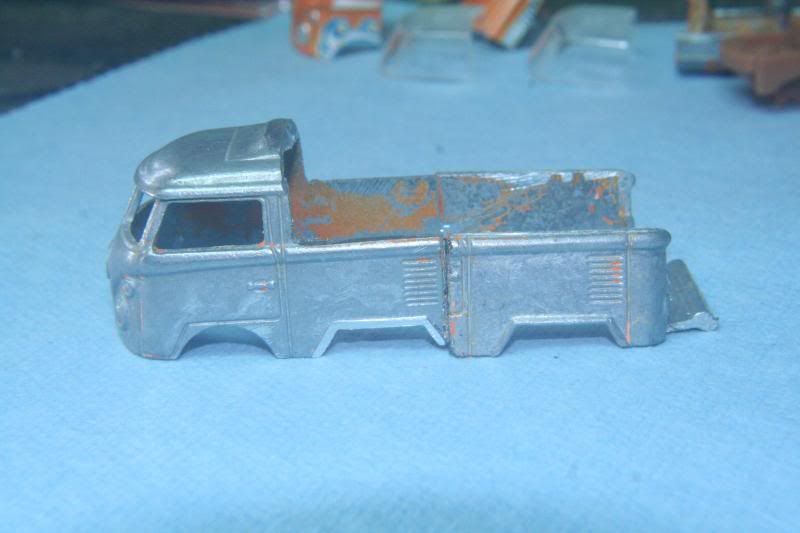
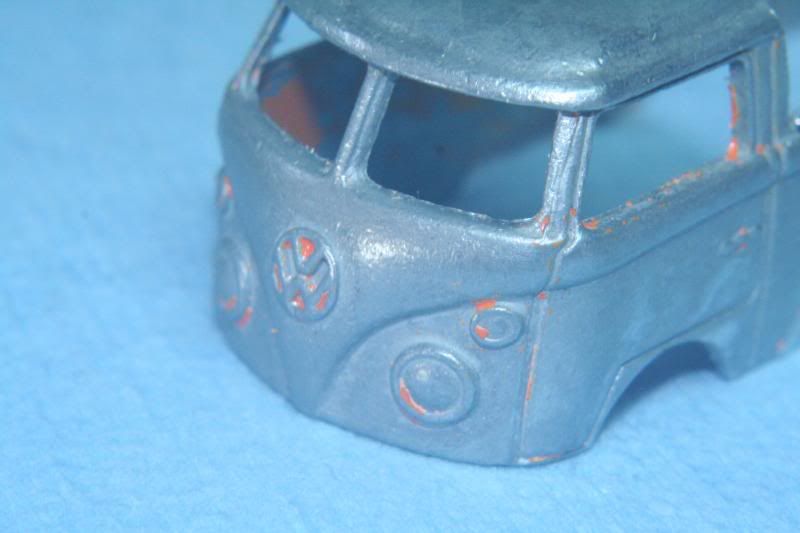
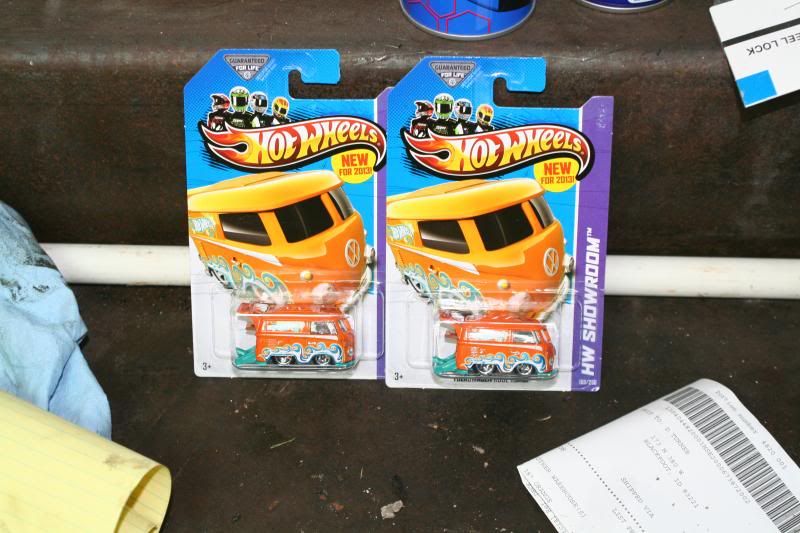
Without further ado, my latest figure-something-out project. Start with these guys. Almost too cool to chop up. Thats why I bought 3.


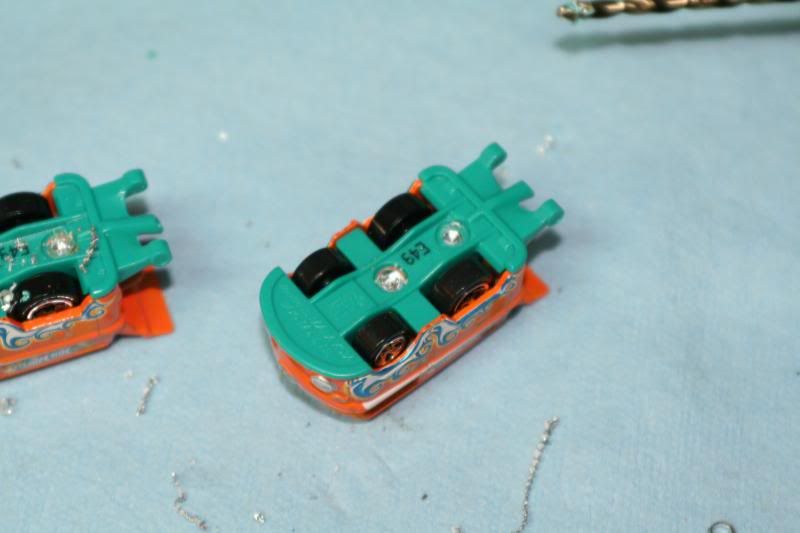
Drill the rivets out.


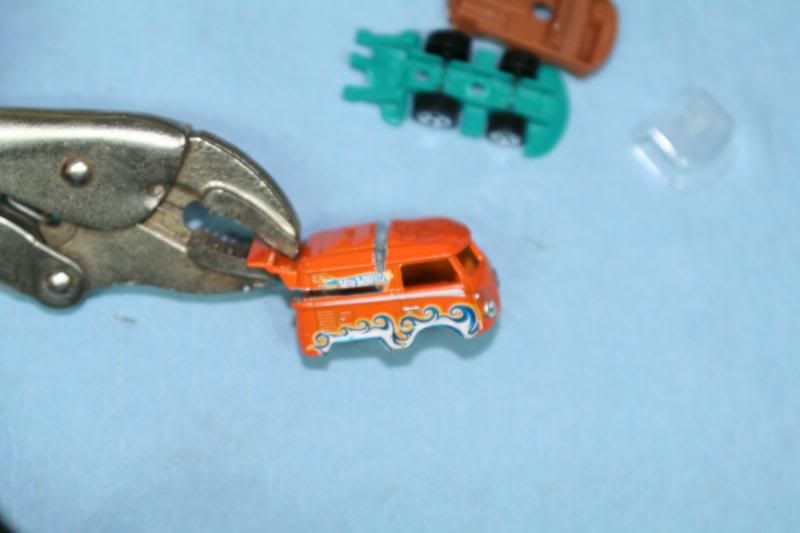
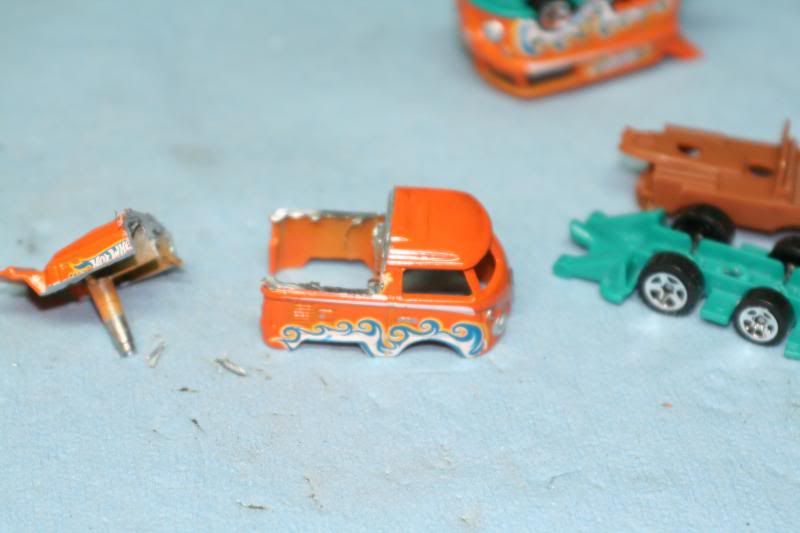
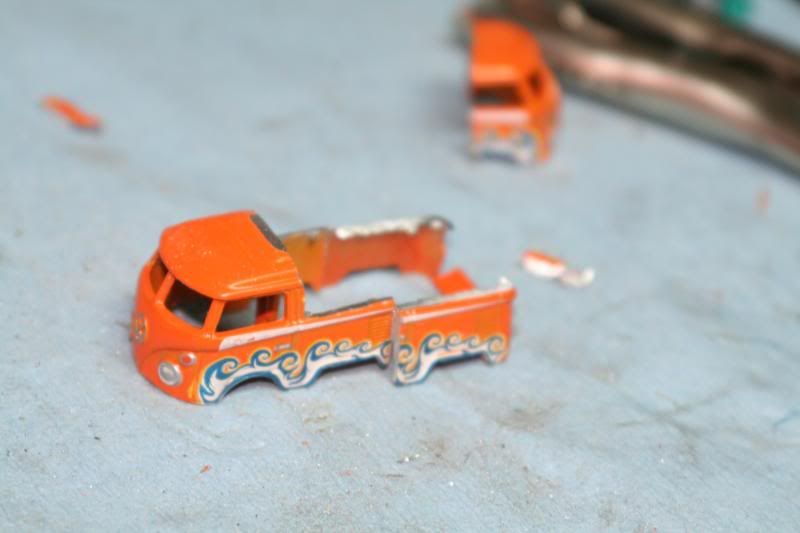
Get out the die grinder / demel and start hacking.


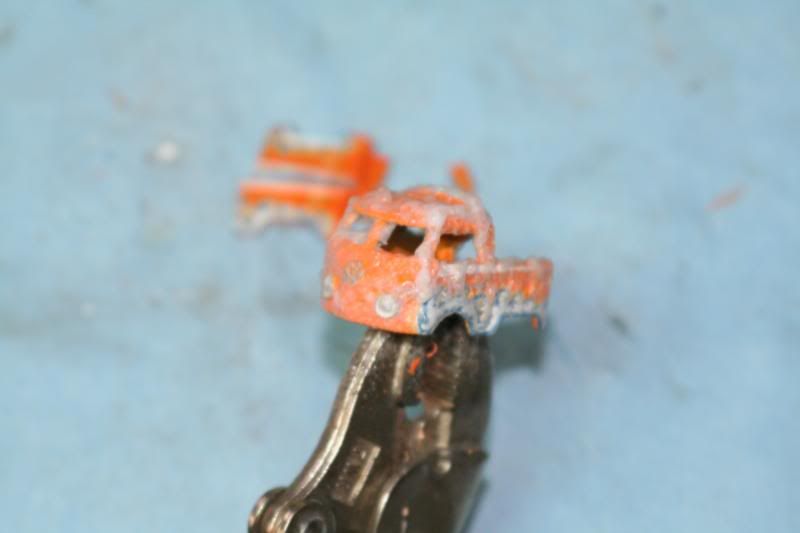
Strip the paint off. Just spray some paint stripper on there,


Let it sit for a bit, and wipe or blow it off.


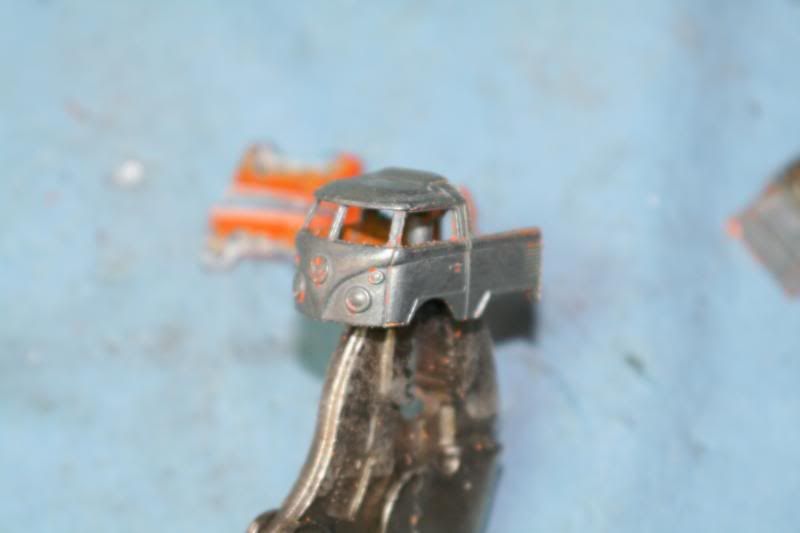
Took a few coats but it came out fairly clean.


Lotsa fun, eh? I plan on making a bed for it later and gluing it together, but I havent decided if its going to have dual rear axles or just a single.  Probably just a single- which means I have to fill in the middle wheel wells.  I'd have to fill 'em in anyways, they are just too far forward.

I really enjoy this kind of project-  simple, doesn't require a lot of work, and most of all (for me anyways), its one of those projects that doesn't require a whole lot of prep.  Grab a saw, and start cutting.  Hopefully it turns out right!  Course, now I'm going to end up spending hours and hours trying to get things just right only to screw something up and have to start over.  Part of the learning process!

Tuesday, April 16, 2013

Dan's Chariot #2- Materials Testing and Welding Practice.

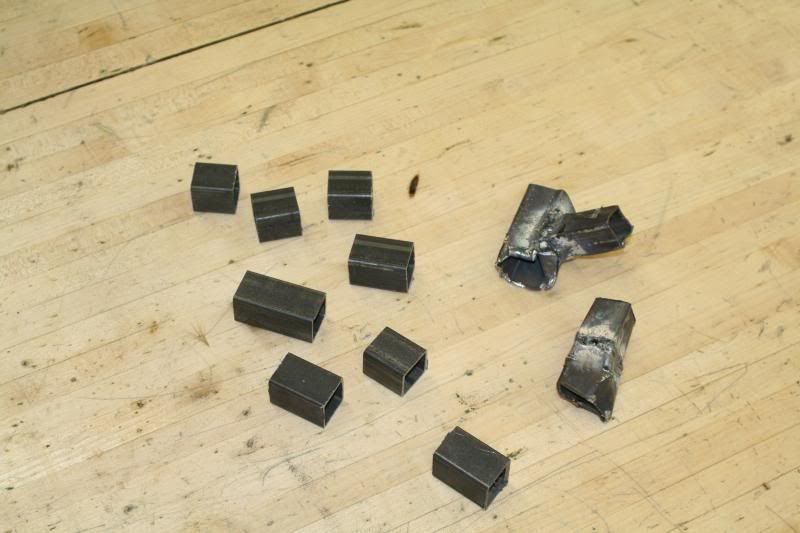
Did some "testing" today on the square tubing I plan on using for Dan's Chariot. Met with Dan's parents last week and they gave me the go-ahead and also got me some money so I ordered parts!  The tubing I have is 1" square, fairly thin walled pipe.  I knew it was strong, but when I dug it out of the pile it was a lot thinner than I remembered.  Even though it seemed pretty stout, I decided a few tests were in order.  Turns out I can stand on a 4' span of the square tubing and jump up and down with no bending. There is a little bit of flex but it's very minimal.  The axle part is only going to be 3' wide, so it should be more than strong enough to support all of Dan's weight and withstand the occasional pothole.  The tongue will be quite a bit longer, but I'm planning on balancing Dan over the axle as much as possible so their shouldn't be much tongue wieght.

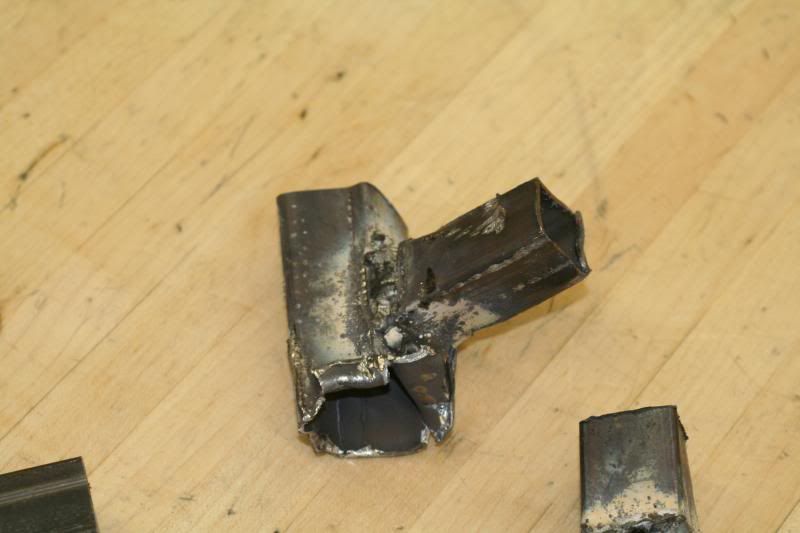
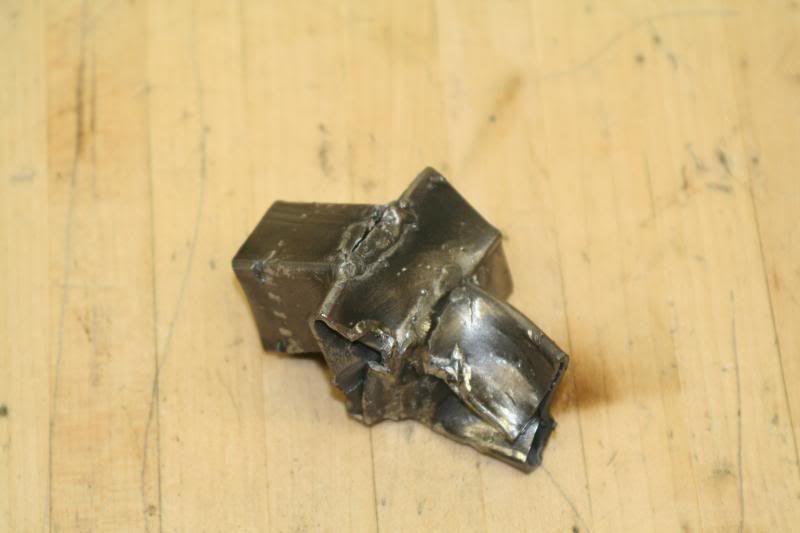
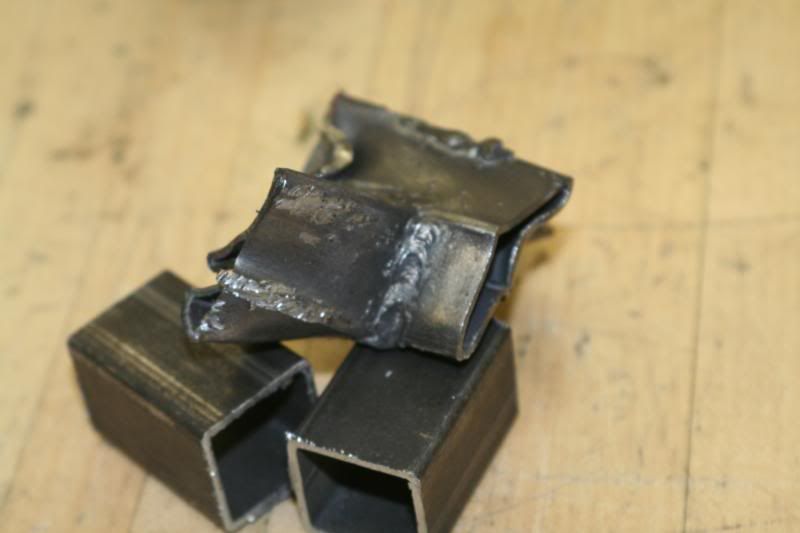
I also zapped a couple of quick, yucky, crappy welds. Then I proceeded to bash them to pieces with a hammer. Great fun after a day chasing students.

First attempt.  Still playing with the welder trying to get the best settings.  Just using my 110v Wire Feed welder (flux core wire) for now, but may do a couple of tests with the TIG welder later...


Second attempt.  Liking my settings a lot more, but I still have to move pretty fast or it'll burn through.


Managed to finally get one weld to break which you can see in the first pic on the second attempt. It was just plain a bad weld- and it only went half way across. If I can get them to all look like the last pic, I'll be happy. The tubing I have is a lot thinner than I thought it was, but I feel confident it is more than strong enough for my purposes, and my bash tests seem to imply that the (crappy) welds are MUCH stronger than the base metal.

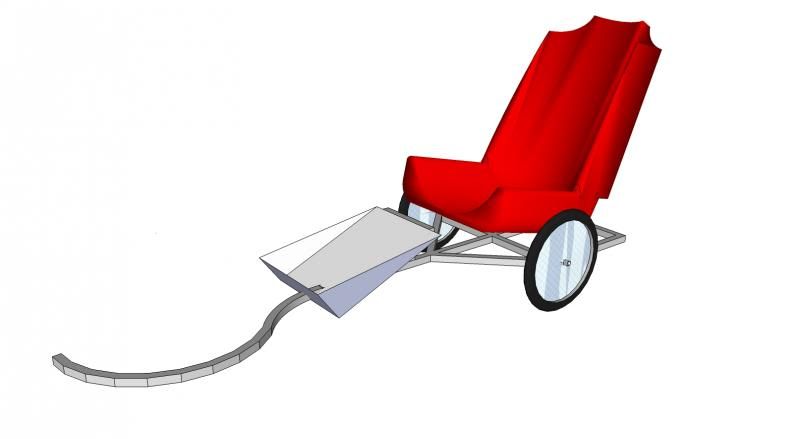
Got some tracking notices today, so the seat and wheel parts should be here early next week. Once I have the seat, I will start working on a mount for it and figure out exactly how the frame needs to be to attach it.  For now, here's the latest plan with relatively to-scale wheels and seat.

 photo danschariot-21_zps1244e023.jpg

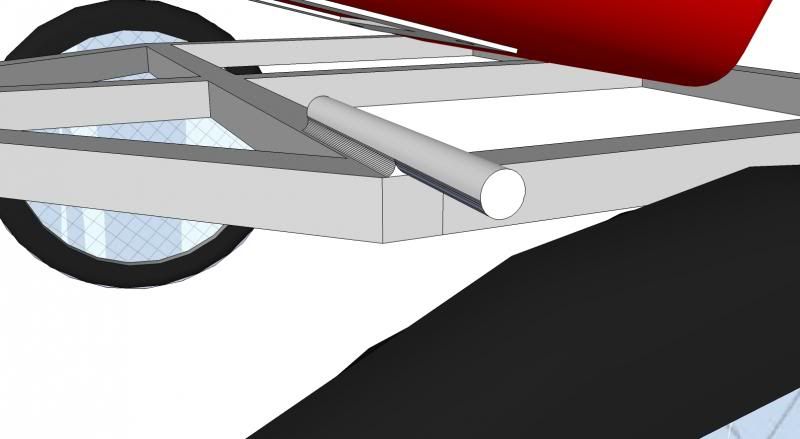
Current thought is to weld the axles to the frame cross bar, like this:

 photo danschariot-2_zps5cee6b10.jpg

But I'm not sure I like that. Will probably do a few test and try and break one or two just to see how strong that is. I'm a little worried about welding a solid chunk of steel to a much thinner piece. Have a few other ideas, we'll just have to see what works!

Sunday, April 14, 2013

Ruminations on really good teachers.

Had a guy contact me through the interwebs about teaching.  From time to time I get questions like "How on earth do you manage to do what you do without killing anyone", or "What on earth possesed you to be a TEACHER?!", and probably the most common, just the plain old "WHY?!".  Good questions, which I really don't have a great answer to, other than I love doing what I do. 

Being a teacher is incredibly demanding. Not necessarily physically- although I vividly remember my first year teaching and being physically more tired after a day teaching than I was after spending a 12 hr day building a brick retaining wall by hand in near 100 degree temps.  Teaching demands near 100% attention 100% of the time.  Teaching demands that you are ready, willing, and able to do what is asked of you not just by the students, but by their parents, your administrators, the community, the state, and the federal government. 

I still consider myself a total and utter noob at the teaching game, but I feel like I'm starting to figure some things out.  I work with an incredible group of people, all of them having great things to share / show / teach me about being a better teacher.  Over the last couple of years I have been starting to notice things that I feel make a person a "good" teacher.  I'm not going to try and define exactly what that means.  I'm not going to try and classify teachers into 27 different categories- I'll leave that up to the state and their "merit pay" scale. 

Lately, I've been jotting these things down and have made a bit of a list of what I feel makes a person a good teacher.  This list is by no means finished or should it be considered exactly what you should do to be the perfect teacher.  That's part of teaching- the only constant is that things change.  Without further ado, here's my list.


A good teacher:

Is prepared.
Knows and ENJOYS their subject.
Understands and can relate to their students and can teach on their level.
Is willing and able to better themselves.
Can work well with others,considering all side of a situation.
Always looking for ways to make things better, IF needed.
Lives by the KISS philosophy (Keep It Simple, Silly).
Is excited about what they do.
Is happy.
Can smile.
Will change things when its obviously not working.
Is flexible in day to day plans.
Is someone people in the community can look up to.
Is organized.
Is positive.
Is patient.


So there you have it.  A lot of those items may not seem to make much sense, and I could go into a lot of detail on each one of them.  For example, the smile thing-  I've heard from various different places that a teacher shouldn't smile at students until after Christmas or some such thing.  If you can't smile at your students, it might be time to rethink things a bit.  Some of those things may not seem to have anything to do with teaching, but students can tell if you are happy or not, or if you like what you are doing, and it affects how they percieve your class.  Do I claim to be able to do all of these things?  Absolutely not. 

That's my 2 cents on the subject, so take it for what its worth.  Thanks to all of my colleagues and friends both at home, school, and around the world for their great examples and words of wisdom as they continue to hopefully help me become a "good" teacher.

Friday, April 12, 2013

Road Bike Love.

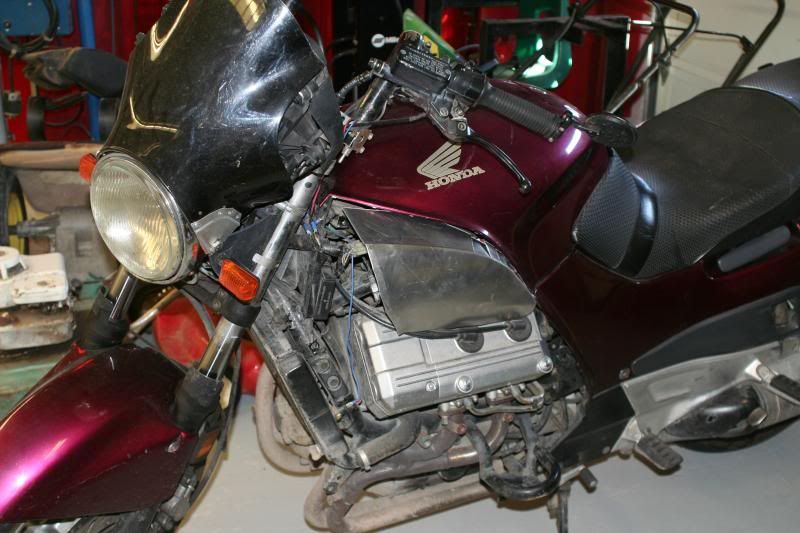
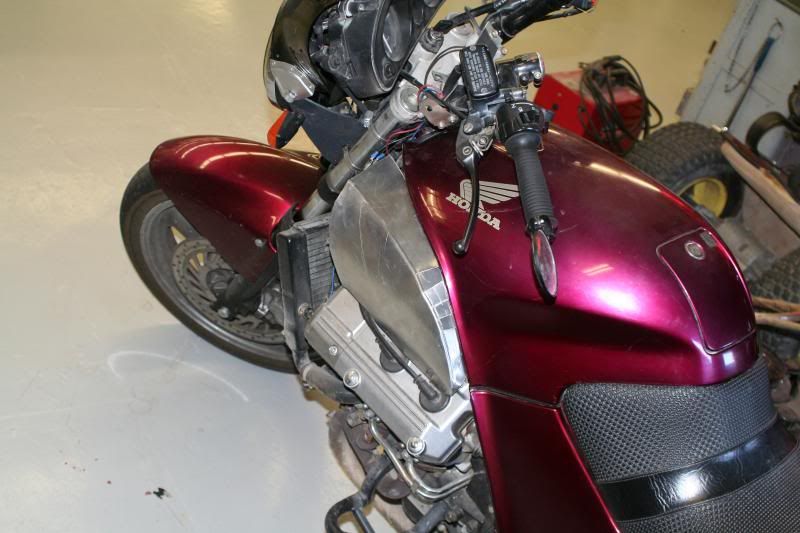
Been riding my ST1100 for a couple of weeks now, and finally had some time to test out an idear I've had for side covers.

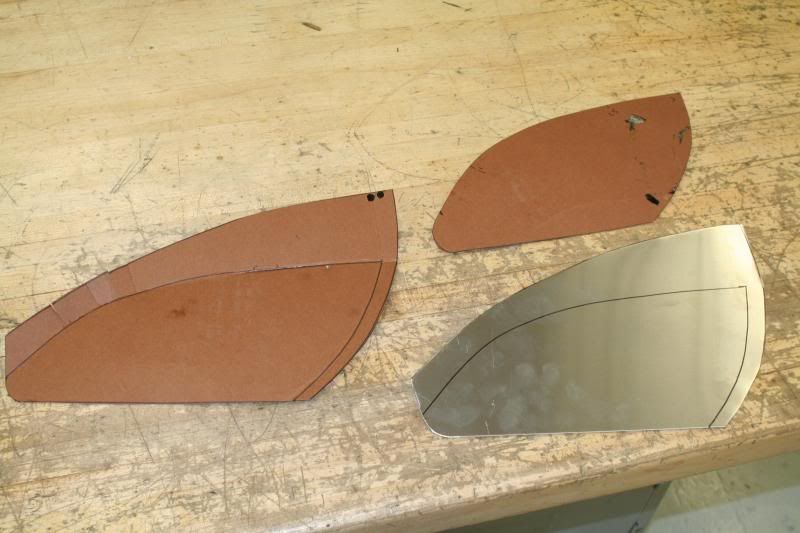
Cardboard mock ups.


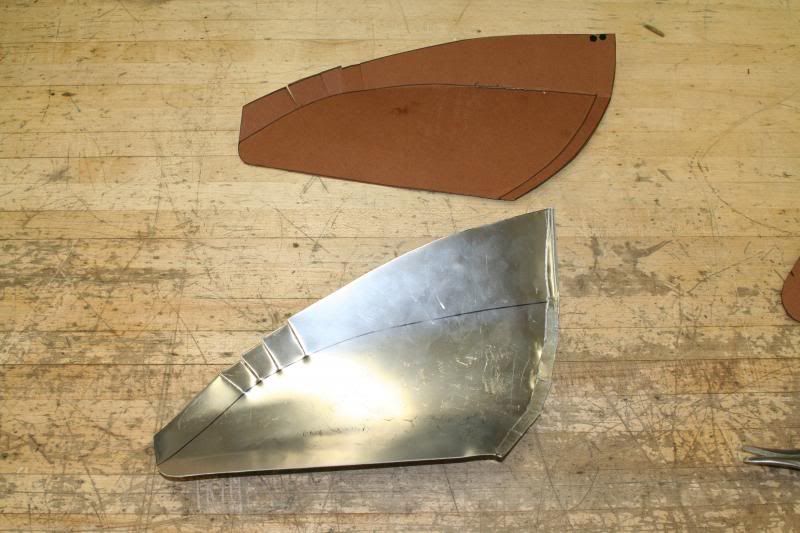
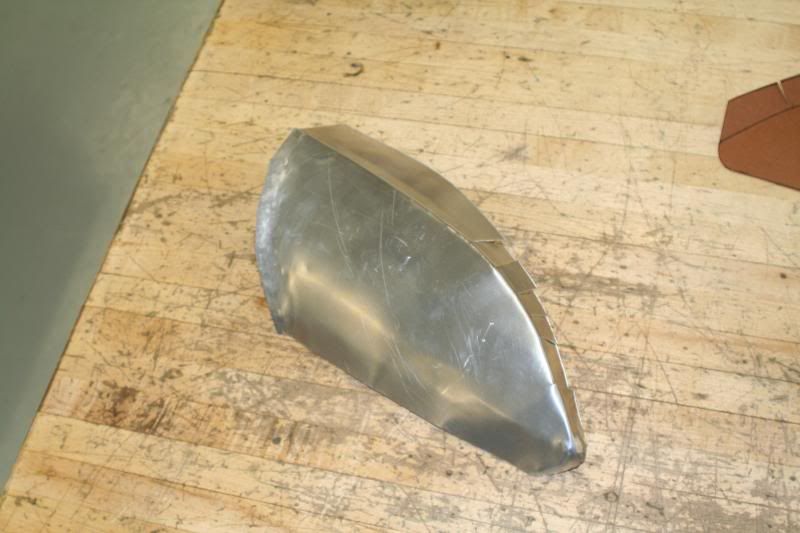
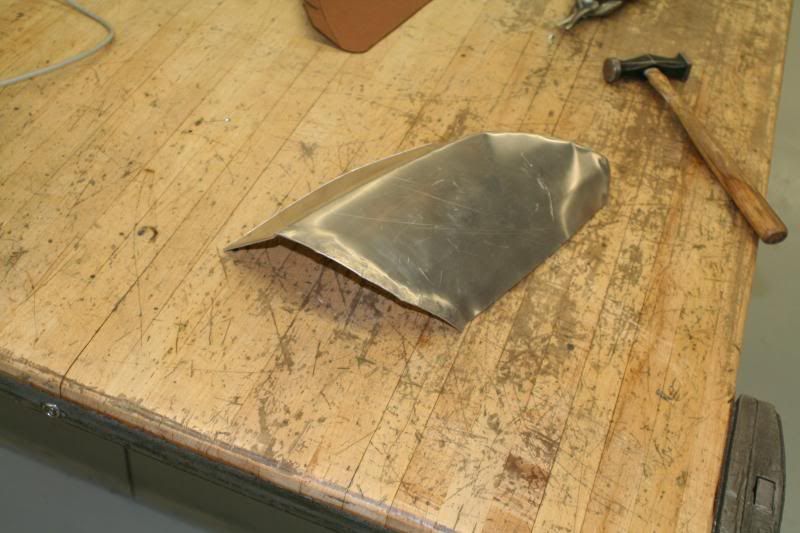
Cutting and bending. I love working with aluminum- soooo eassssyyy to bend. Now if only I was good at it.


Test fit. Not quite what I had pictured, but it will work. I think on this side I'll have to make an "inner" cover to hide just a bit more, probably paint it flat black.


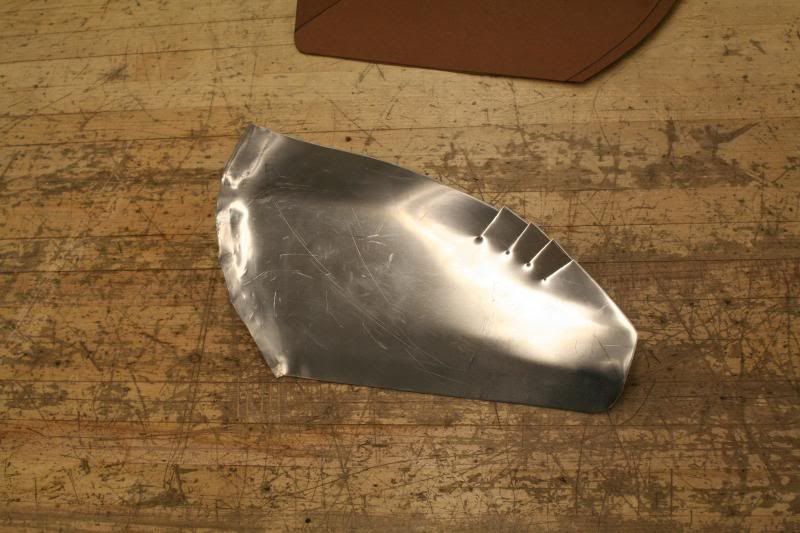
Little more pounding and shaping done. Man, I wish I had an english wheel..


The hard part is going to be mounting them.   My poor old beater has a titch over 54,000 miles on it, so I set an arbitrary goal to put 6,000 miles on it this summer, putting it up to 60,000.  Thats quite a stretch for me- seems like I usually average 2,500 to 3,000 miles a year on bikes.  Have a few trips in mind for this summer but summer break is already starting to get jam packed with stuff. 

On the project roster of things that need to be done BEFORE summer gets here- the Suburban pop top, Dan's Chariot (the handicapped bicycle trailer), and about 5 small engine / mower / atv projects for various people.  Ug.  Almost have to say I can't wait for school to start next year. 

On the bright side, spring is in the air and its nice enough outside to GET THINGS DONE!

Thursday, April 11, 2013

Motivation.

I've hinted a few times over the last, uh... 3? years (wow, kinda embarassing how long this "summer project is taking) about a project I've been working on.  Milly, my trusty RUSTY old Ford has been undergoing a major overhaul.  I've stalled out a time or two but I keep going back to it.  At this rate, I'll have it done by April!  2017.  Anyways, last fall I swapped a bike for a set of brand new tires and rims.  My brother just got finished mounting them for me.

Caution, do NOT try this at home.  I'm suprised he still has his eyebrows.


He survived, and so did my tires. Lug nuts showed up today so time to do something.

Remove these ratty old shoes.  When I bought the truck, it had FOUR DIFFERENT tires on it... 3 of them with good tread and one that was about 2 miles from litterally rotting to pieces.  I found a replacement for that one and drove it all winter.


Mix up a quick batch of awesome,


Dad gum, them's look good!


Hoping that having to look at this is going to motivate me to get the motor stuffed in and driveable!


Only got 3 tires on, going to have to drag the sleds out of the way to get the last one on. Ah well, not too shabby. My brother forgot to send me the center caps anyways, and the hubs are going to need to be polished up a bit to match the new shoes. REALLY hoping to get this thing together this summer, even though the first month of summer break is pretty much booked up solid NOT counting the back order of neighborhood bicycles and lawnmowers I need to fix. 

On that note, only ONE AND A HALF MONTHS 'TILL SUMMER!

Wednesday, April 10, 2013

Acetone Fuming or Vapor Treating 3D printed ABS parts!

First read about this over at handverker.  Hadn't heard anything else about it so I did some more digging and tried my had at "Acetone Fuming". Basically, you let the fumes from acetone melt the printed part a little bit to smooth things out.

First attempt involved a tupperware container, some acetone, and a few hours of soak time. Didn't work out so well- the part was fairly thin walled and it just crumpled up.

Second attempt I tried it again the same way on a thicker part... but gave up after about an hour.

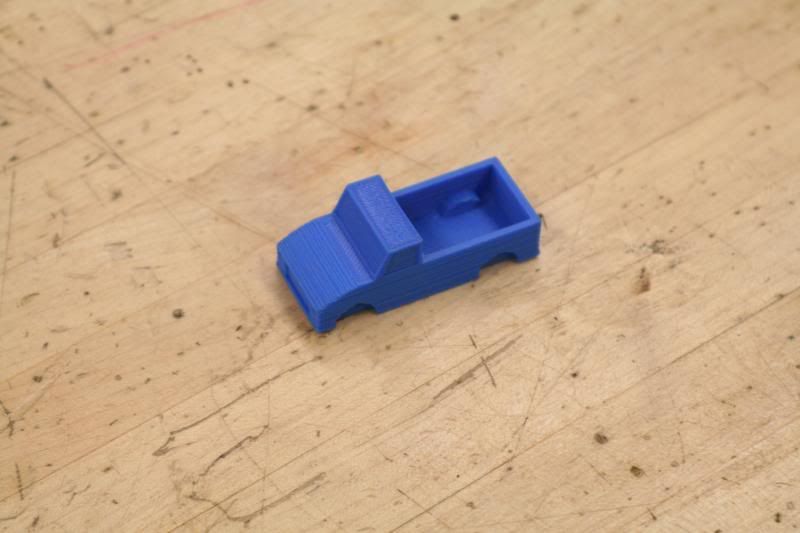
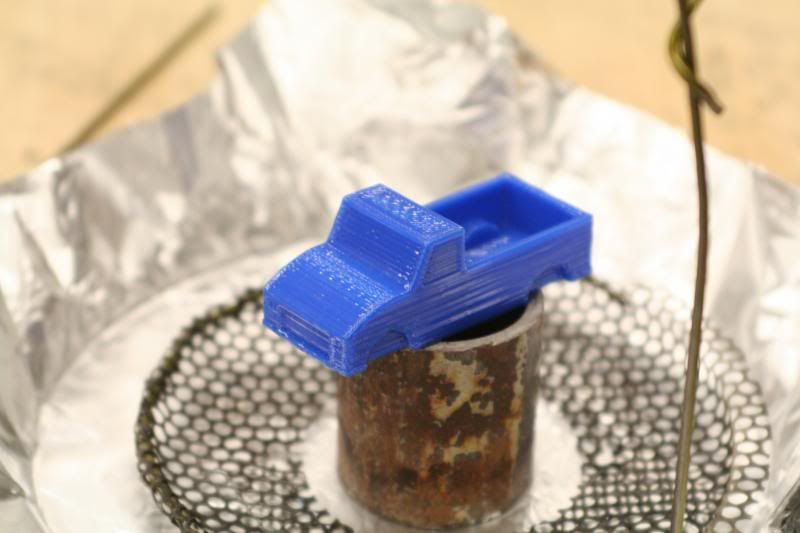
Part:


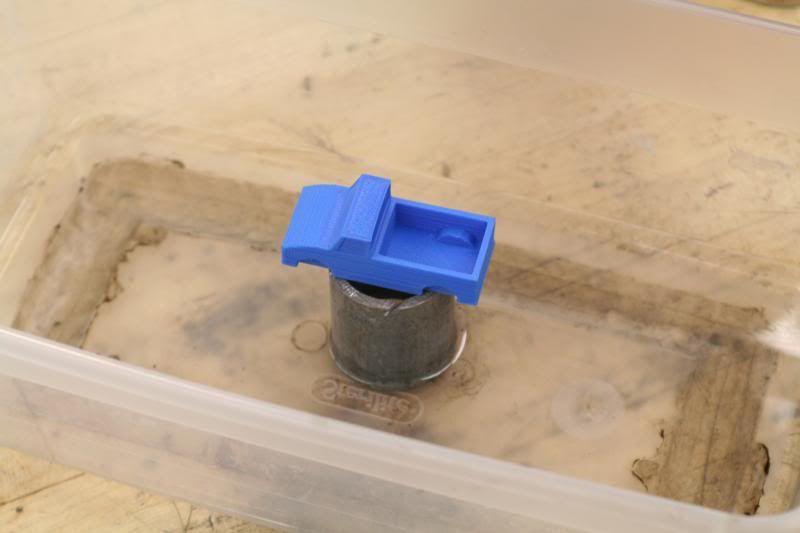
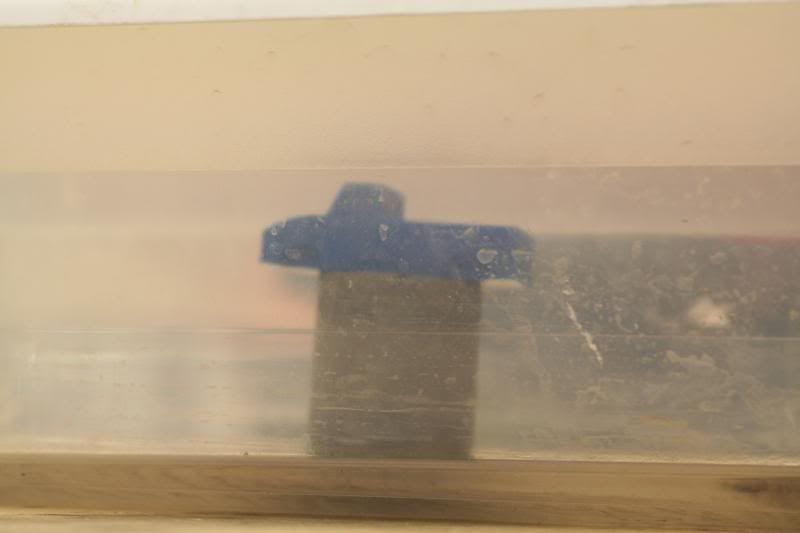
Fuming set up:


Did a little more research and learned a few more things. HEAT helps this process out a LOT. Speeds it up and seems to make the whole part flow out more evenly.

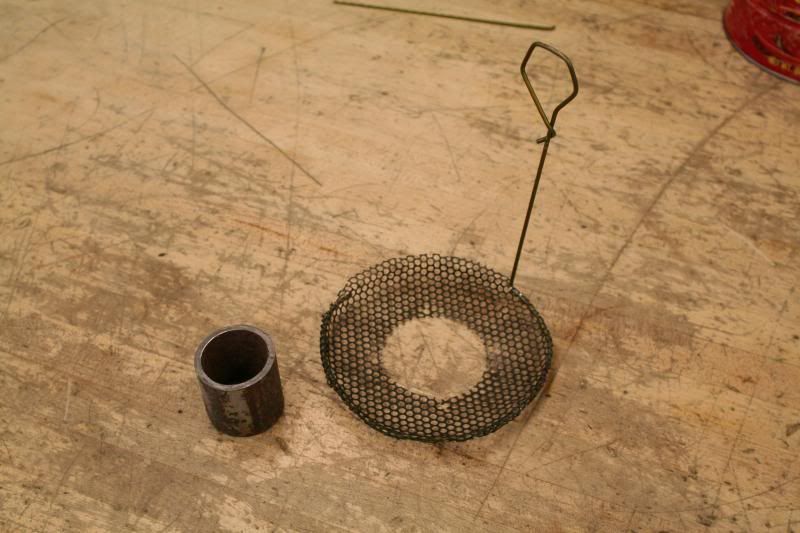
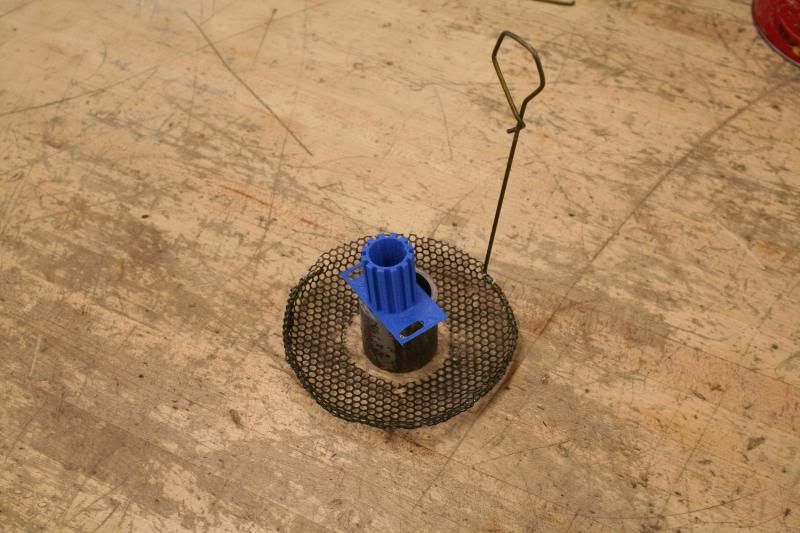
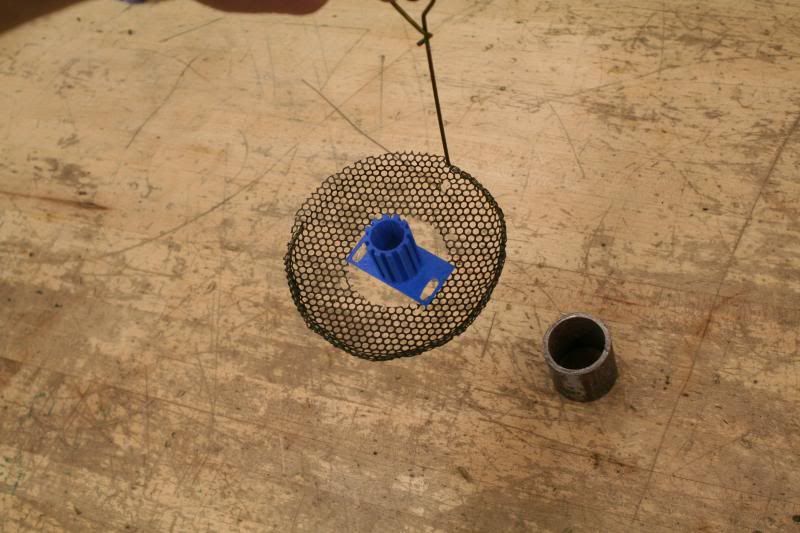
First step was to build me a catch plate. Took an old hanger and a grass screen from a Briggs & Stratton lawnmower engine, and bent 'em up.


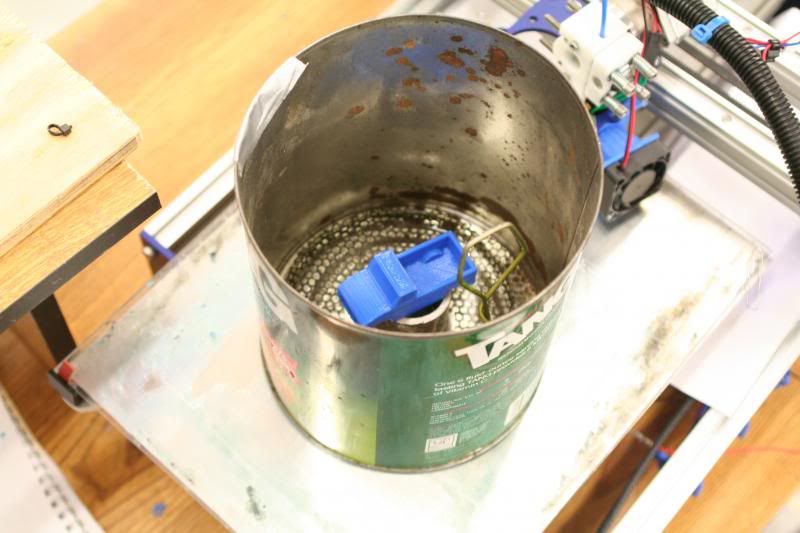
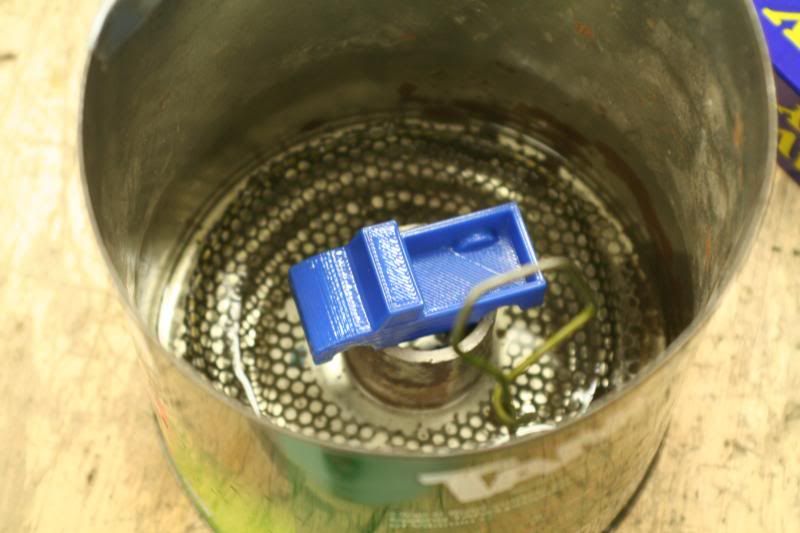
Theory being the part will sit on a piece of pipe up out of the acetone, the catch tray will sit in the acetone until I'm ready to take the part out, like so.


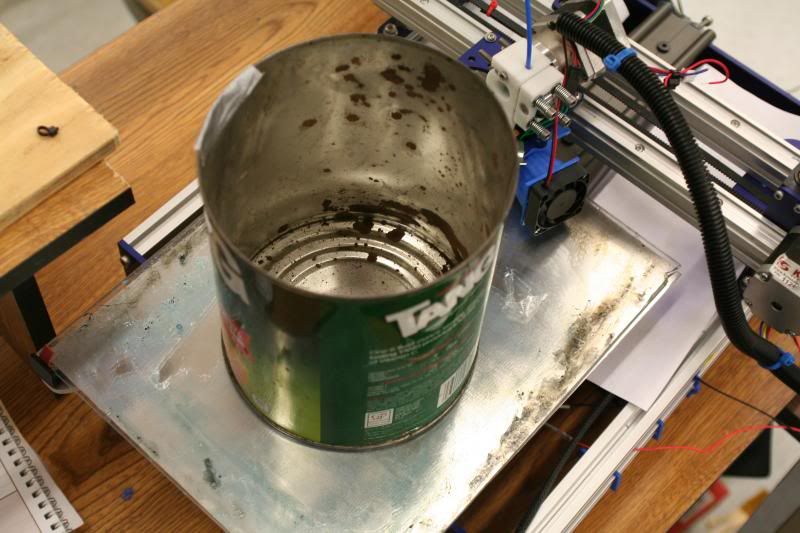
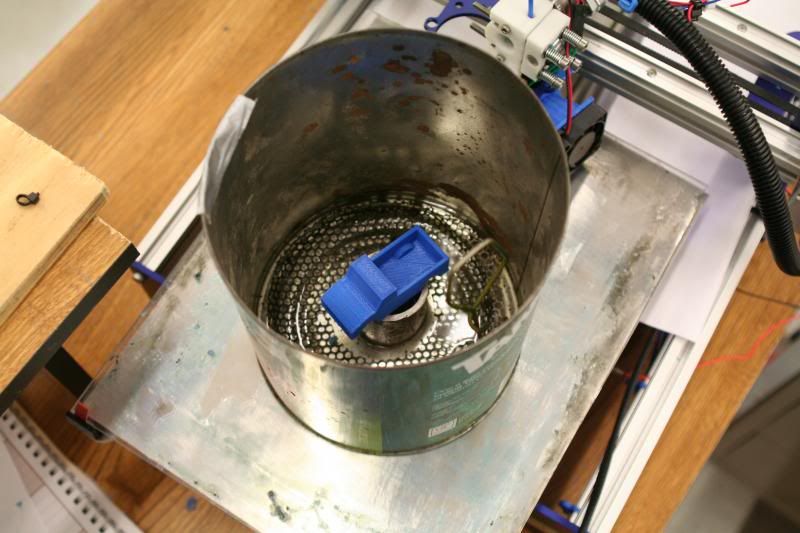
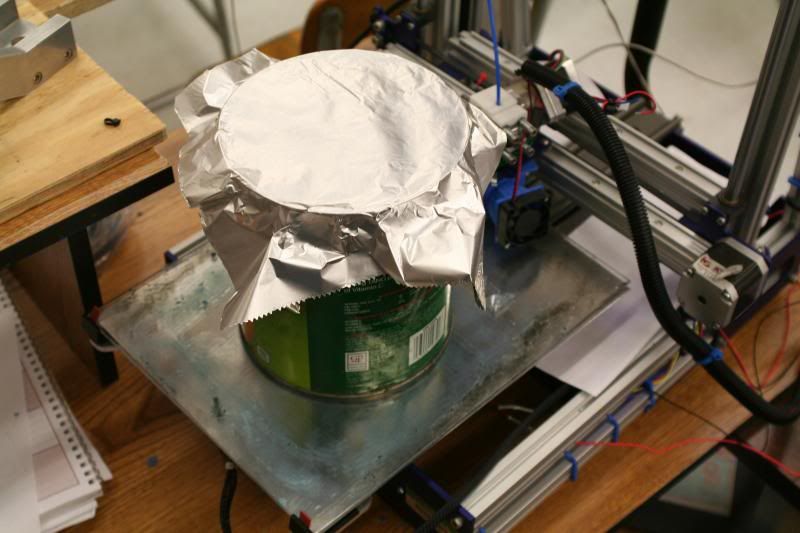
Found an old #10 can, put maybe half an inch of acetone in the bottom, and put the whole thing on my printer bed. Turned the bed heater on and set it to 90 degrees C.


Once it was warmed up, I set the pipe, catch tray, and part in there.


Quick cover out of tin foil.


It was weird, you can't see anything but when you stick your hand in there you can feel instantly where the fumes are- they condense on your skin and your skin gets cold.

10 minutes in.


I probably should have heated it up more before I put the part in. Eventually it got warm enough that the acetone started to "boil".

About 20 minutes in.


Short vid of the fuming:


Part out, after roughly 25 minutes of cooking and 15 minutes of "cooling down" in the can.


Another 10 minutes and the part has started to get harder again. Still soft enough that if I squished it it would leave finger prints.


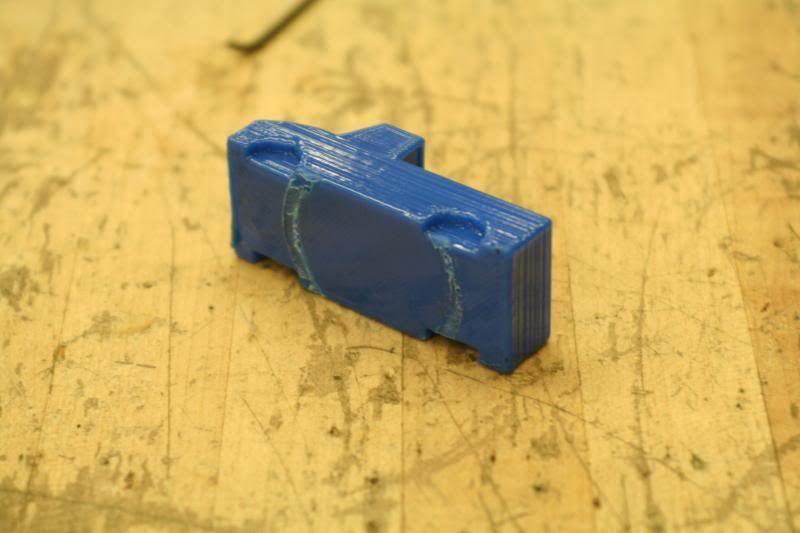
Bottom, where it sat on the pipe. I have an idea for this I'll show you in a bit...


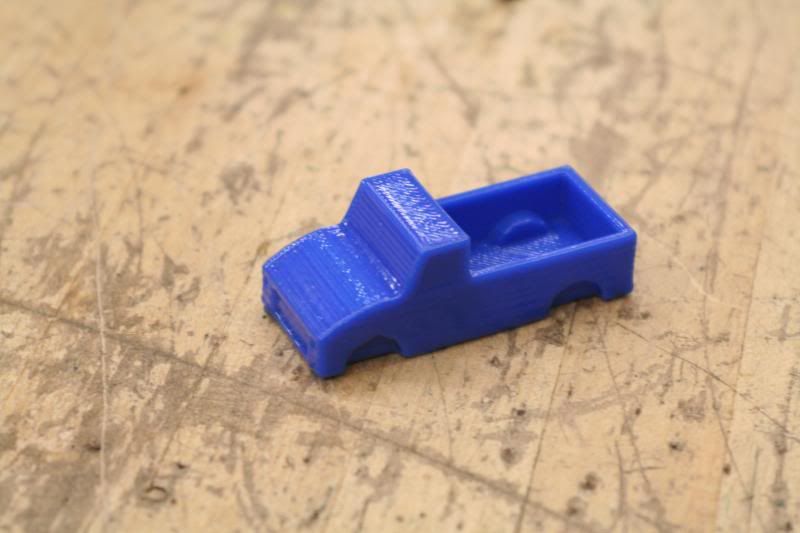
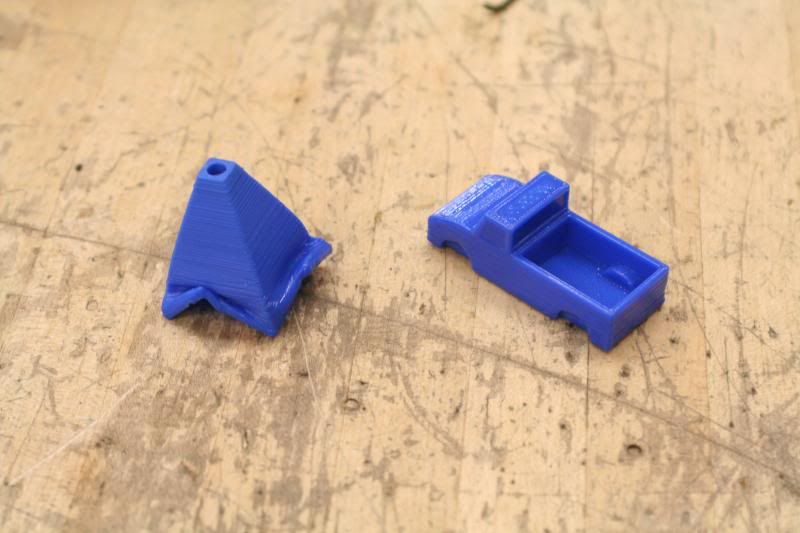
Finished part on the right, first attempt on the left. Came out pretty nice! The part is MUCH smoother and a whole lot shinier.


I think it would work a lot better if I had let the acetone heat up more before I put the part in- the bottom half looks really good, the top half didn't get as much exposure and it's not as smooth.