
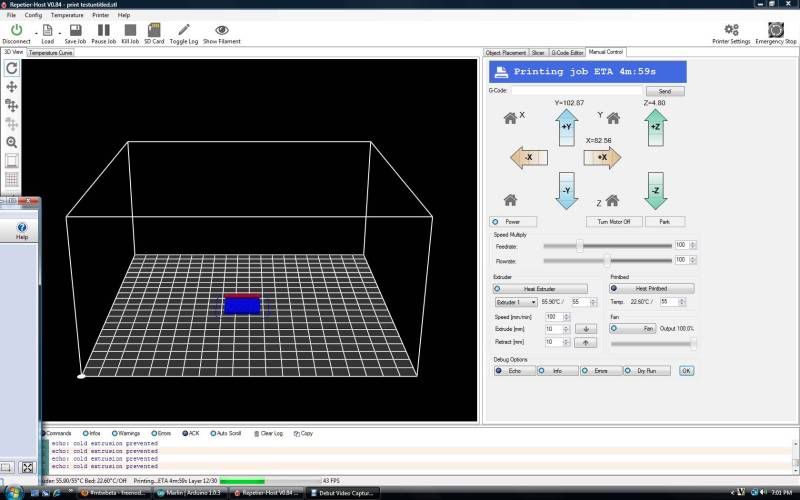
Then you can start playing with things. If motors go in the opposite direction than what they are supposed to, its very easy to simply turn the connectors around. FIRST POWER DOWN the printer, as unplugging a motor while its on can blow the stepper driver. It's kinda fun to push buttons- here's a screen shot of the temperature curves using Repetier:

Once you have a handle on how things work, lets try a dry run! I set it up to think it was up high in the Z and roughly centered on the X and Y so that if it decided to move a long ways I would have enough time to stop it before it crashed. I also left the X and Y belts loose so they would skip if it did crash... I quickly drew up a simple shape in Sketchup and ran it through the differen programs to get it ready for the printer.
The software even draws it out for you while it goes. Dry run successful!
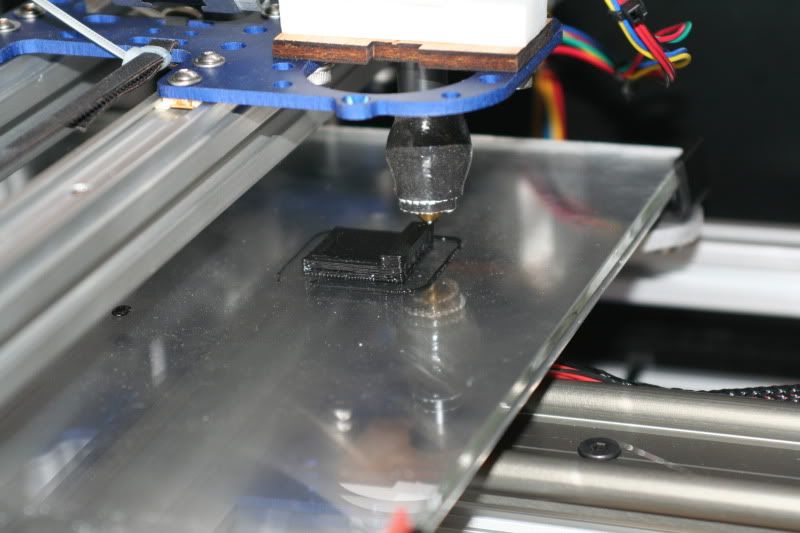
Ready to melt some plastic!? This is a little more tricky. You have to get the plastic fed into the extruder- had to loosen the clamps on the side, heat the nozzle up, and push the plastic through until it started coming out the end. Clean up the mess. Reset the home position, and press PRINT! It will take a few minutes for the hot end and the bed to reach operating temperature, and then the printer does its magic.
In progress.
Finished and cooling.
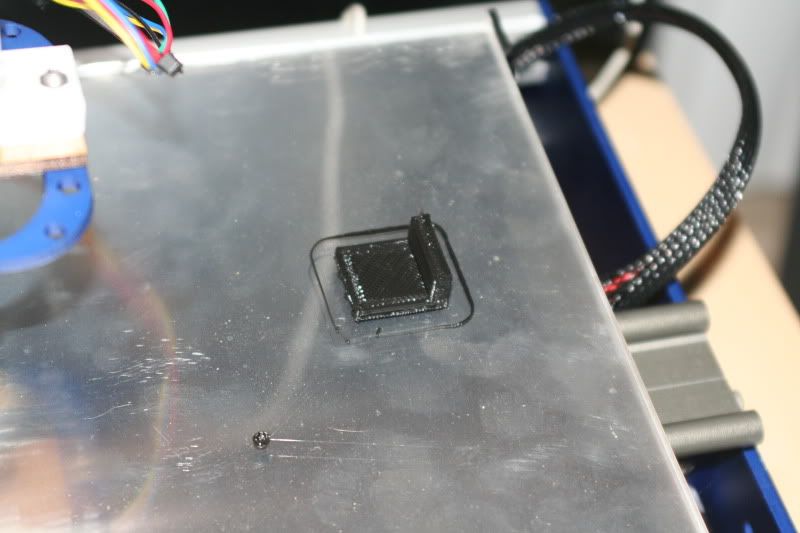
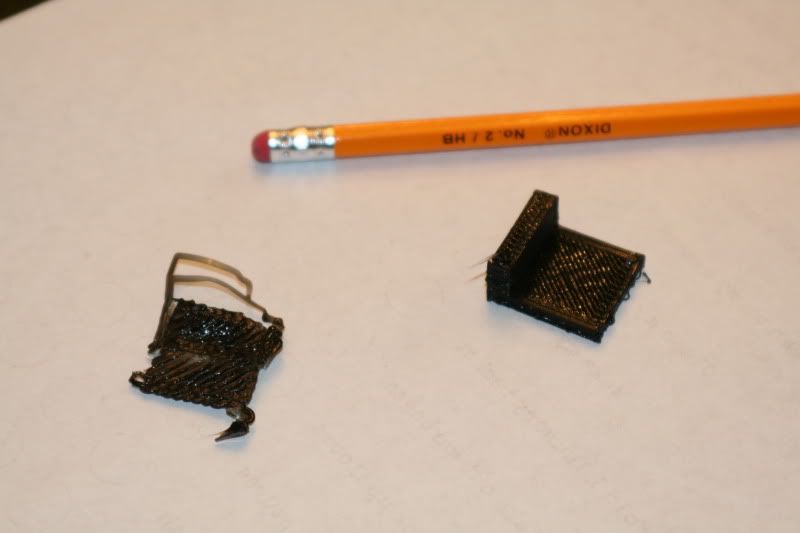
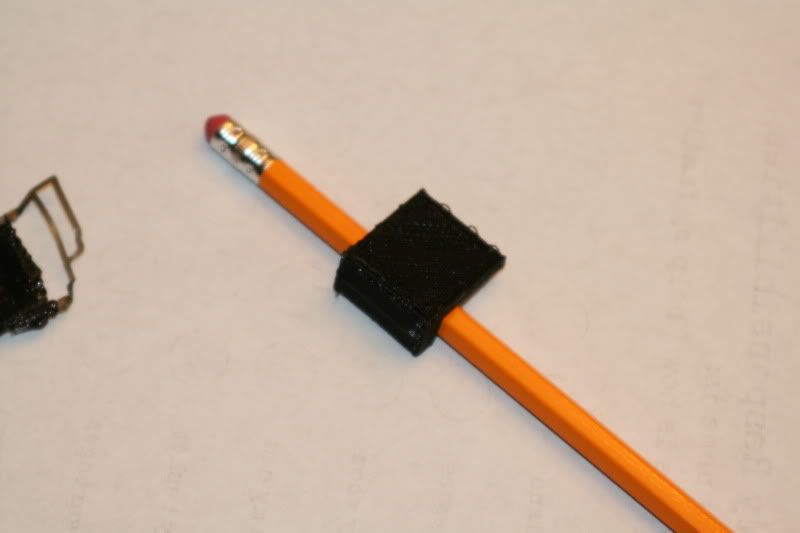
The real first print on the left... had the nozzle too close to the glass. Second one turned out pretty good!
Looonnng ways to go still, but at least its functional! I spent some time during this process to adjust things- it also took me a while to research and then execute setting the home position. There was also a trial and error process involved with getting the nozzle the right height off of the glass- which would not be there if I had the endstop switches. Again, I think this process could have been a lot faster, but that's the way the cookie crumbles. I do plan on doing a series of posts on how to setup, calibrate, and run the machine so hopefully those in the future won't have to spend so much time researching things like this!
Time Spent on this step: 2 hrs
Total time so far: 16 hrs. 15 min.
No comments:
Post a Comment