
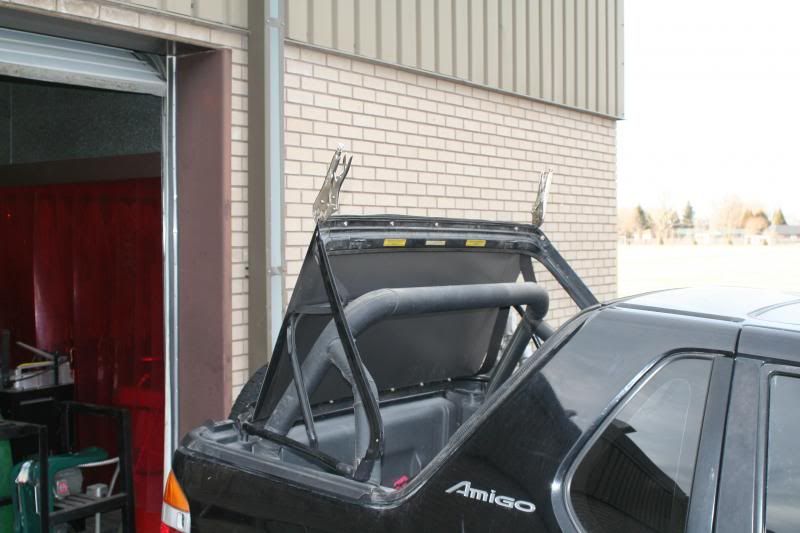
Anyways, my two students wanted to do a few different things. One wanted to tune up her bike. No prob, easy peasy. Got that done. Her son (my other student) wants to build a hard top for his Isuzu Amigo. Errr... Okay. No idea how to do that but they seemed willing to experiment and were okay if it doesn't turn out, so here we go...
LOTS of figuring and head scratching.
I'm pretty limited by the size of my tools, but we picked a route to go and we're giving it a try. I've got a 24" shear and a 24" brake, so anything over 2 feet is out if it needs to be done "in house".
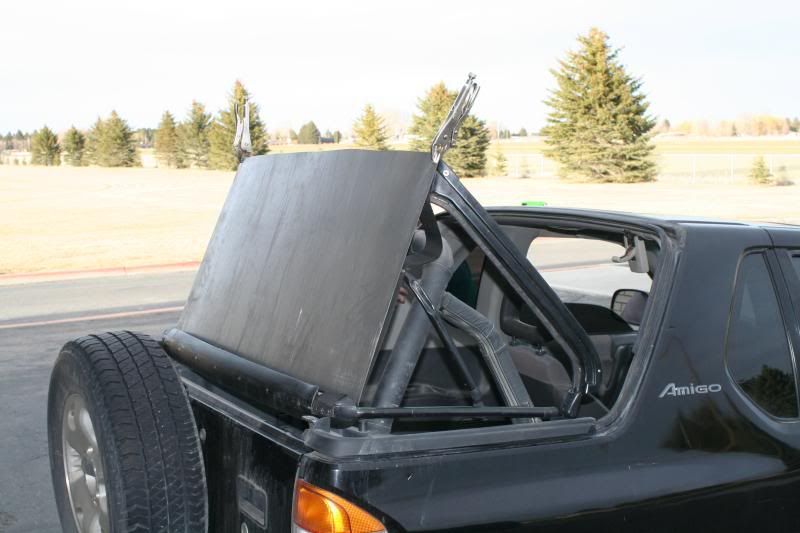
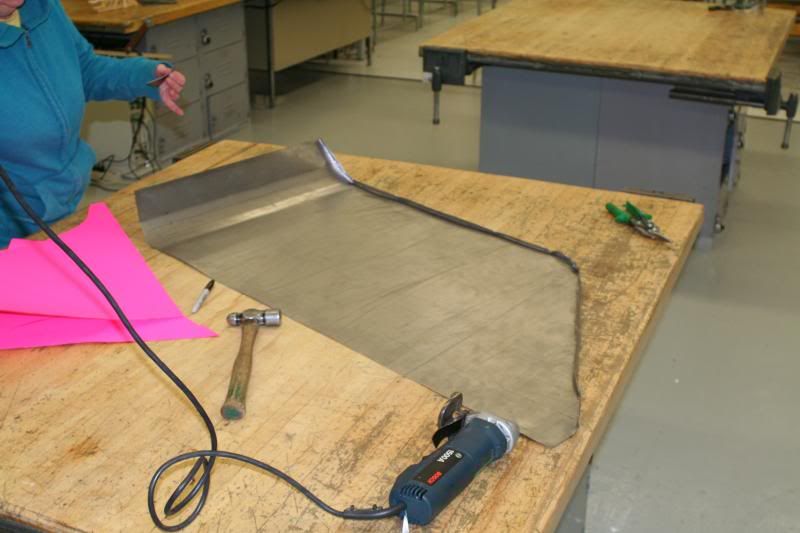
We spent a bunch of time with a marker and some paper to trace the curve and transfer it to the metal. At the end of the evening, as we were putting on the soft top, I picked up the side window and realized it ALREADY has the perfect shape and we could have just traced it. Ah well, live and learn.
Got to use my custom built radius fingers! Made 4 radius bends to get a much larger curved bend to match the corner around the back.
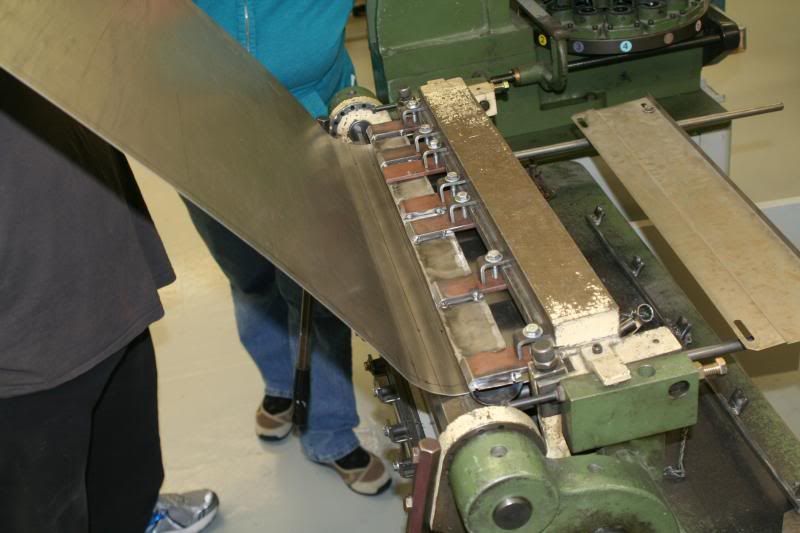
Using the edge former again. Glad I've spent some time experimenting with it, but I still feel like it can do a lot more than I know. Need to read into that.
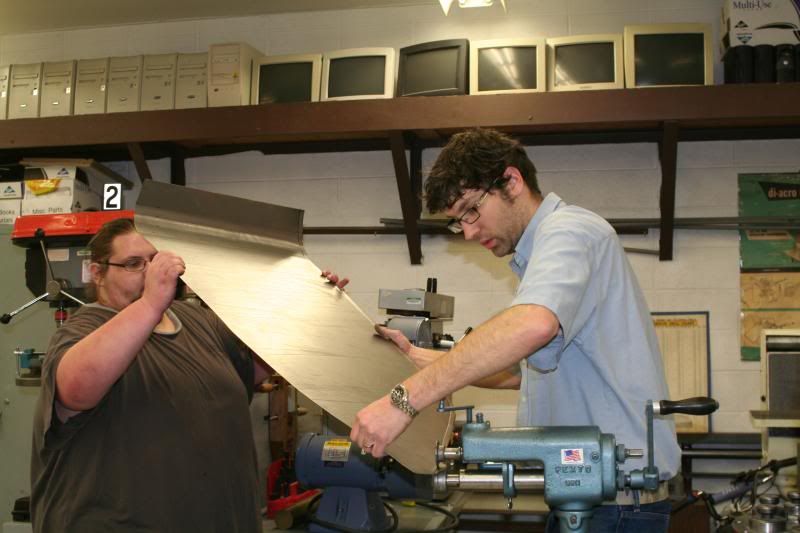
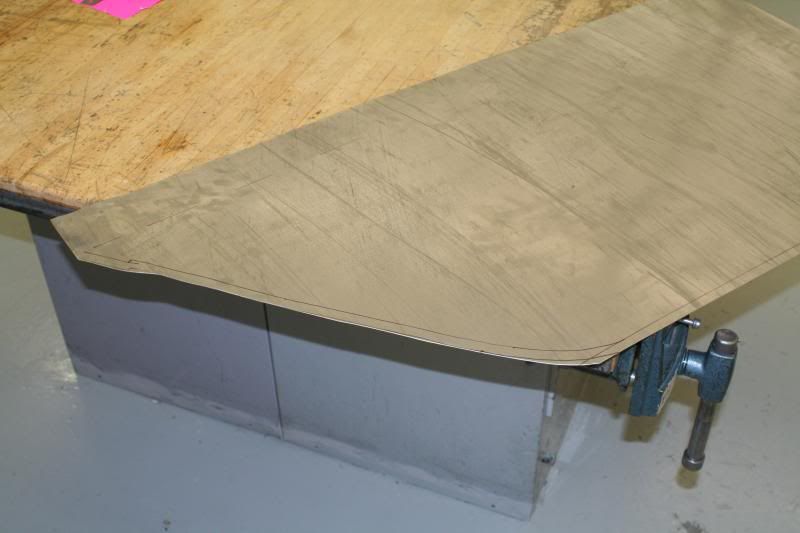
One side down. The top edge of the side will be folded over and the current plan is to rivet the top to the side along that bend. Obviously, that means the top back corner will need trimmed still, but the lower edges seem to fit well and the edge we rolled on them even snaps in to the existing frame fairly evenly!
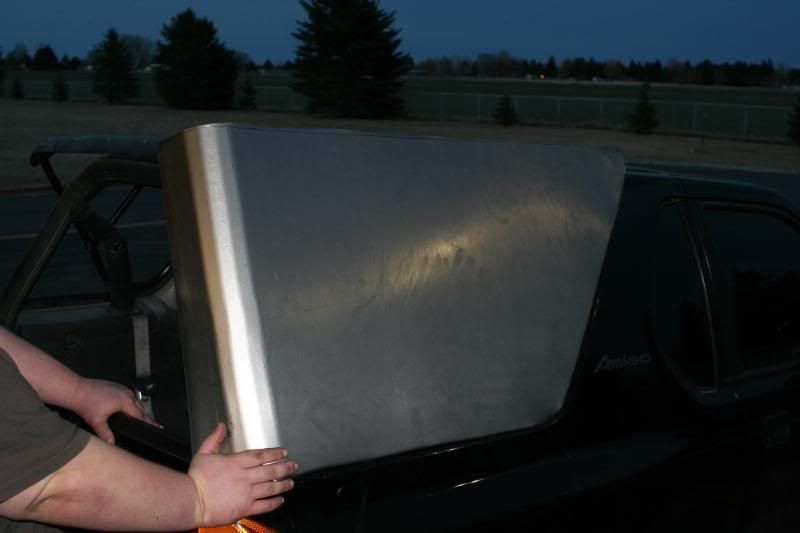
One side "done". Still need to clean up the rolled edge and trim a few parts off. Originally the plan was to make the top in two pieces, then two sides, and then a back piece. He's going to contact some other shops and see if he can find access to a larger break so we can make the top and back in one big piece, then rivet the sides on. More to follow after class next week!
No comments:
Post a Comment