title

Motorcycles, tools, and garages! A little bit of everything mechanical and technical.

Wednesday, May 27, 2015

Mendelmax 2.0 - 3D printed ball cap, letting slicer generate support.

Tried something new today. Let Slicer generate its own support material just to see how it would work. A student wanted to try making a hat, and I thought that was a good idea so here is my version. Pretty thin shell, printed in PLA. Really need to get back to ABS.

Took about 6 1/2 hrs to print, and without the support it probably would have taken 4.


First part bridged with the support material.


Taller,


and taller,


aaannnddddd TALLER,


Done.


Print came out pretty decent. Still trying to get a few more things dialed in but I'm happy with the quality.


The support material was a PAIN to get out. Still have some cleanup to do too.


Ended up cracking the shell in a couple of different spots trying to get it all out.


But hey, IT FITS!!!


Now to make a brim. This one's a bit small but I figure once I get everything figured out I can scale it up or down in Sketchup!

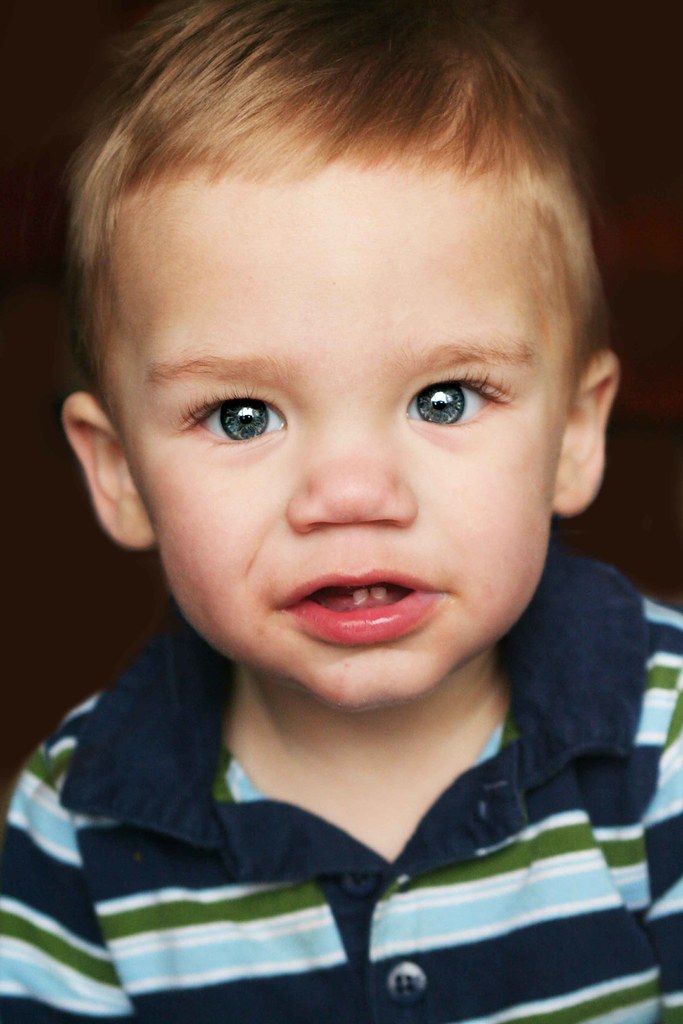
On a side note, as you can tell the hair is getting just a *tad* long...  The day I shaved after being in the play I was informed by my students SEVENTY TWO TIMES that I had, in fact, shaved.  Going to put the haircut off a few more weeks so's I don't have to endure that again!

Sunday, May 24, 2015

Throw Back Sunday

Eyeballs...  Mrs. Punch has done some incredible things with photography but I've always loved what she can do with eyes.

This one is I believe our youngest son, great color and clarity.  Shes got a few more like this on her flickr page.  If you look close, you can even see the old walnut tree in our front yard!

For reference, here's the rest of him:


Pretty goofy smile but gotta love those eyes!

Thursday, May 21, 2015

Sixth Grade Shoe Day.

My son had to "invent" shoes for Sixth Grade assignment. He got to my shop after school, I left for a meeting, and here's what he came up with.  Should have taken more pictures but I wasn't even in the room for most of his build!

One minor problem here... Can you see it?


It was pretty funny. I was out back observing the woods teacher and some students finish up for the day on a shed they are building. He came out and said "I've got 2 left feet"... Took me a minute to figure out what he meant!

I drilled the rivets out for him and he finished them up.


They have to wear them all day tomorrow at school. Should be interesting to see how well they hold up! I see a couple of potential fail points- the rivets holding the leather together are probably going to pull out but he'll live and learn.

Only one smushed finger out of the deal too!


I'm pretty impressed. I was worried he was going to cut himself on the metal, but he cut out both soles all by himself with the aviation snips. I sanded off the edges but other than that he designed and built them all by himself out of scraps from the shop.  Took him maybe an hour yesterday to get the soles cut out and he spent almost 3 hours tonight cutting leather, punching holes, and riveting it all together.  I think it took him a while to figure out a latch mechanism on the first one, but the second one seemed to go faster.

Sunday, May 03, 2015

Custom Hot Wheels- Lickety Split #7

Getting down to the wire, and I needed pics. Had a backup plan and its a good thing too because I wasn't able to get any natural lighting for my pics. Saw this on instructables and copied it- my own light booth. Hacked up a couple old poster my wife made for something or other and made this:


Add a roll of LED's from ebay,


And there you go!


Few minor details to finish up and then its picture time!

Few more details to the interior.


Couple of attempts at making the fin, and that lump will become the scoop for the supercharger.


Wheely bar.


Almost done!


Just have to take the final pics and make some sort of collage.  Well, I may have to add just a FEW more details, but this is basically done!

Sunday, April 26, 2015

Throw Back Sunday

Continuing with the theme... Going through Mrs. Punch's old flickr account has been pretty fun.  Tons of great memories, of which I will continue posting each Sunday. 

Here's another of my favorites.  She did some background editing to this one and I love the effect.  I think I need to blow this one up and hang it on a wall (or at least in the garage if she won't let me hang it in the house). 


Bonus points if you can identify the tractor.  Hint: the paint aint John Deere Greene.

Saturday, April 25, 2015

Custom Hot Wheels - Lickety Split #6

Back to the drag races.  Couple of fin attempts. Took several tries, made out of a thick aluminum foil.


Interior with the shell.


So I really didn't like how the paint turned out but I didn't have time to strip and repaint. Wet sanded a bit and got this:


Still not great but okay. Next I applied several coats of turtle wax with a q-tip, really scrubbing in and then polishing the extra stuff off with a shop towel.


Came out nice, but you can see the orange peel still...

Added some chrome stripes made out of aluminum tape, then clear coated the entire thing.


Those pics were before the clear coat.  Getting closer!

Thursday, April 23, 2015

dorkpunch engines #2- Cylinder and Head.

Back to our home built hit and miss engine model.  Here's what we're starting with:


Ordered all of these on ebay.  Need to check and see what the alloy is, but whatever it is its darn soft and machine very easily.

Makin' chips.


This is a shakedown run- testing how much I've forgotten since college and seeing how sucky this lathe really is. Turns out I don't remember much...   It also turns out that my lathe needed some tweaking but I didn't figure that out until later.  *sigh*

Machined it down, lazily marked a few spots and drilled some holes.


Countersunk.


Parting off the head. Took FOREVER. Need to align the tool- sits too low.


Head and cylinder.


Tapped the holes.


Teensy plug I'll be using:


Fits together quite nicely!


Plan is to use some soft copper sheet I have as a gasket. Now the hard part begins- figuring out how to get the piston and valves in there.

So far this is LOTSA fun- many things are starting to come back to me.  Really enjoying being able to make chips fly, but I've got a loonnngggg ways to go before its up to par.