
Bit of a step backwards, but I have to finish up the plastruder because its time to put it in!
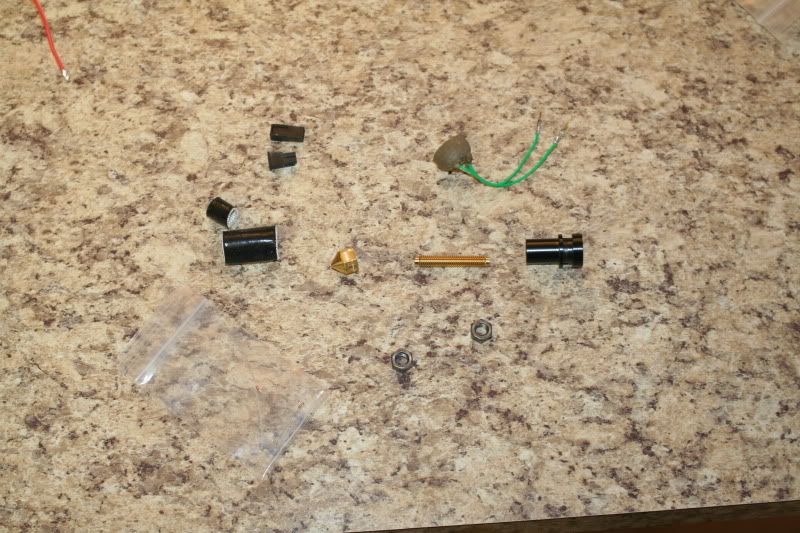
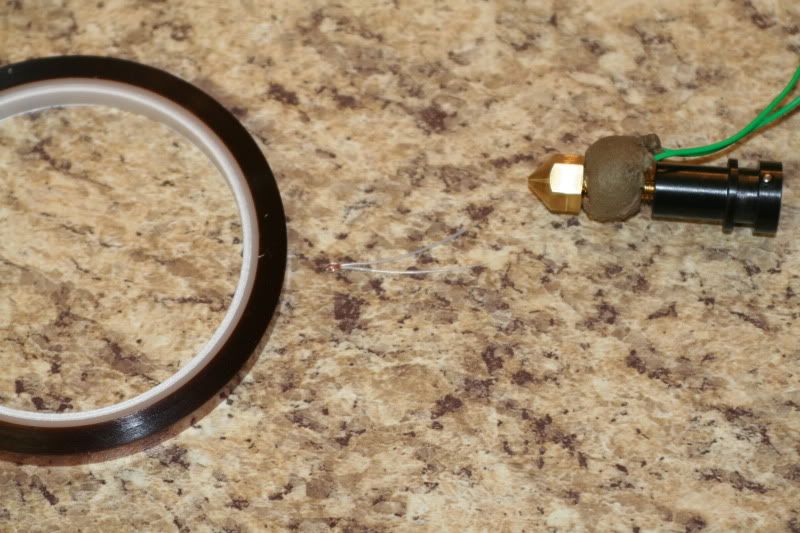
Parts.
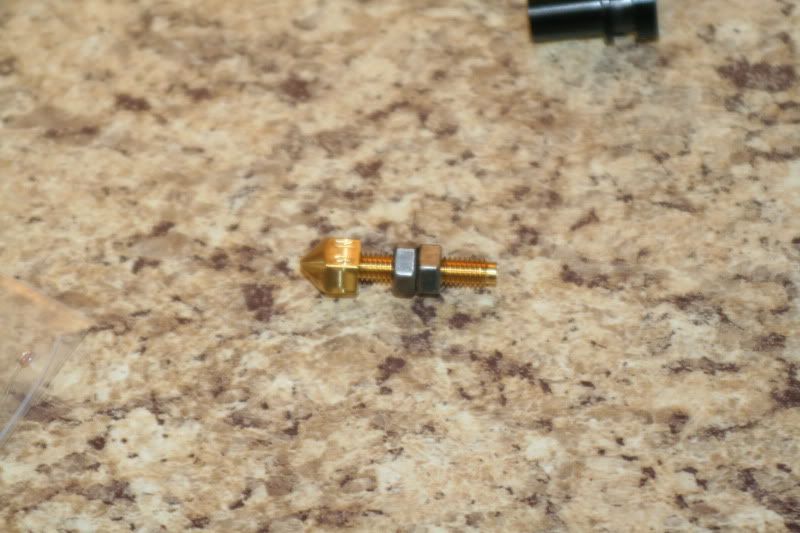
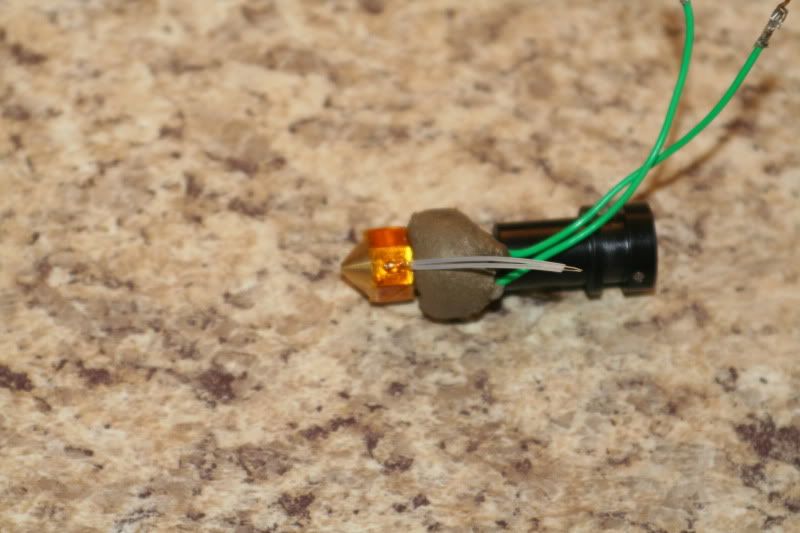
Install and tighten the nozzle using the 2 lock nuts to hold the tube while tightening the nozzle, then remove the nuts.
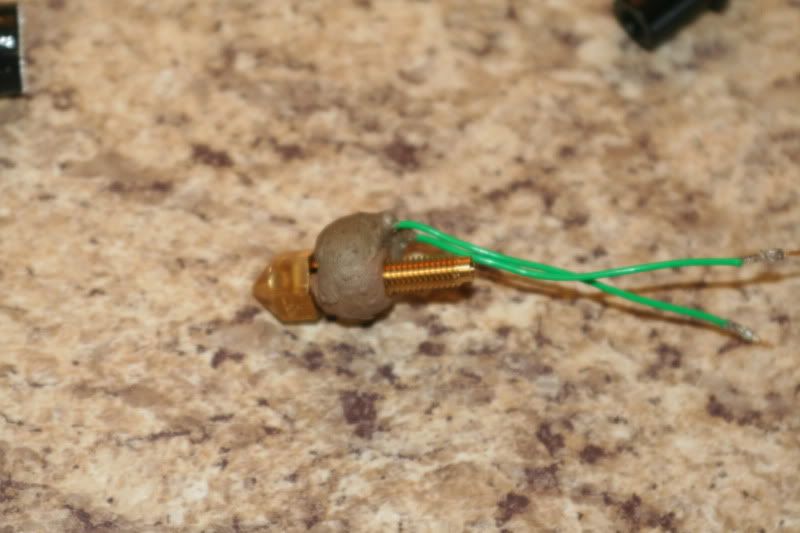
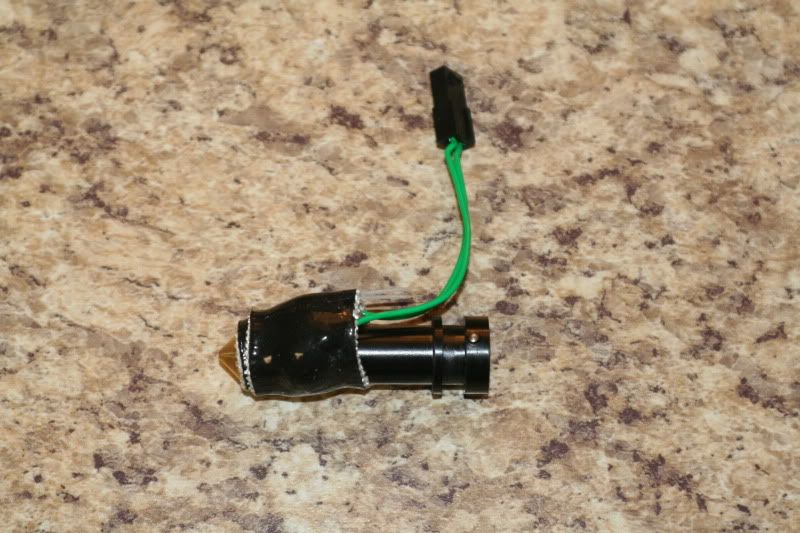
Heater. Do you remember all the fun steps getting this little guy put together?! Sheesh.
Parts.
Install and tighten the nozzle using the 2 lock nuts to hold the tube while tightening the nozzle, then remove the nuts.
Heater. Do you remember all the fun steps getting this little guy put together?! Sheesh.
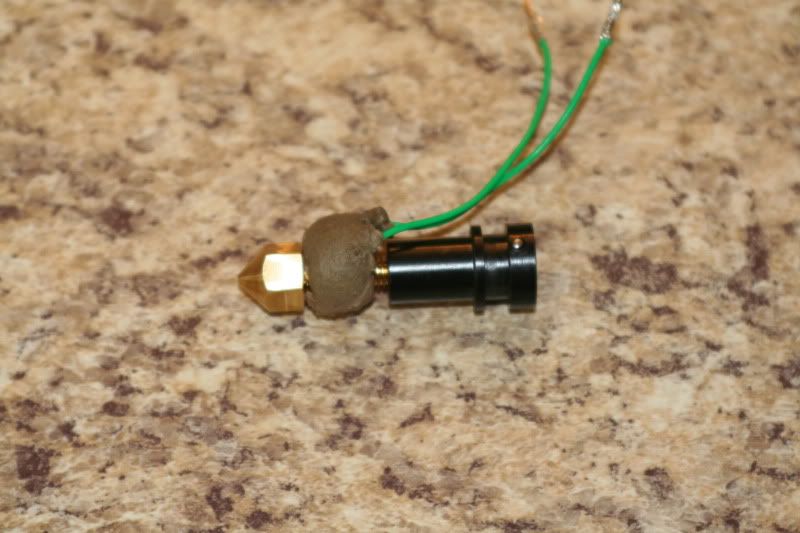
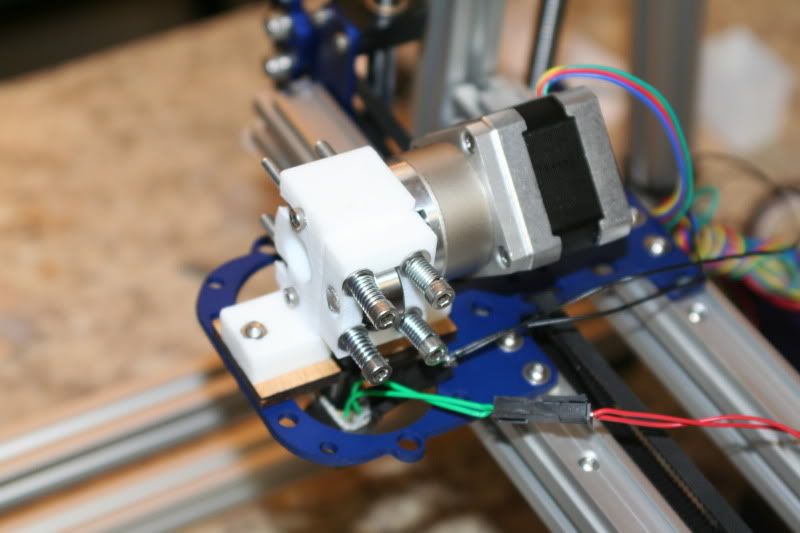
Mount. The mount and the nozzle need to be tight so the melted plastic doesn't squish out.
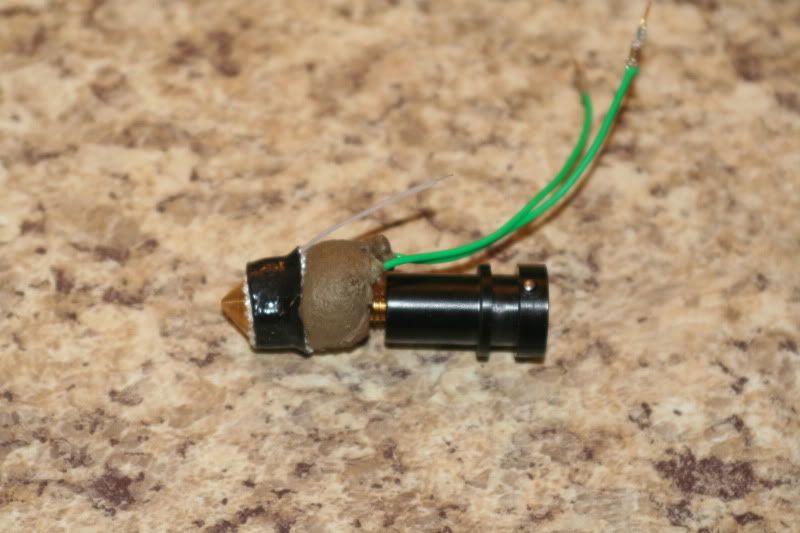
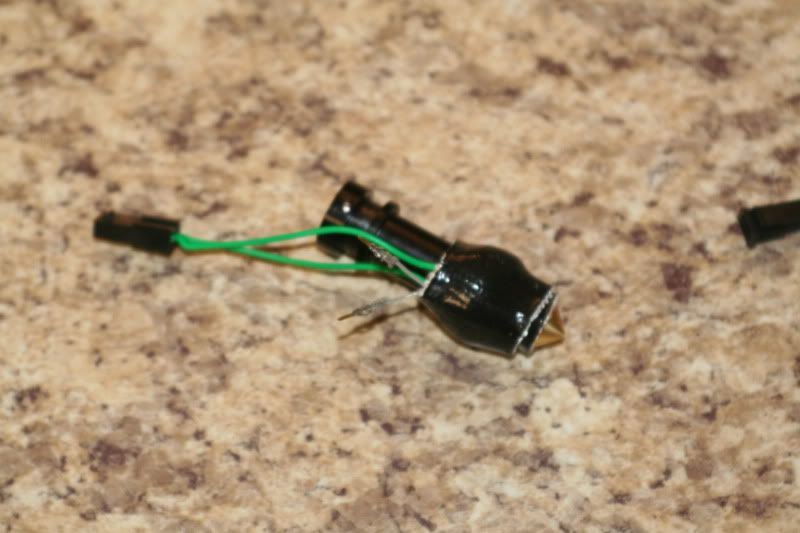
This was kind of tricky. You can barely see the thermistor- it needs to be touching the nozzle and is held on by the "Kapton" tape. Pllleennnnty of tape included.
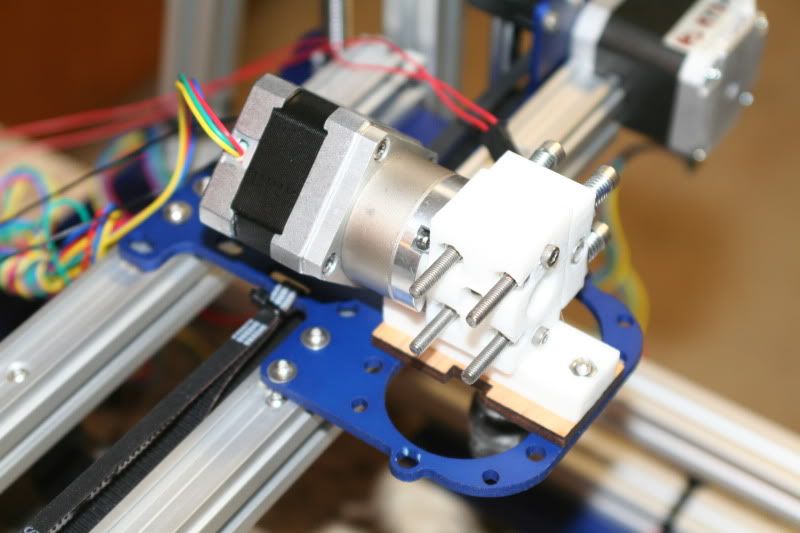
Installed.
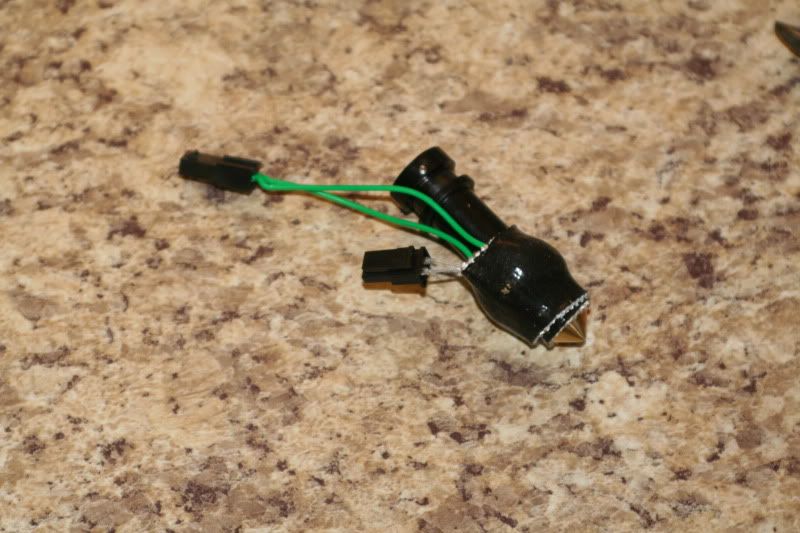
Insulation. Real easy, just slide it over.
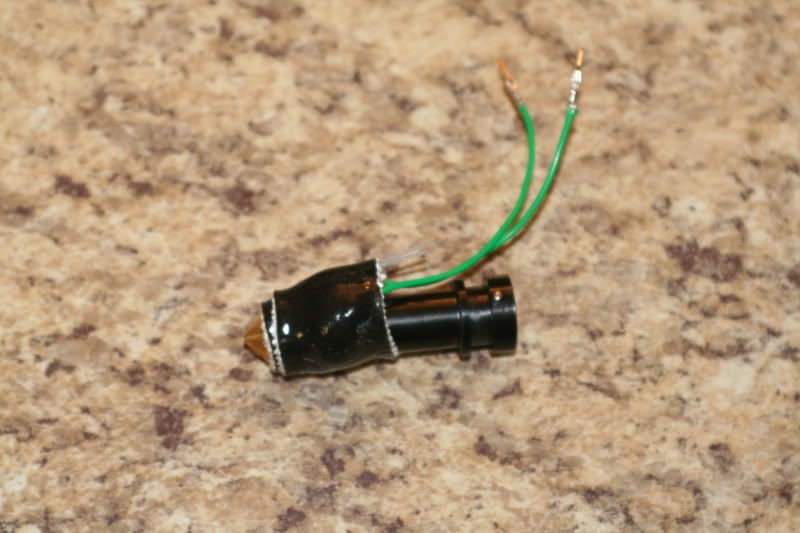
Had to install a few connectors, including soldering the teensy bits to the wire first.
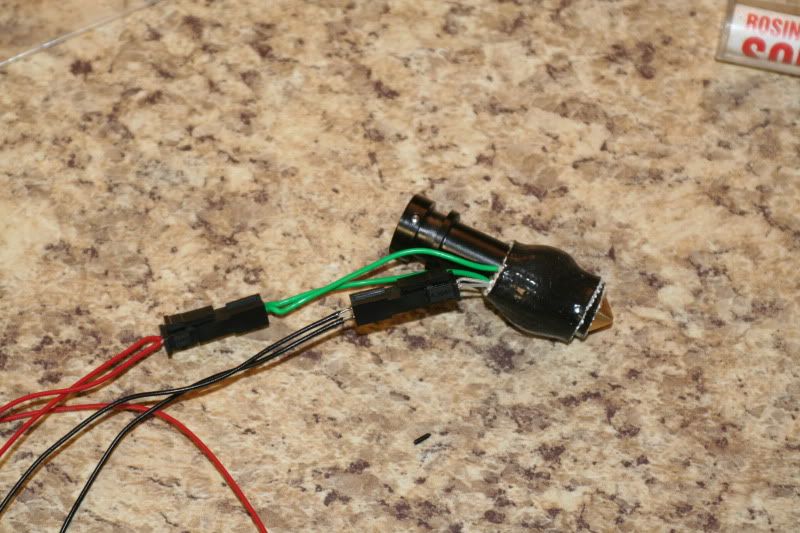
Again, if you buy a plastruder, pay the extra $10 and have it pre assembled!

Installation. The screws make a little more sense now- the plate that the plastruder bolts to is a little thick. Just have to make sure the screws don't contact the motor.
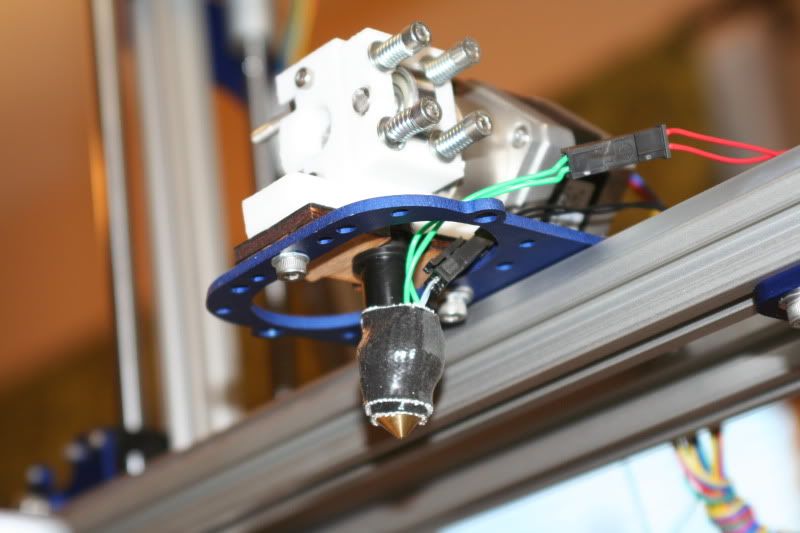
Done.
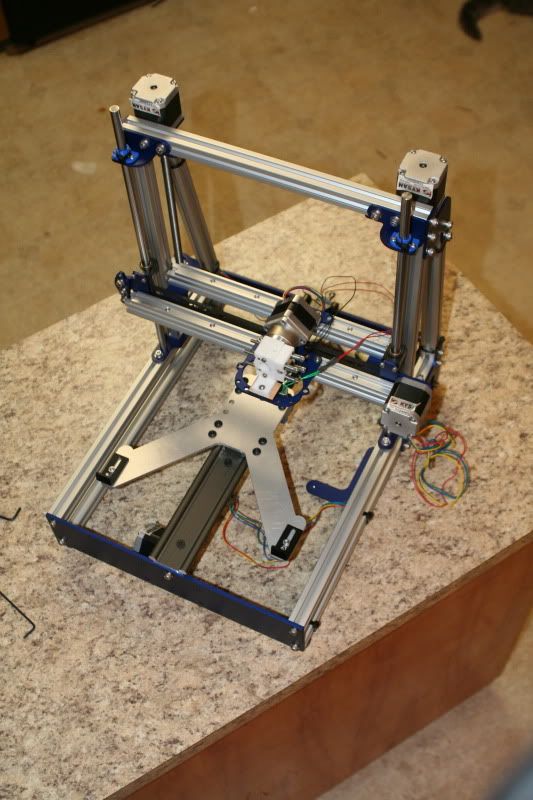
As you can see I pulled the bed back off to run wires. Lots of them going all different directions. I'll have to mount the power supply and RUMBA board, then I can finalize the wire routing, plug everything in, and try it out.

Time Spent on this step: 1 hr.
Total time so far: 9 hrs. 45 min.
No comments:
Post a Comment