
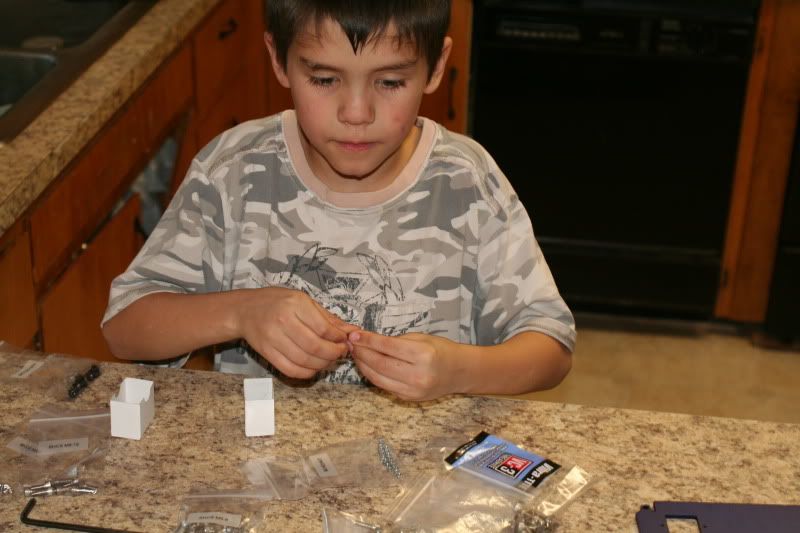
The help. He lasted about 15 minutes.
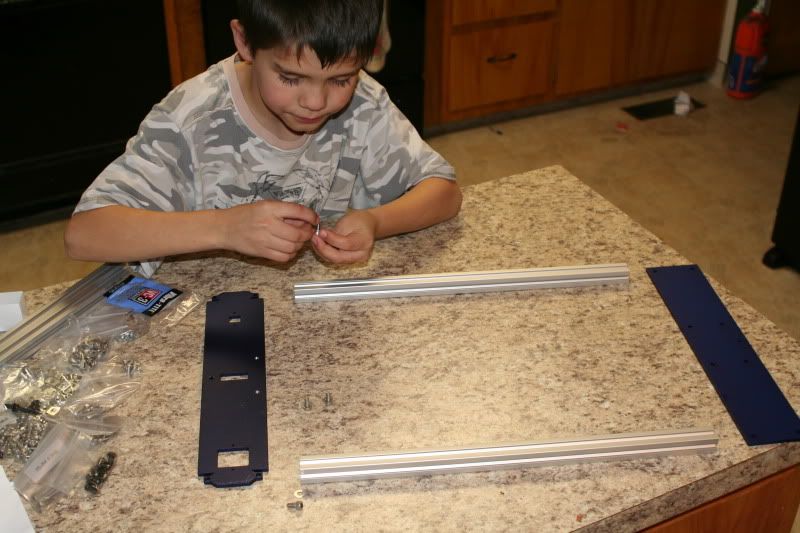
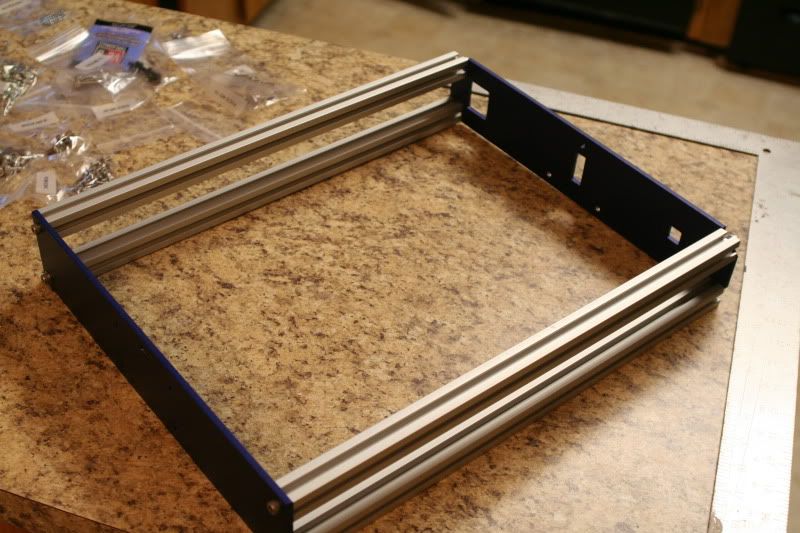
Assembling the base. Pretty straight forward- lay the parts out, install the screw and T-nuts, then slide the parts together, align with a square, and tighten. As long as you follow the instructions and get the parts in the right orientation, it's a snap.
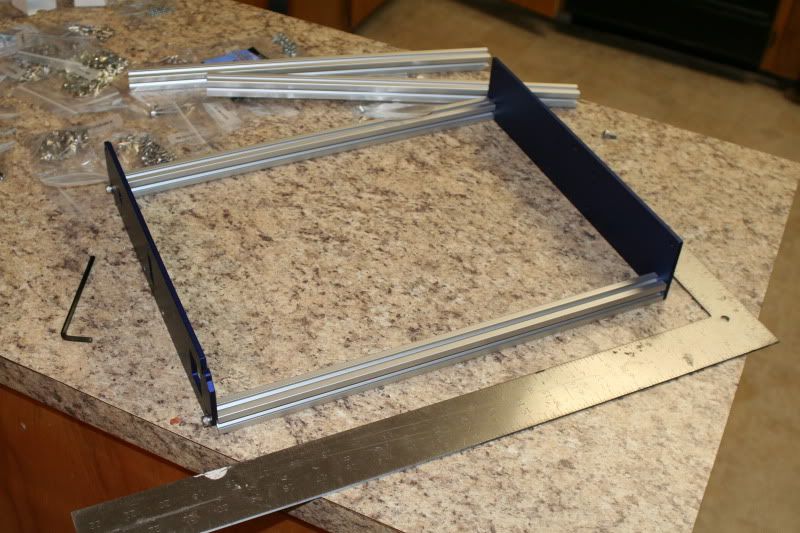
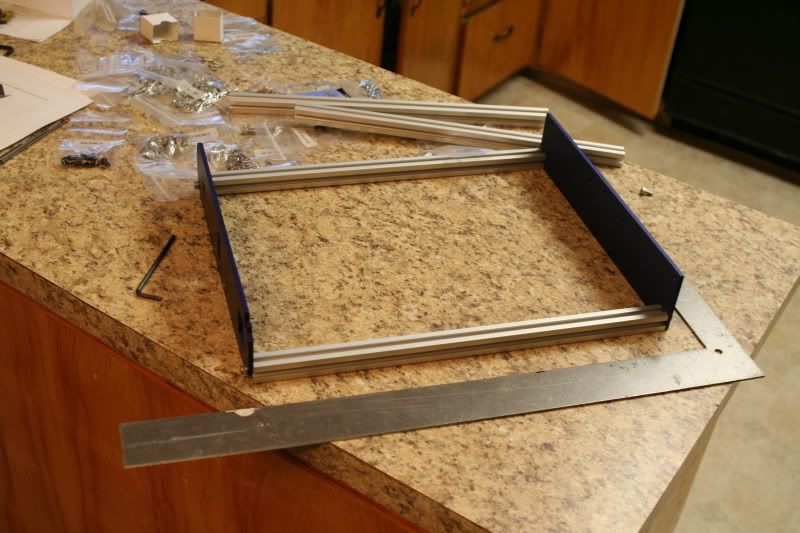
Putting the top to cross bars on was a little trickier- they have to be straight and level, and when you tighten the screws in the end the bars want to twist. With a helper, its not hard at all to hold the square across the platform while tightening the screws.
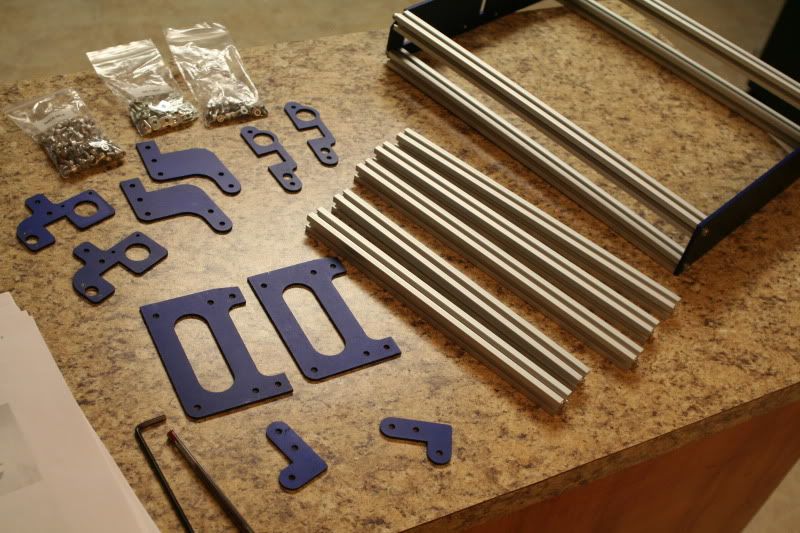
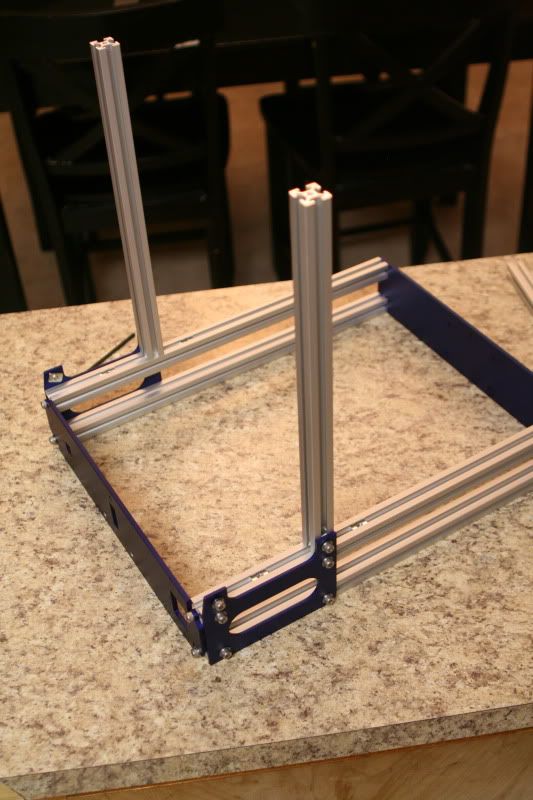
Getting ready to assemble the uprights:
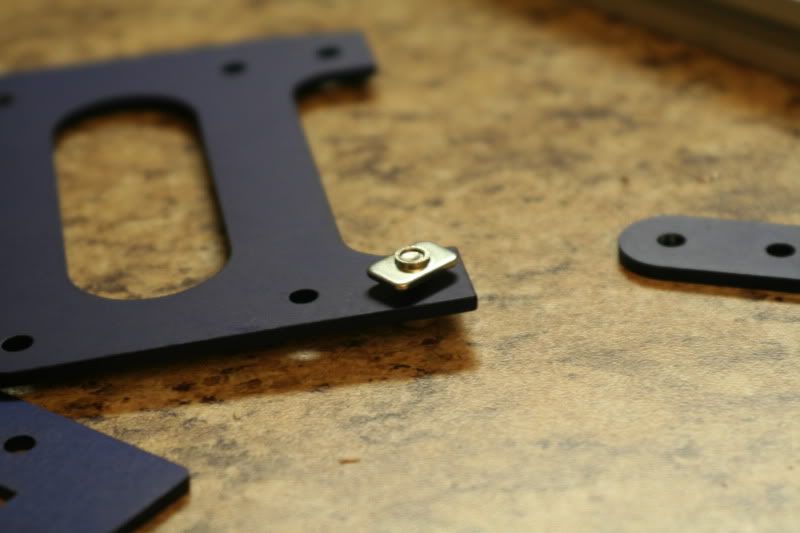
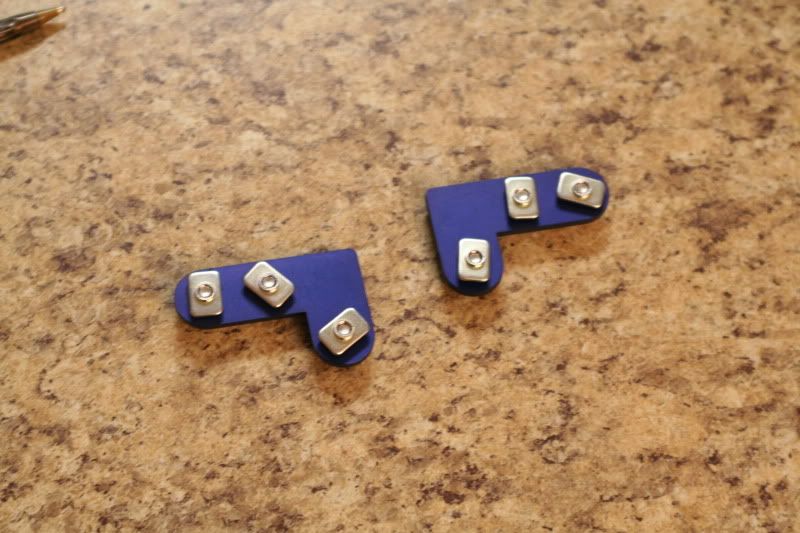
Assembling the uprights. Here are the T-nuts I was talking about earlier. You have to leave them REALLY loose to get them to start in the channels on the extrusions.
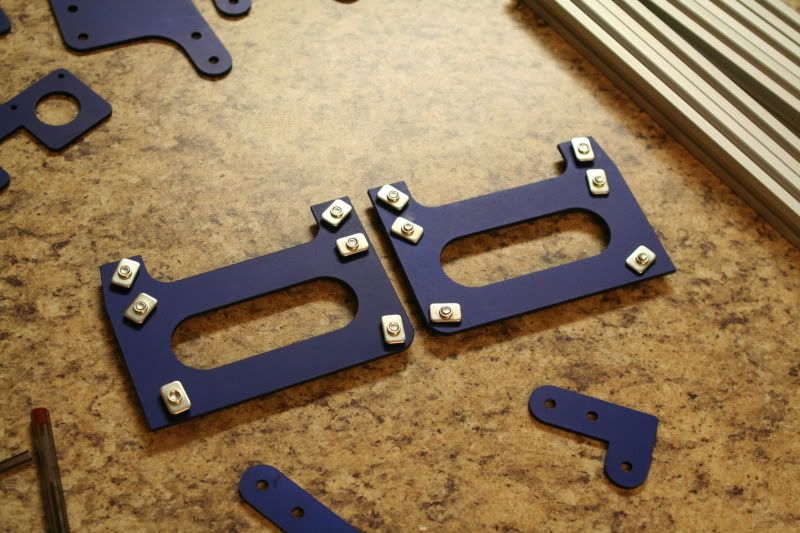
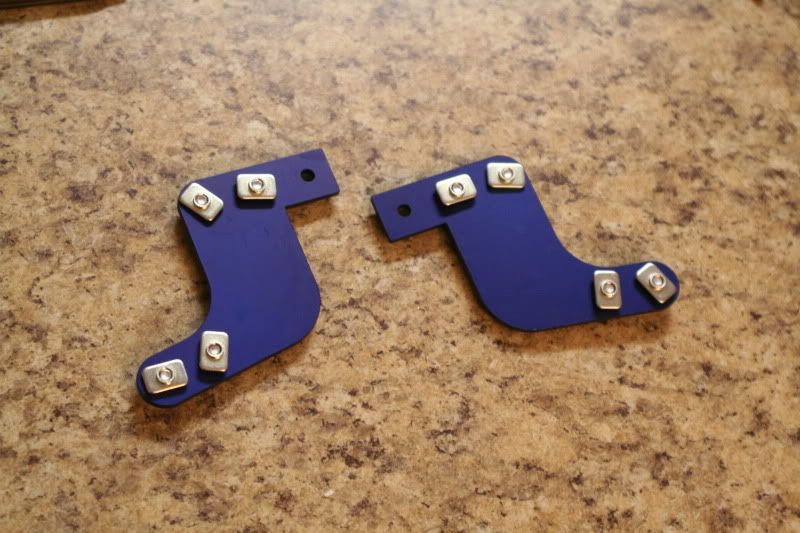
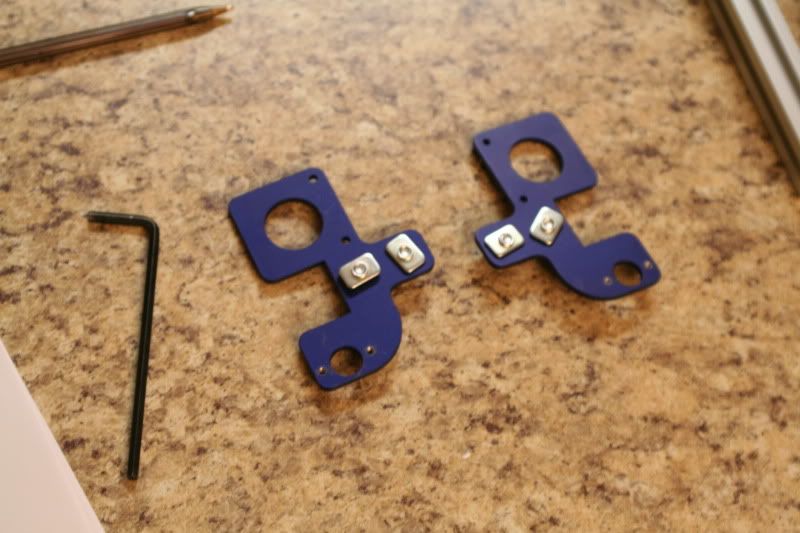
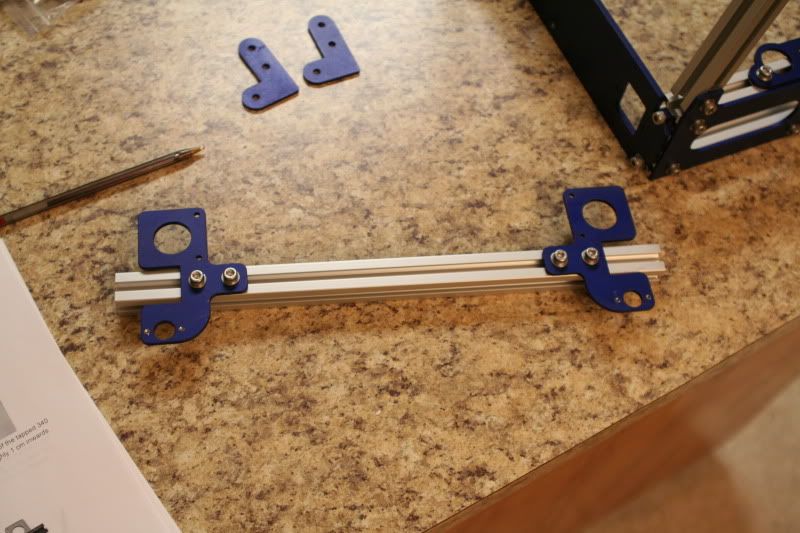
Here are two plates ready for installation.
It can be a little tricky lining up the T-nuts with the slots...

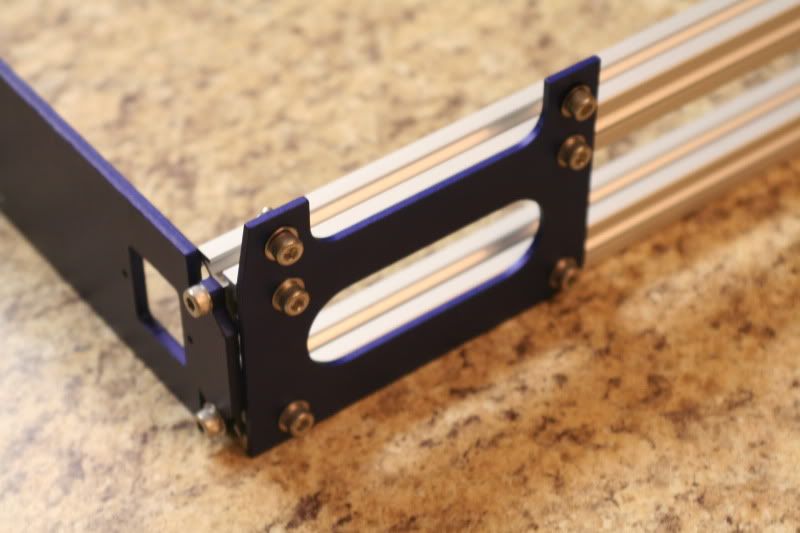
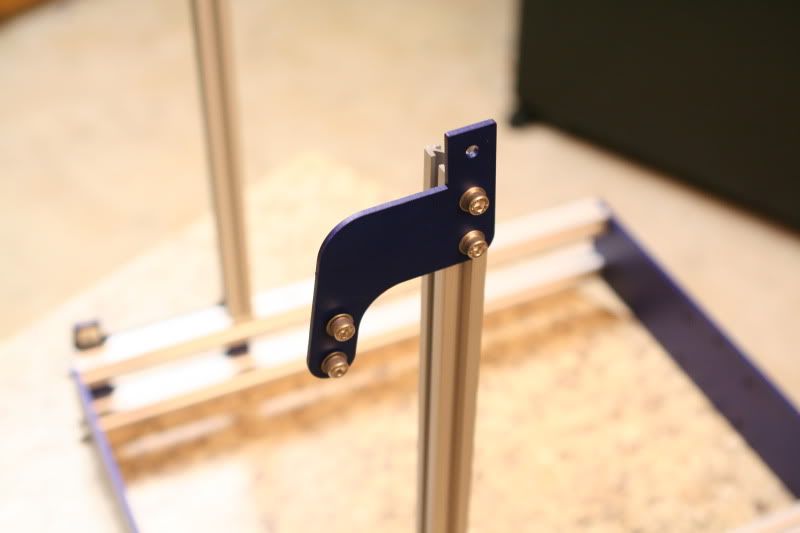
First uprights installed.
Top Brackets ready to go on.
Top Brackets installed.
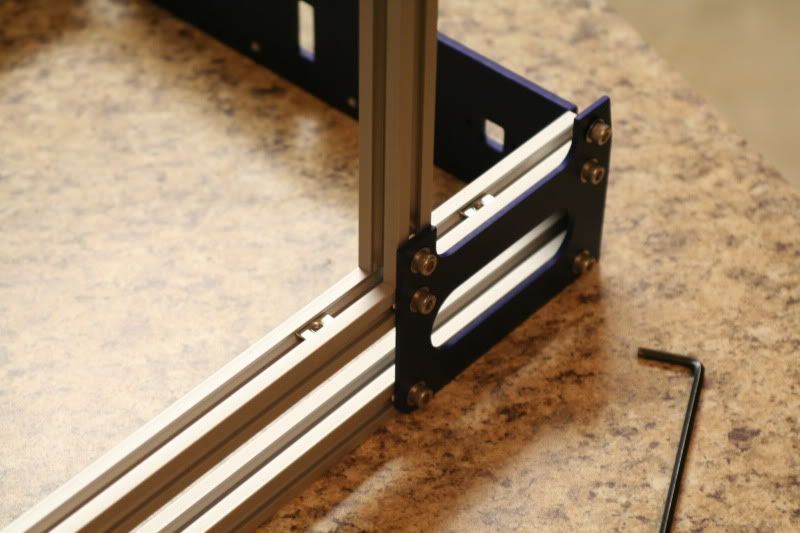
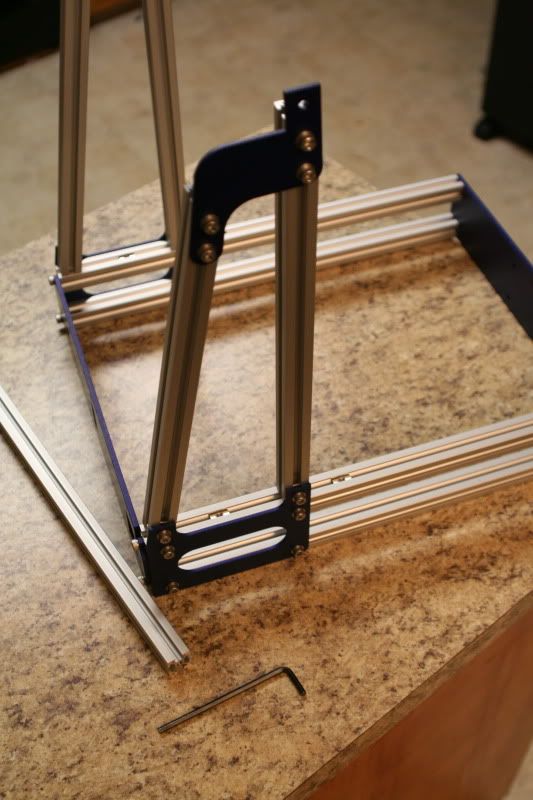
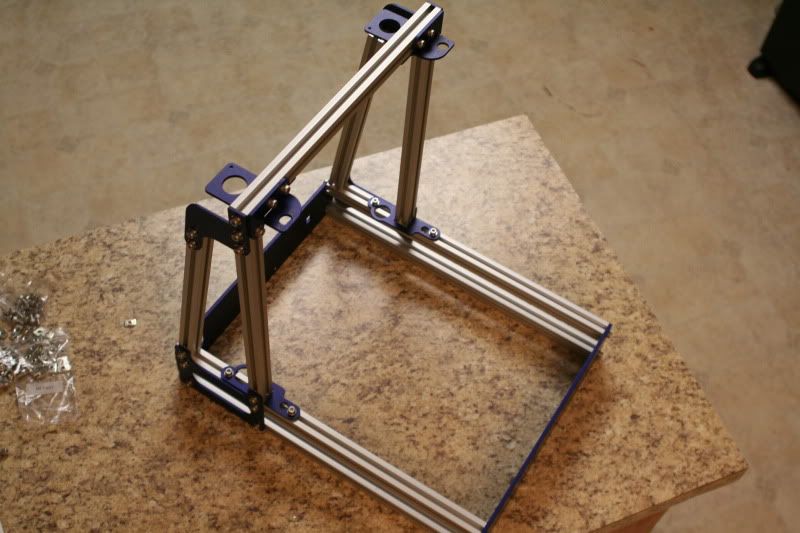
Second set of uprights installed. At this point, all of the screws up top are just loosely tightened- all of this will need to be adjusted and squared still, and then all the screws get tightened.
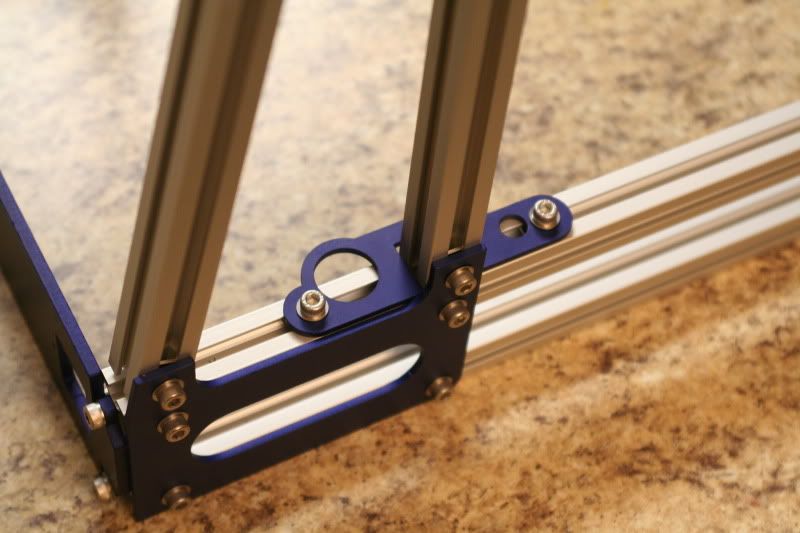
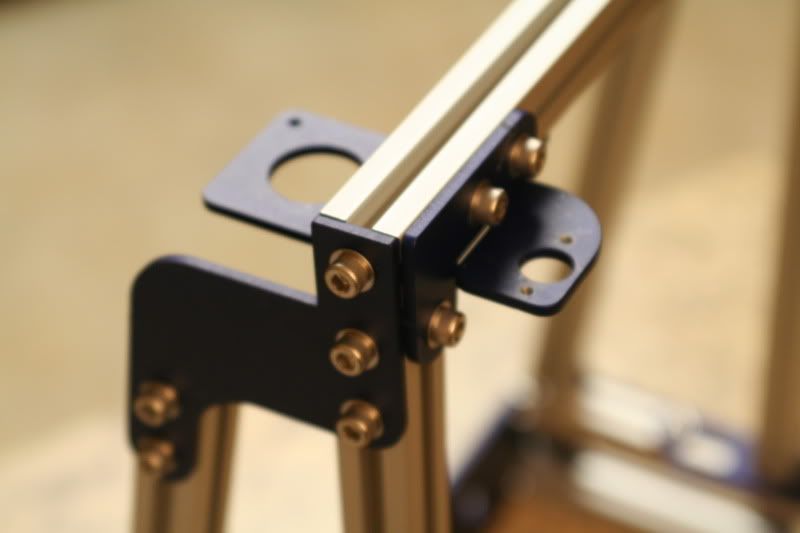
Z- axis guide plates installed. The hole to the right is for the guide rod. The bigger hole on the left is under the z-axis screw, but it doesn't attach there, not quite sure what the hole is for.
Top brackets ready to be installed.
Cross bar preperation.

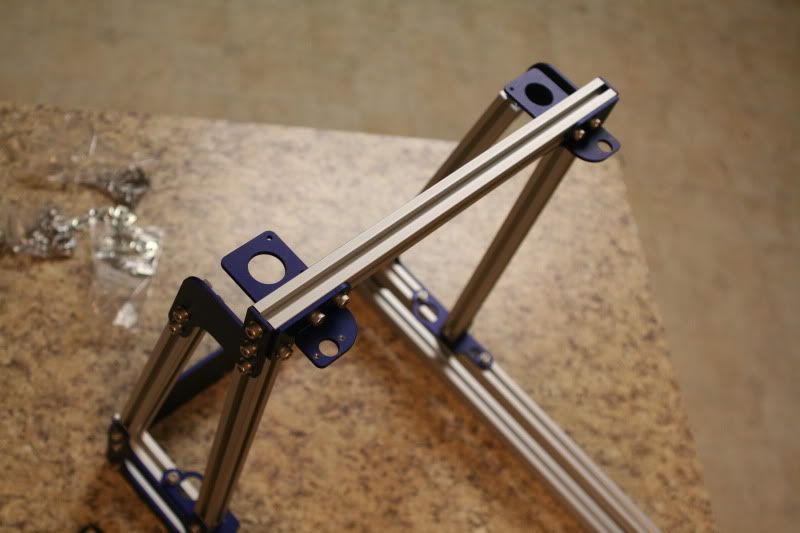
Top cross bar and brackets installed. With everything set in place, I took some time with the square and tightened all of the screws. The bracket with the holes in this picture will most likely need to be loosened and repositioned later- the stepper motor goes in the big hole and the z-axis guide rod attaches to the small hole in the front- both of which will need some tweaking to get the z-axis to move freely.
Frame DONE! Sure looks pretty!
Time Spent on this step: 1 hr 10 min.
Total time so far: 3 hrs 10 min.
Just want to mention again, the times I'm posting include time taken for studying the directions as I build (not counting the time I spent reading over them before the build), taking pictures, making notes, and finding all of the hardware. I feel it could be done a lot quicker if you were trying to get it done fast.
No comments:
Post a Comment