
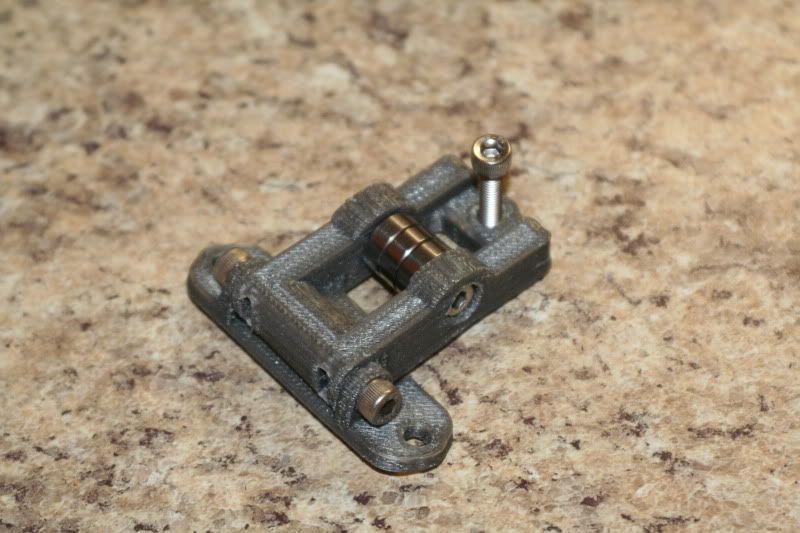
Assembling the Y idler. Here is my first complaint... this step uses 3D printed parts- and the print quality was pretty poor on these two. I'll explain more when we get to the pics.
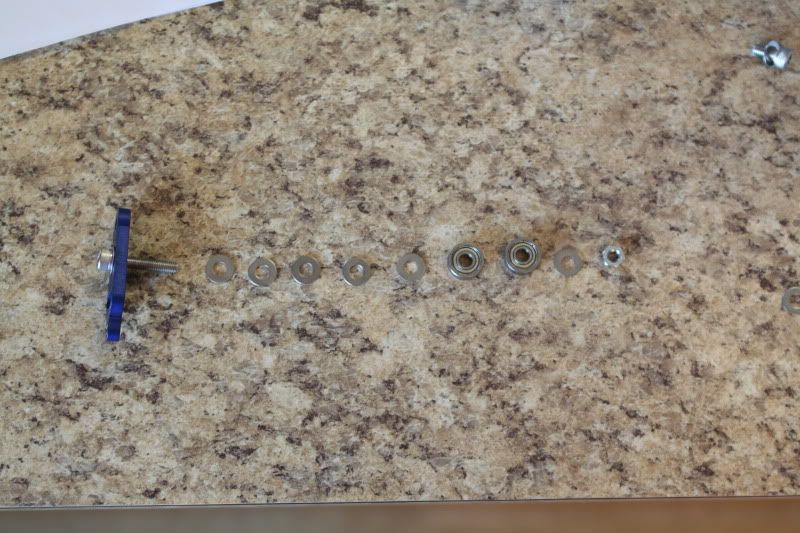
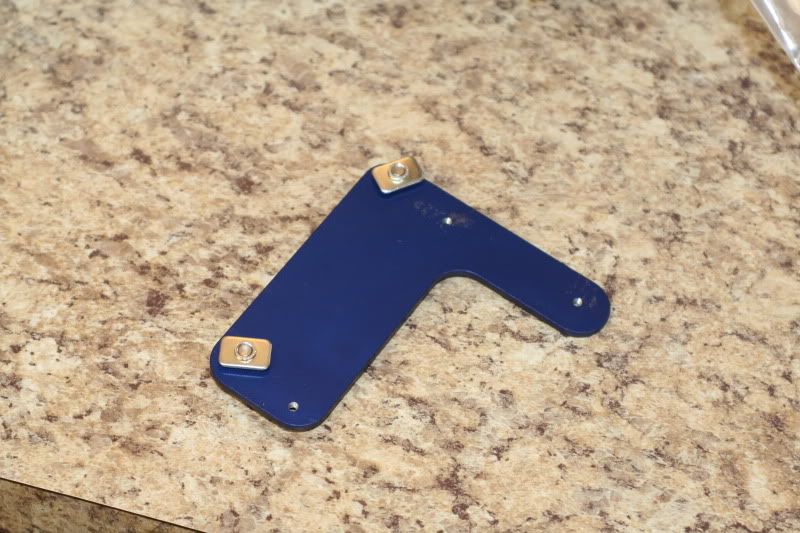
Parts.
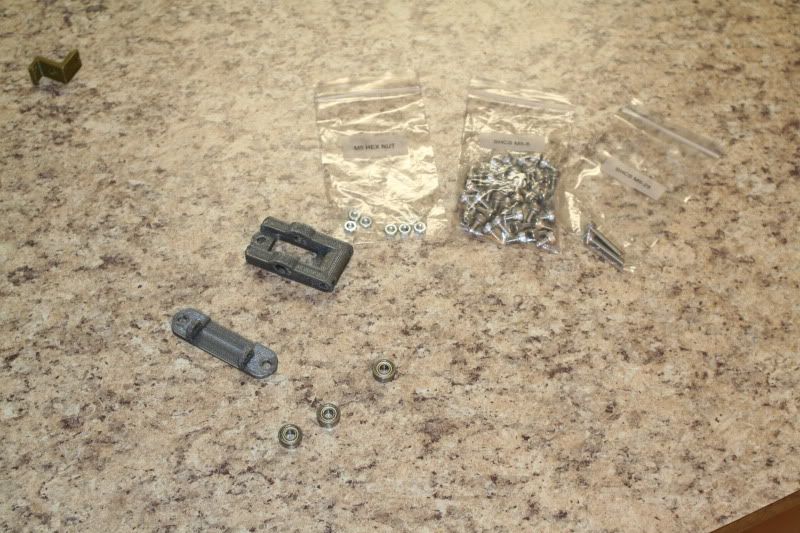
These two slots are supposed to have nuts slid into them- but as you can see the right slot is warped. It took me a bunch of dinking around to carve it out big enough to get the nut to fit (both sides were too small and had to be carved out).
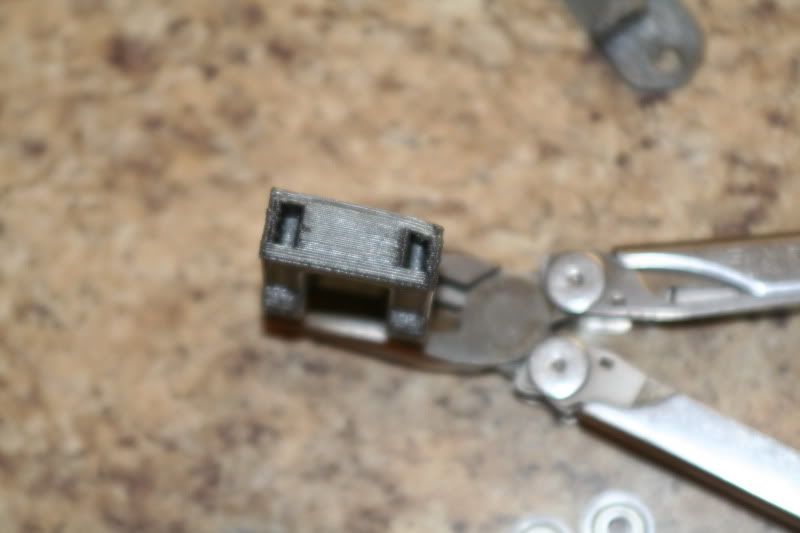

Finally got them in...
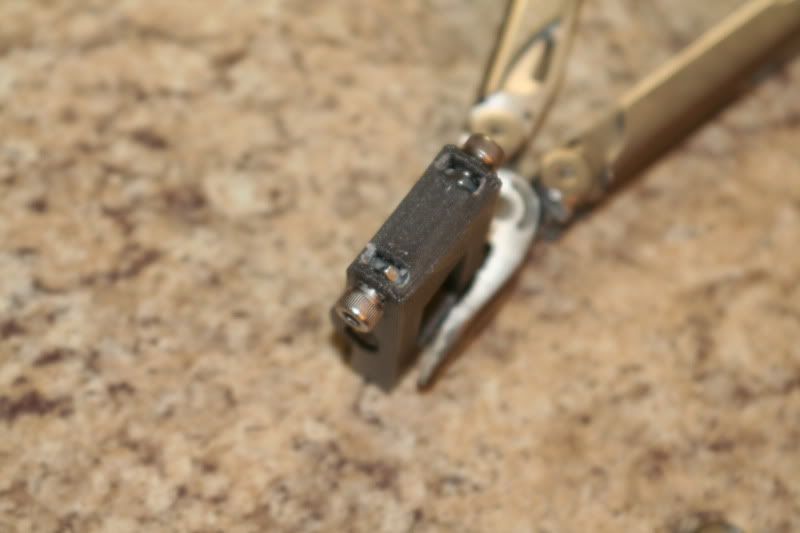
This nut went in fine, but the screw wasn't long enough to reach it so I had to drill out the other side.
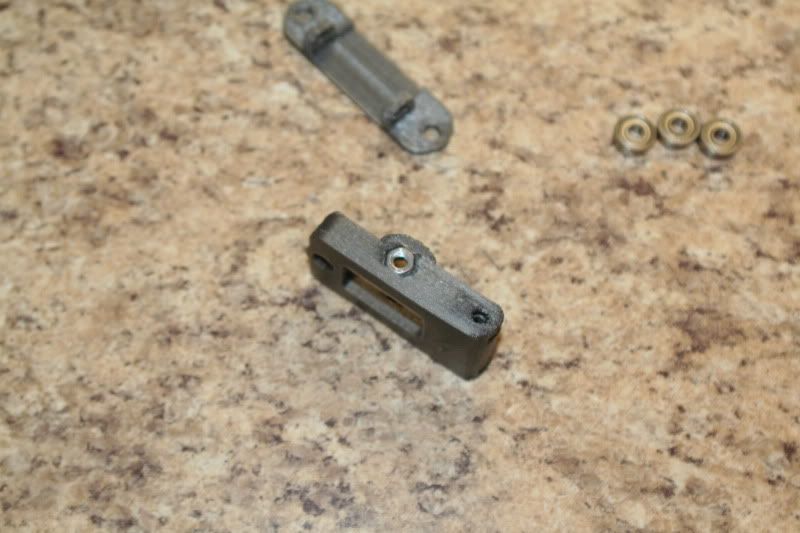
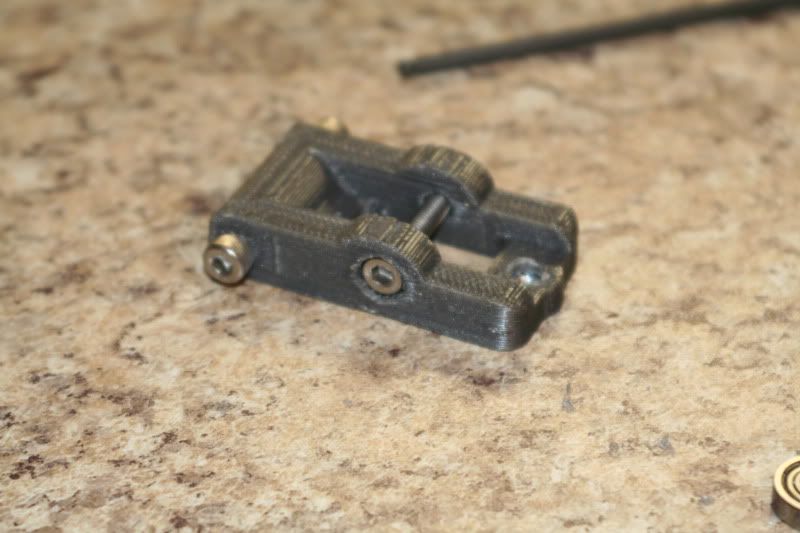
Once I got it drilled out enough, take the screw out and install the bearings.
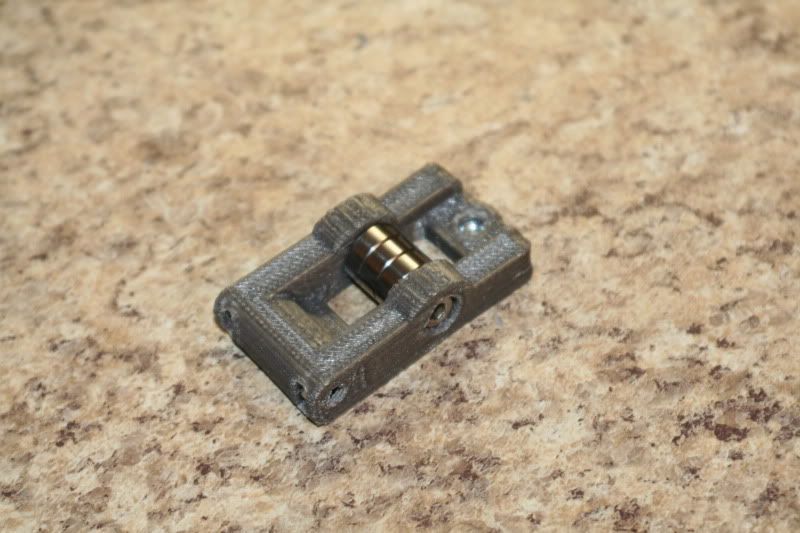
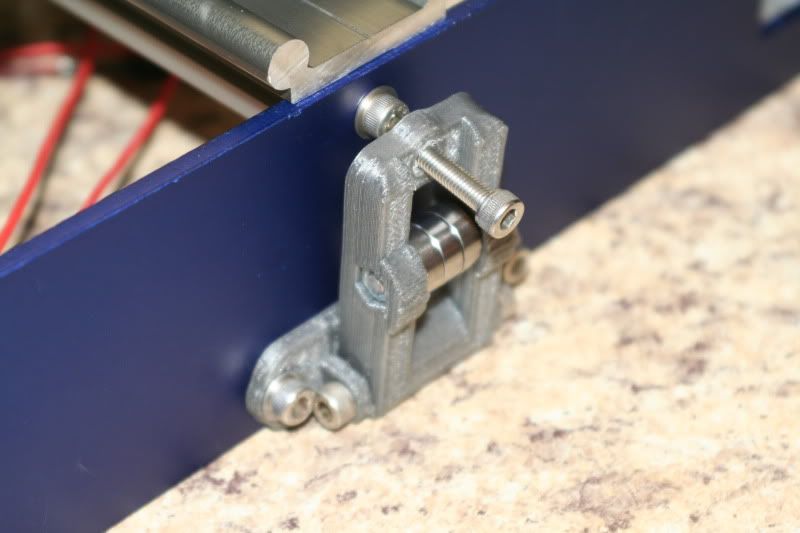
Attach the base. The instructions called for M5-8, but they wouldn't reach so I used M5-10.
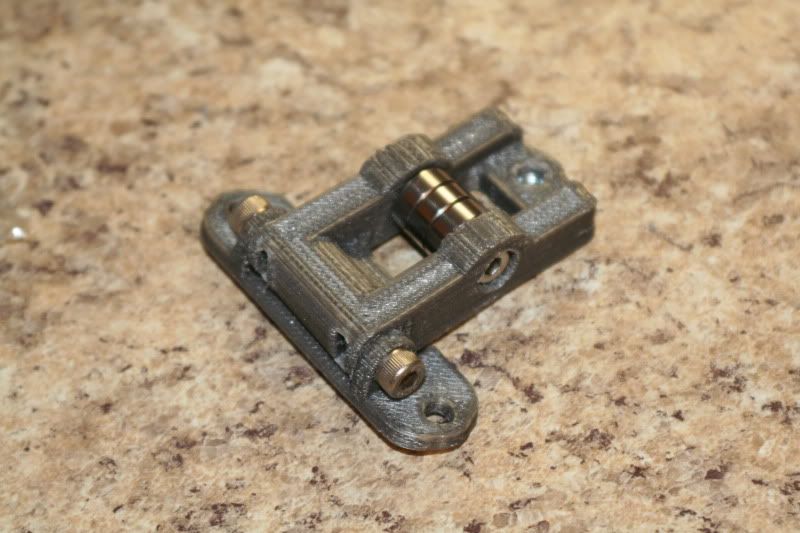
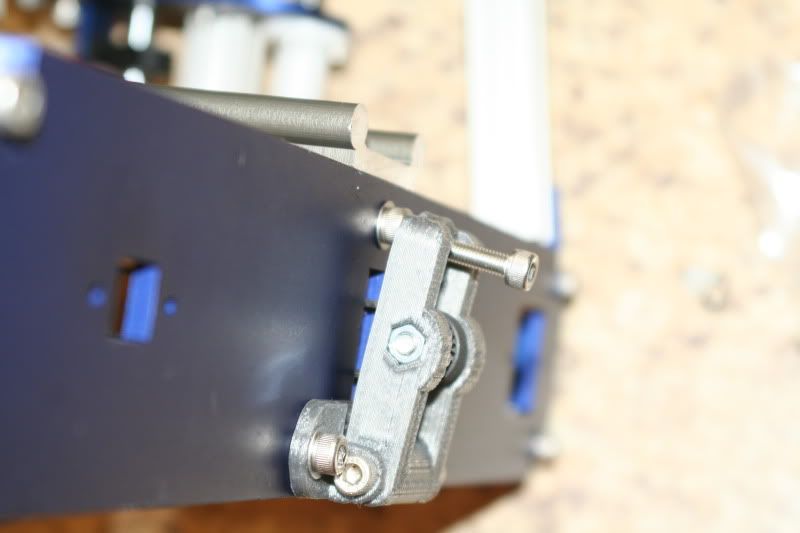
Install the tensioner nut on the back. This hole had to be carved out too...
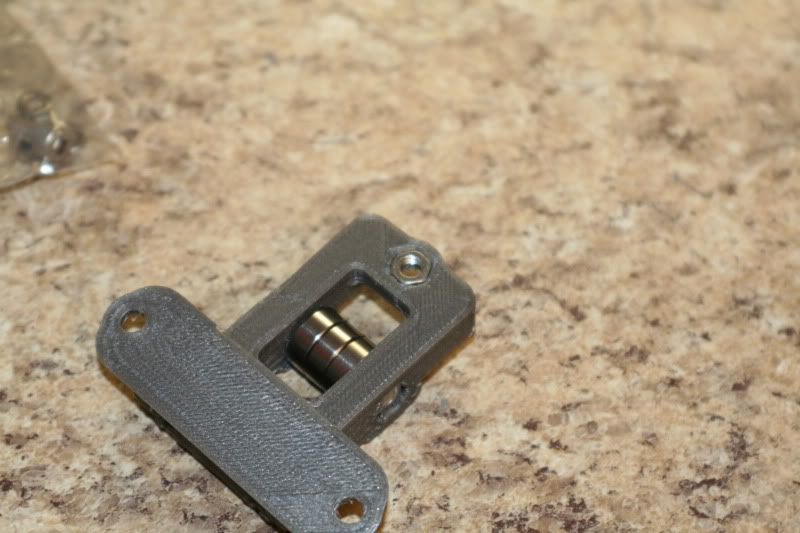
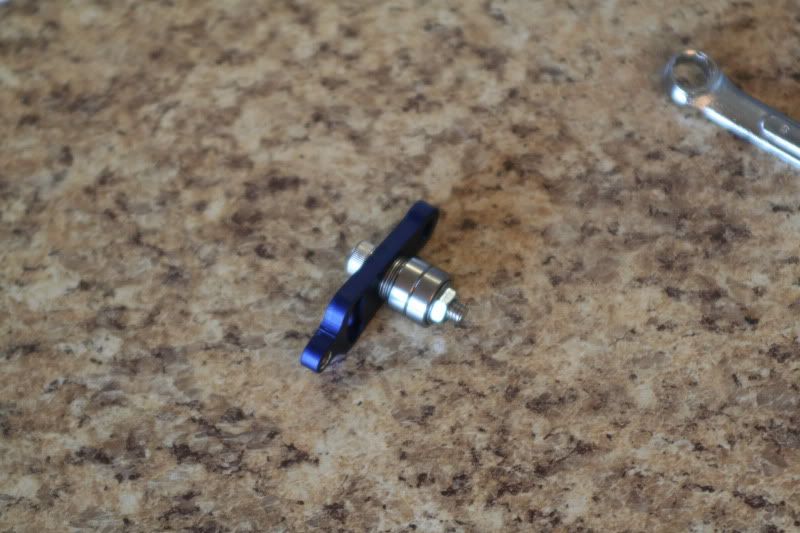
And the tensioner screw.
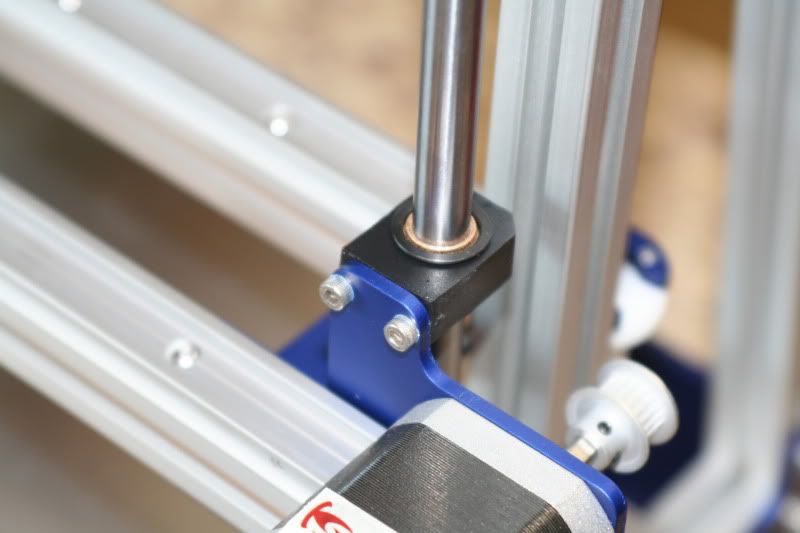
Easiest part- put it on the machine.
Time Spent on this step: 40 min. (should have been like 5...)
Total time so far: 6 hrs 30 min.
More fiddling and tweaking. I also spent some time adjusting things to get everything square and moving as freely as possible. The first order of business was to free up the x-axis- I made the mistake of tightening up the rails too soon. One of the little screws stripped out trying to loosen them, so I had to drill it out, slide the rail out, and replace it.
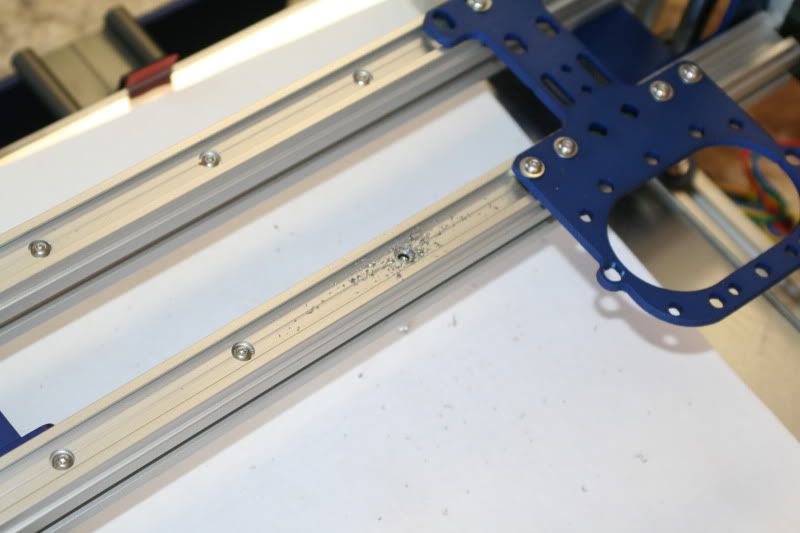
Once I had that fixed, I just slid the plate back and forth and slowly tightened the screws until they were all tight and the plate slid back and forth freely.
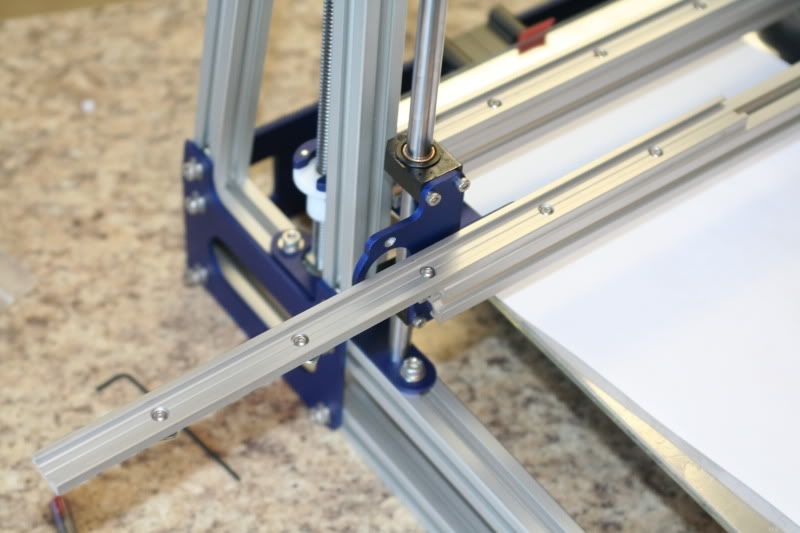
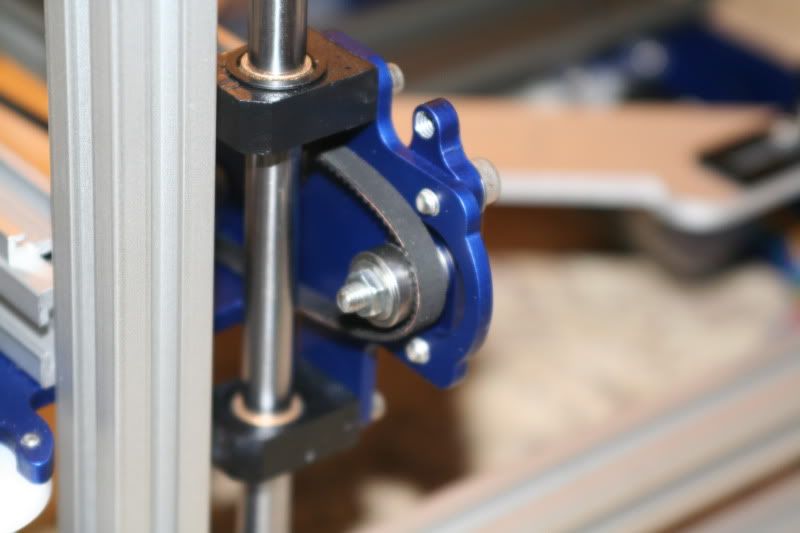
The z axis was similar. Loosened things, and slowly tightened them back up until it seems to move freely. The thing that seemed to make the biggest difference was to not tighten these busing blocks as tightly- they are plenty tight, just not gorilla tight.

The y-axis didn't need and adjusting- it moved very freely.
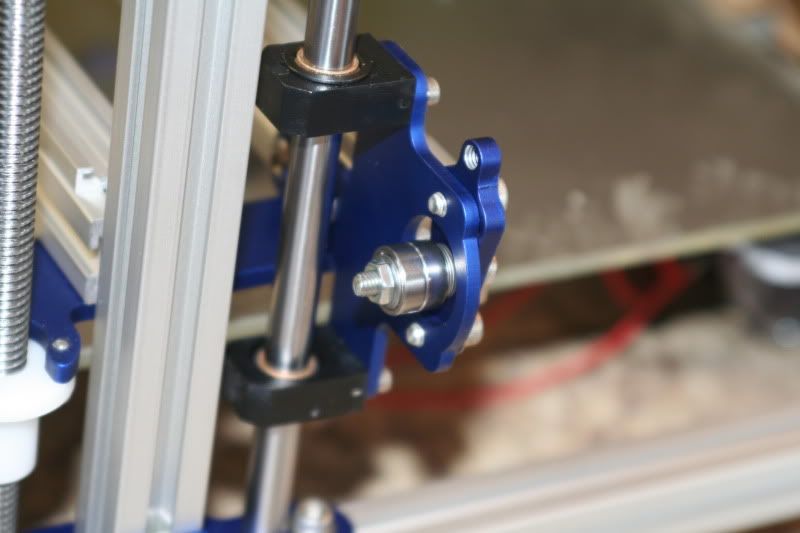
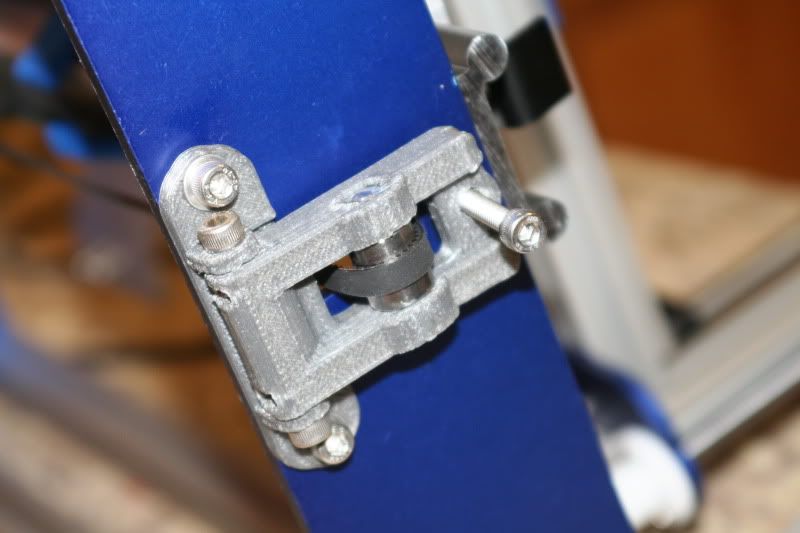
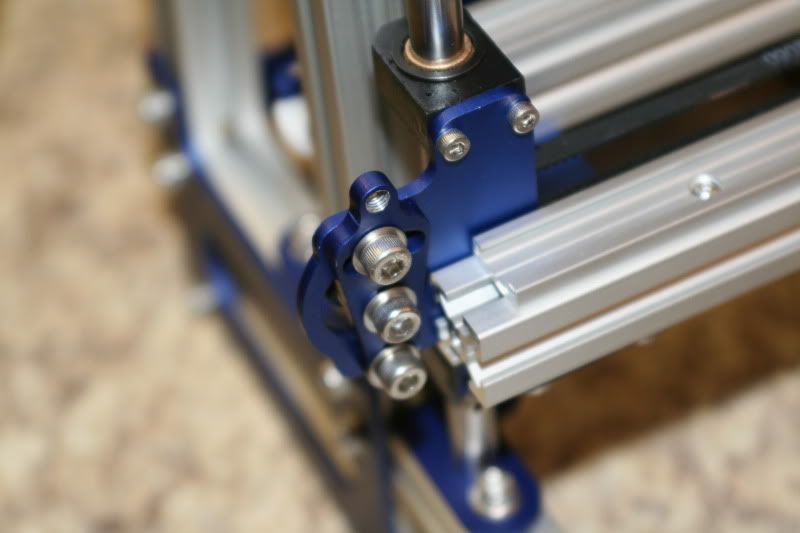
The last thing I did was fix the x idler- had to add a few washers. Here is the correct assembly.
And installed.
Also went over all of the nuts and bolts and checked and tightened anything I found loose.
Time Spent on this step: 1 hr.
Total time so far: 7 hrs. 30 min.
Finishing Touches! The closer I get to done the more I notice the hundreds of little things that still have to be finished...
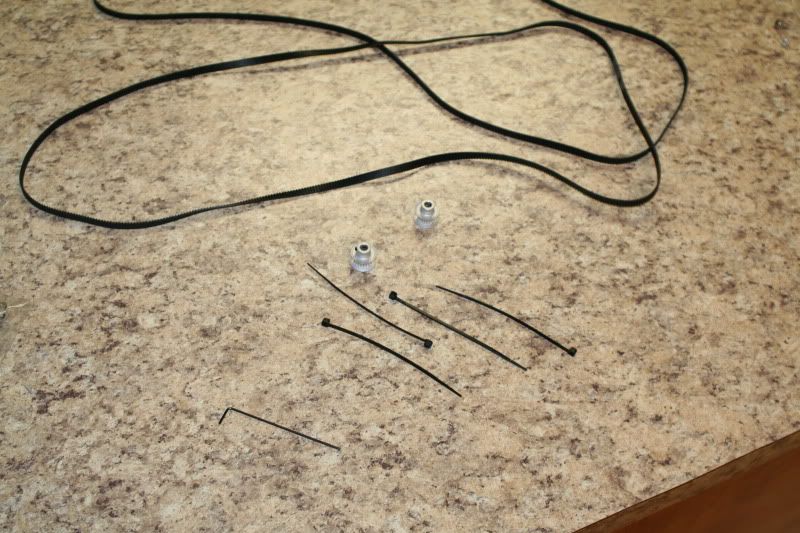
Parts:
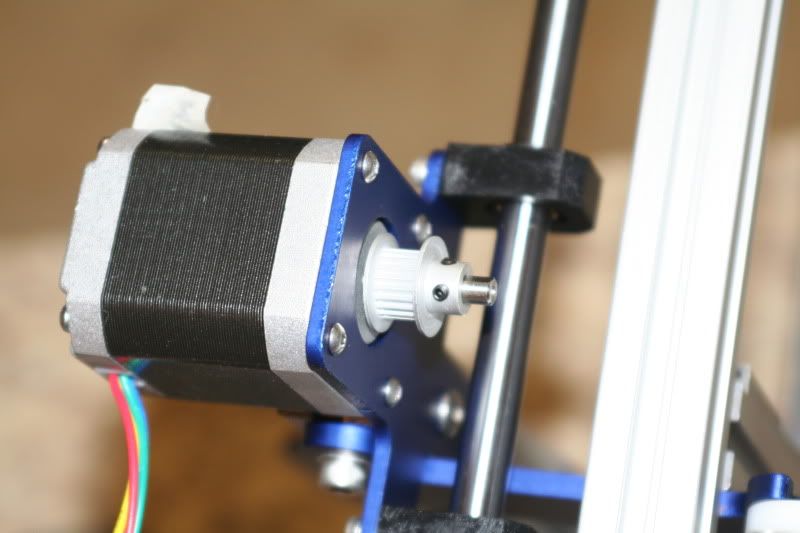
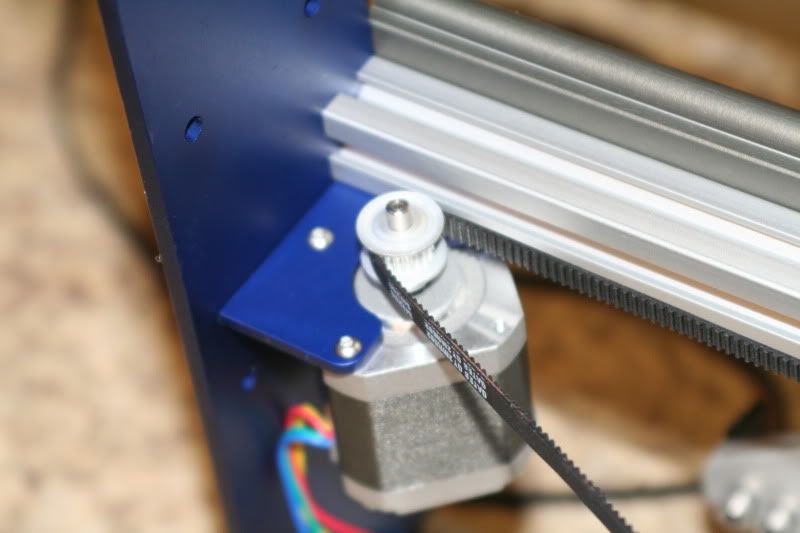
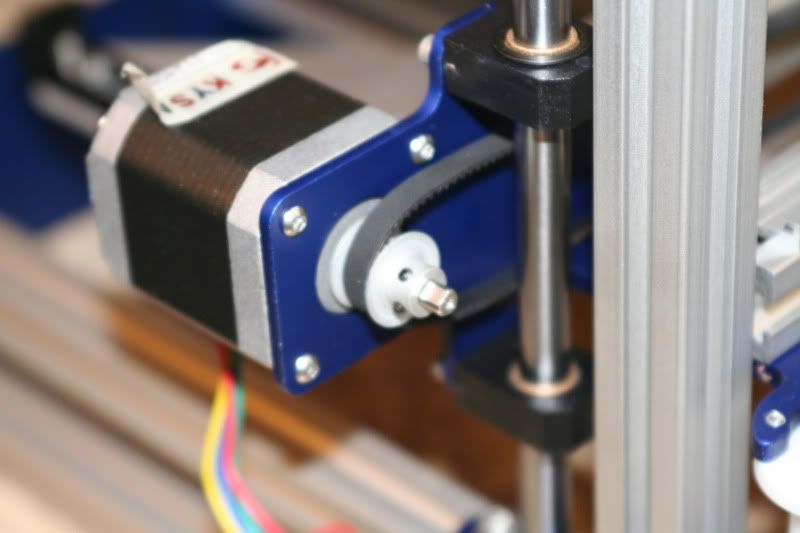
Install the pulleys. They have to be oriented a certain way to line up with the axis and idlers.
Y-axis:
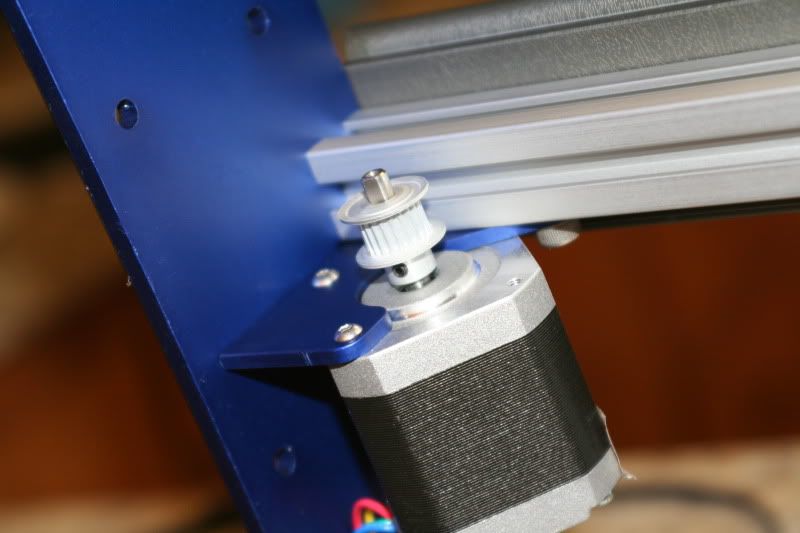
X-axis:
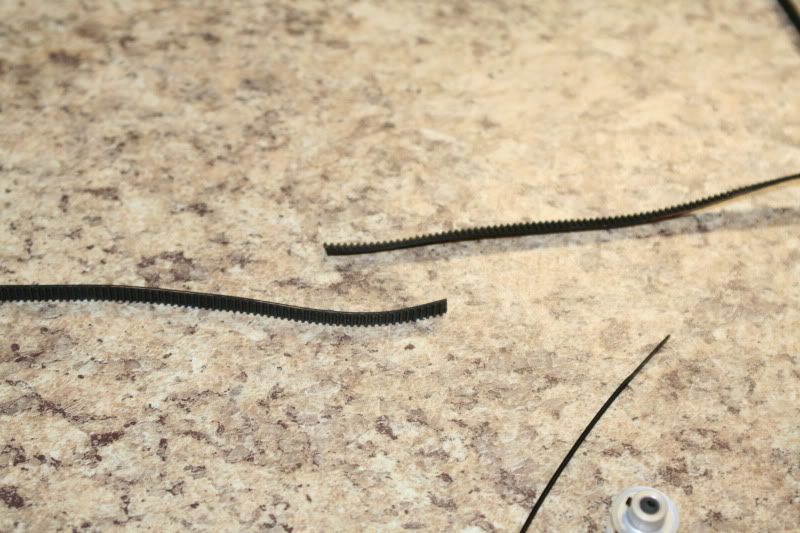
Cut the belts.
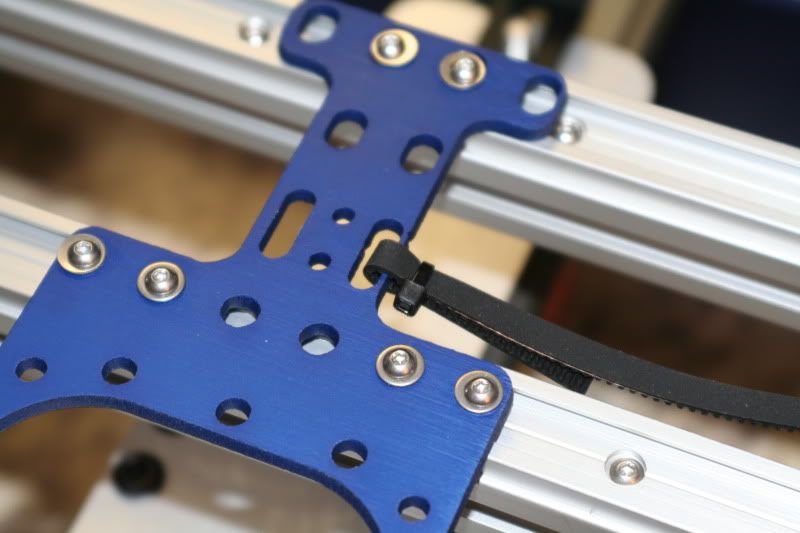
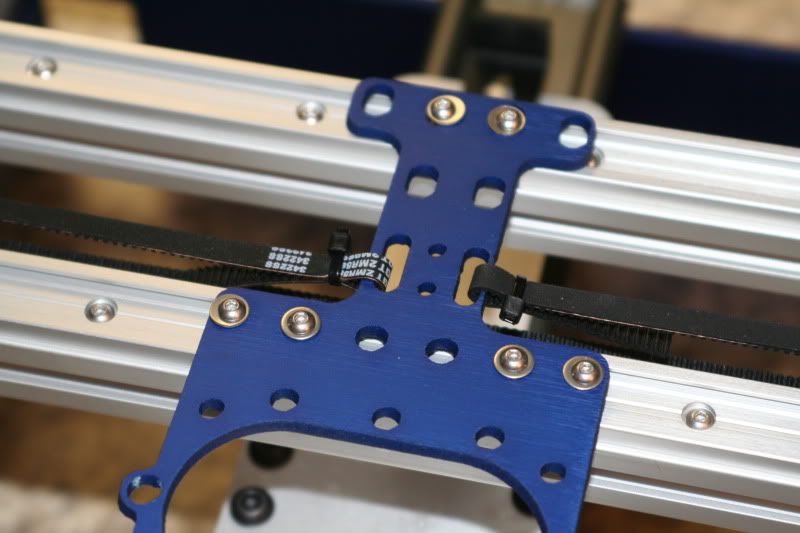
Attach one end to the axis plate. I plan on adding another zip tie and trimming of the extra on all of the belts still. Y axis:
Loop it over the pulley
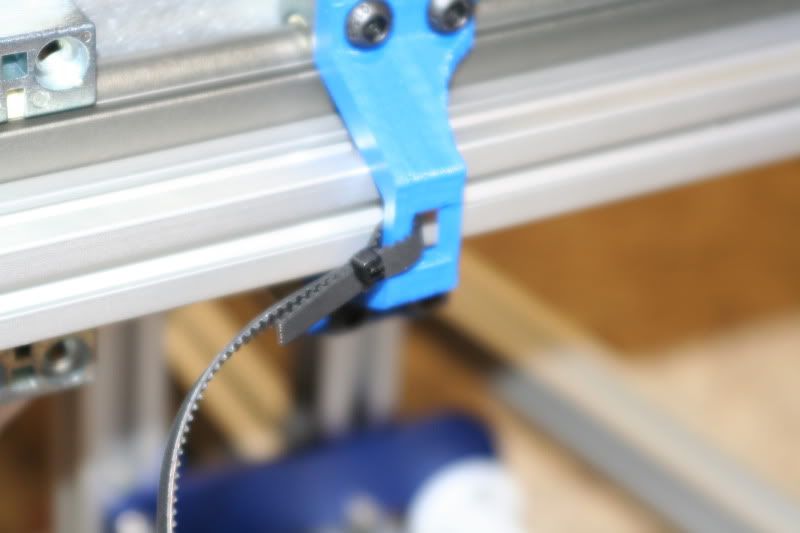
And through the idler
And attach it back to the axis plate.
Obviously the extra belt needs trimmed off still...
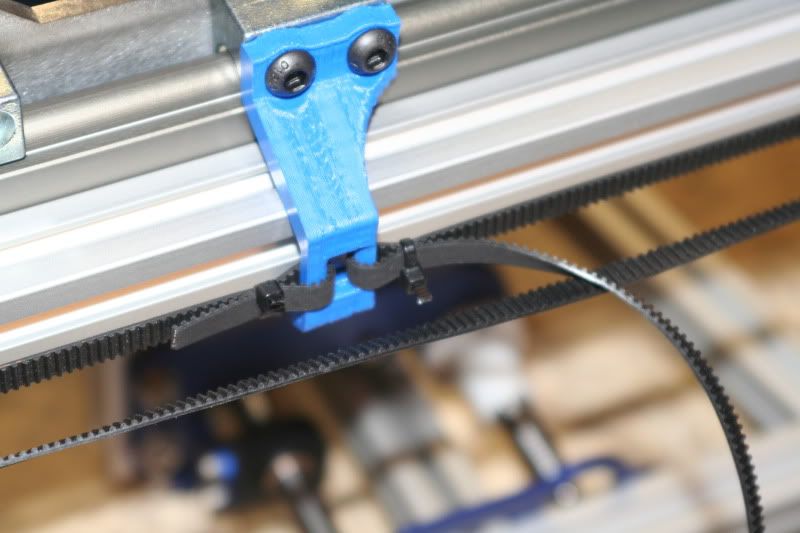
Adjust the tension using the idler.
X-axis. Still need to trim the belts.
Once the belts are on, adjust the tensioners to tighten.
Time Spent on this step: 30 min.
Total time so far: 8 hrs.
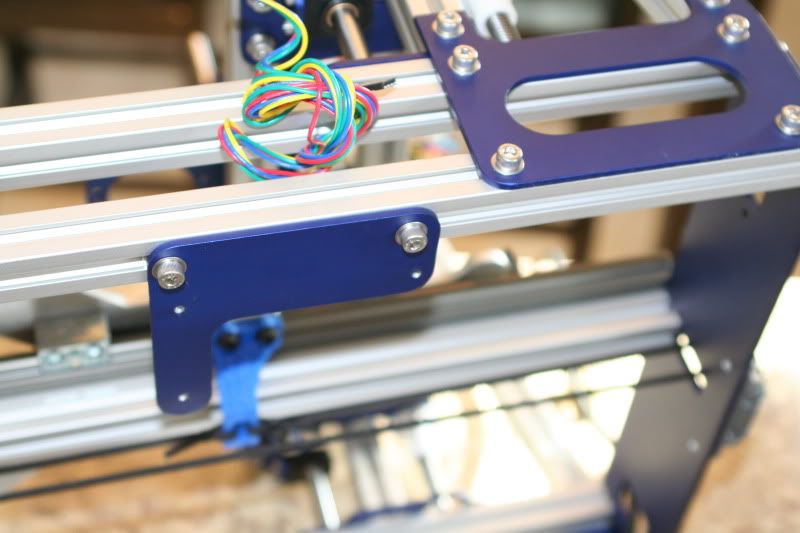
Spent some time routing stepper motor wires and figuring out how to hook things up. When I was talking to the company about what electronics to get, they recommended I get the RUMBA contoller board. It looks like the mounting brackets supplied do not work for my style of board, so I'm going to have to make something up. Same for the power supply.
 Means it'll take a little longer but I feel like I'm reaaalllly close to firing it up and figuring out the software!
 Electronics bracket... not designed for my electronics.

Rubber feet.
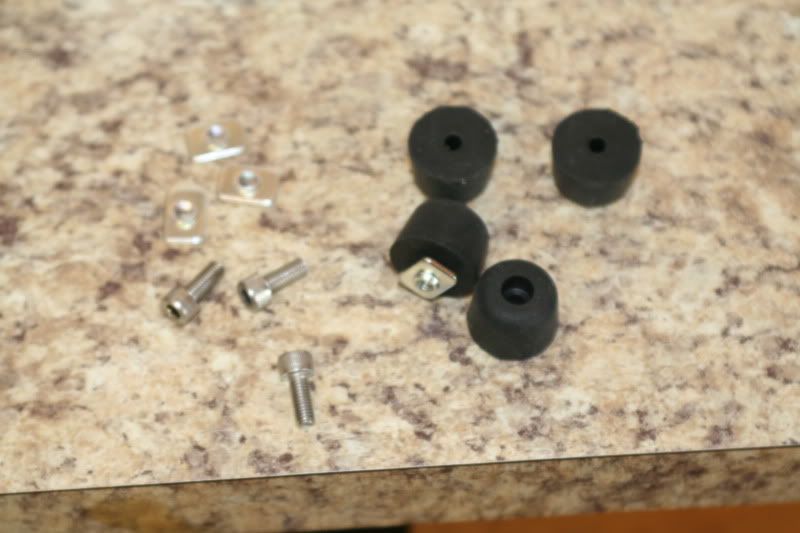
Install one foot, then the bracket, then the other feet.
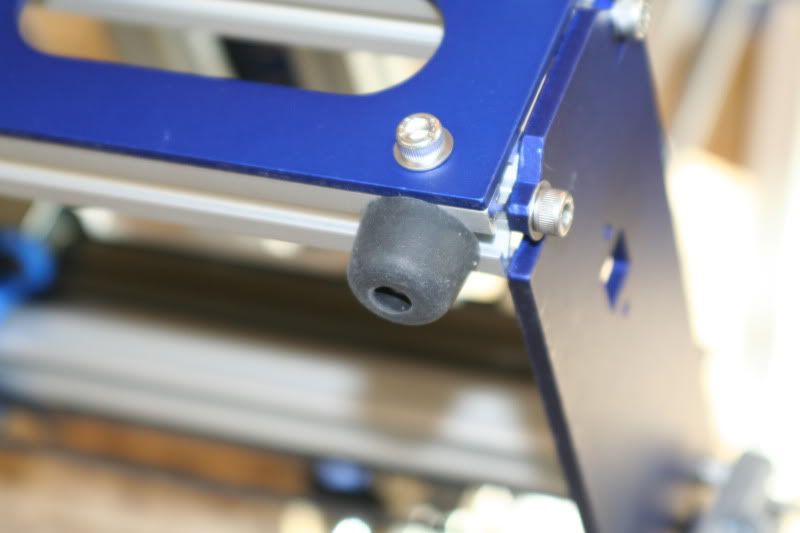
These should have all been installed while assembling the frame... The instructions have already been fixed to reflect that.
For the most part, all of the hardware is now DONE!!! I *only* have to install the electronics and get the software figured out. Sounds simple, right? NOT.
Time Spent on this step: 45 min.
Total time so far: 8 hrs. 45 min.
No comments:
Post a Comment