Here's where we're at. You've already seen the windscreen:

and the seat bump:

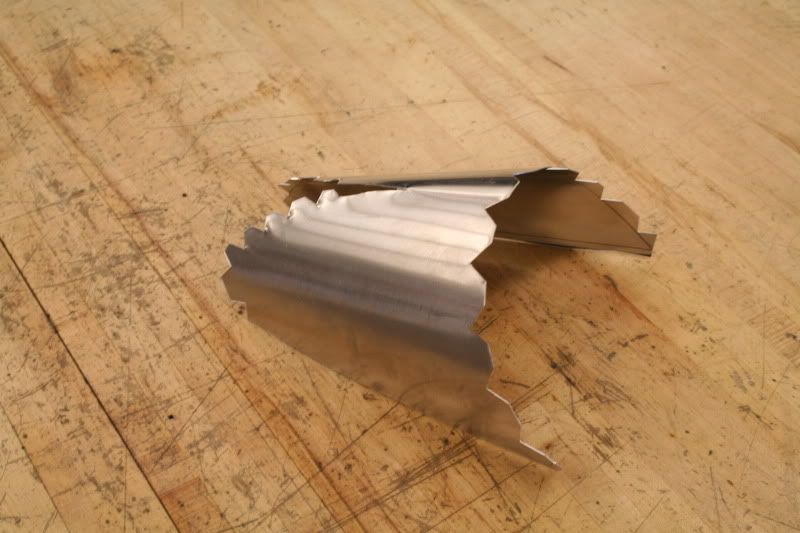
Here was the first attempt at the seat bump. I was trying to make compound (?) curves... a little beyond my capabilities right now.

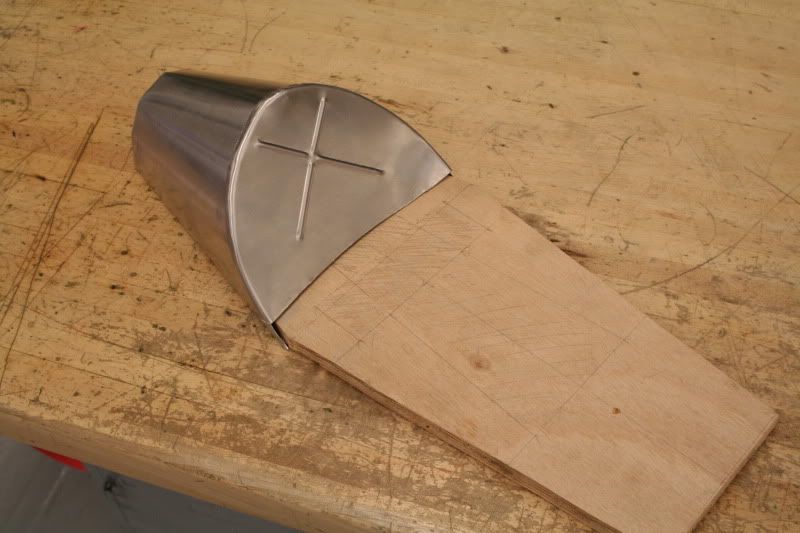
I made a seat pan out of some scrap wood and mounted my seat bump to it. The sheet metal on the wood covers a cutout so the wood sits down over the shape of the frame. The wood will be covered with a thin foam and then a custom sewn (yup, going to teach myself how to sew...) seat cover. The "lid" will be hinged at the bottom under the seat cover so I can keep papers and maybe a spare plug or oil in there. Haven't decided on a tail light yet.


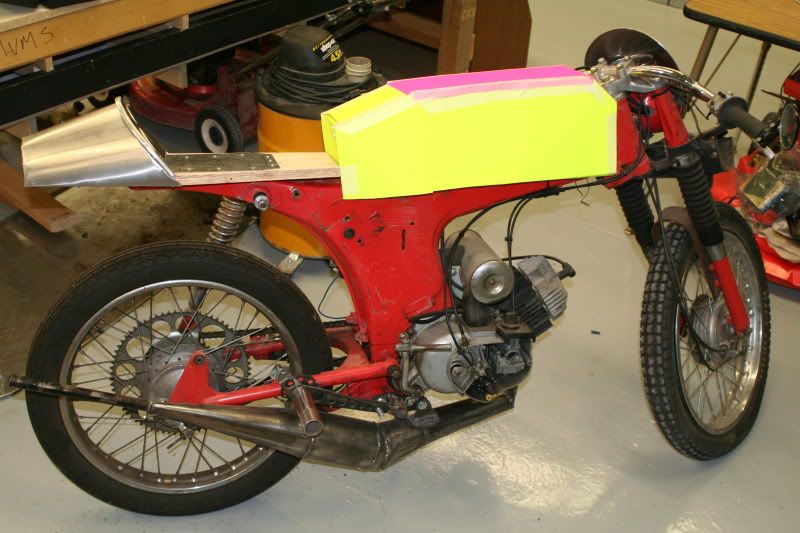
Next was the tank. I had drawn up an idea in Sketchup and had some fairly accurate measurements. I used those to make the paper tank for test fitting and to see how I like the style. I wasn't sold on the shape, but I figured the bottom of the tank wouldn't change so I started there.
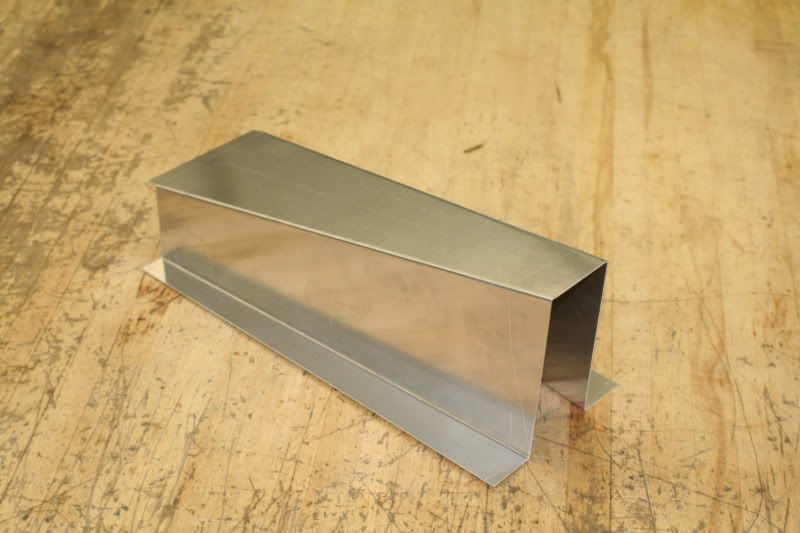
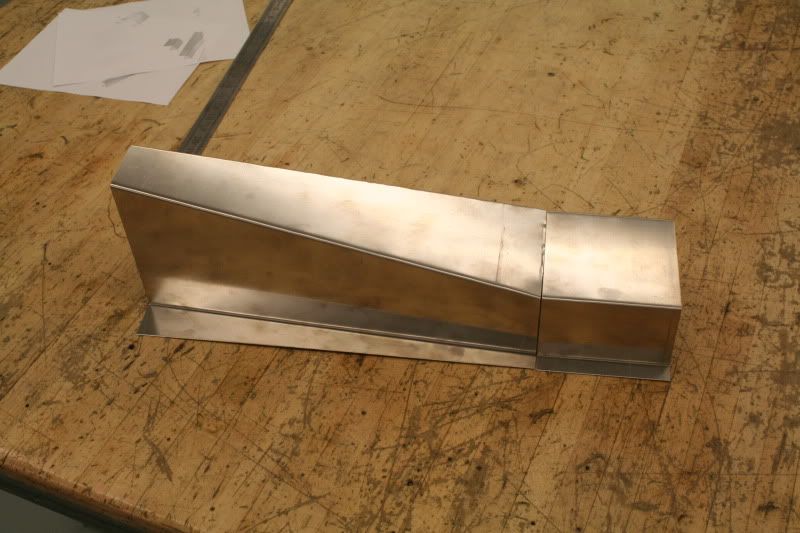
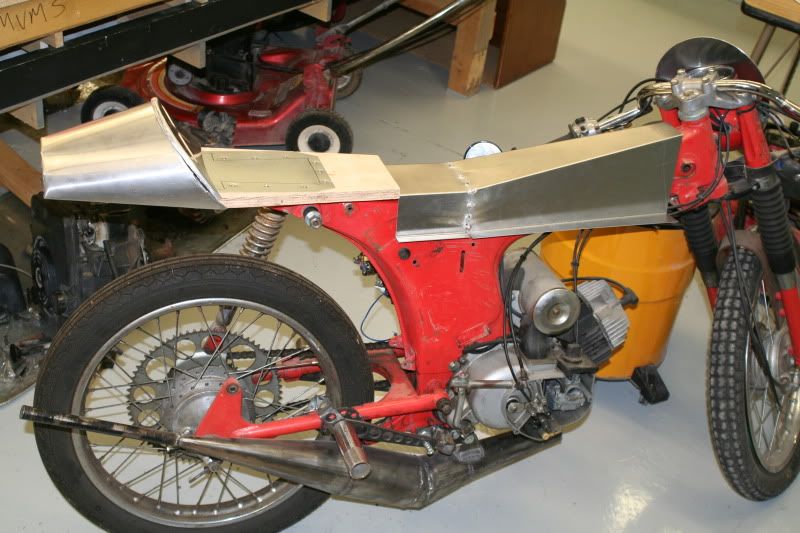
Tacked it together with my TIG and started on the top. I already posted a few pics of this so here are a few of the old ones along with a few new. I fully expected to have to re-do the tank a time or two, but its turning out a lot better than I expected.
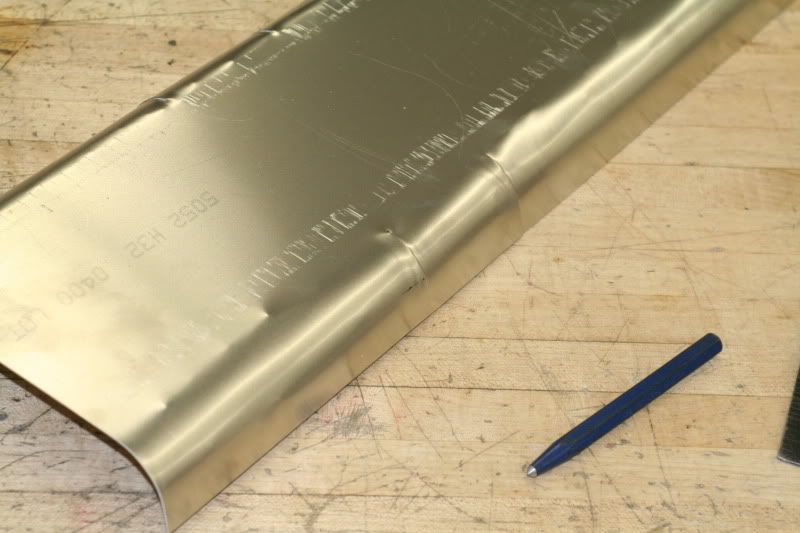
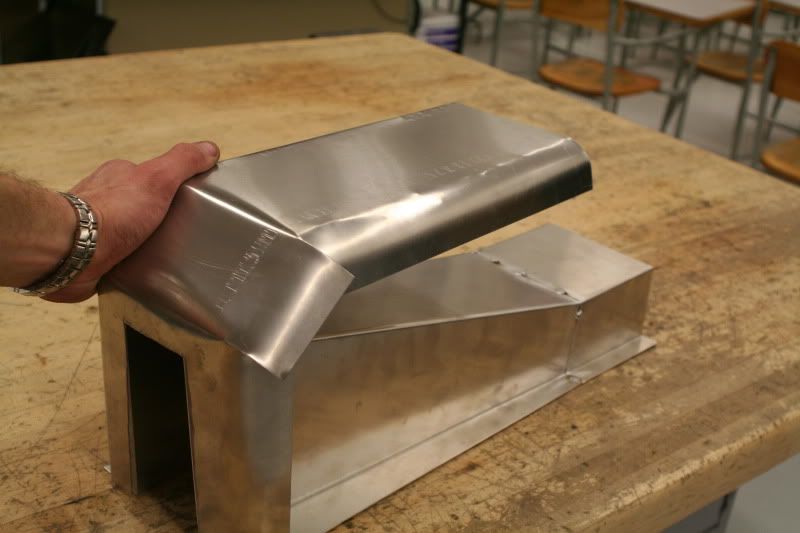
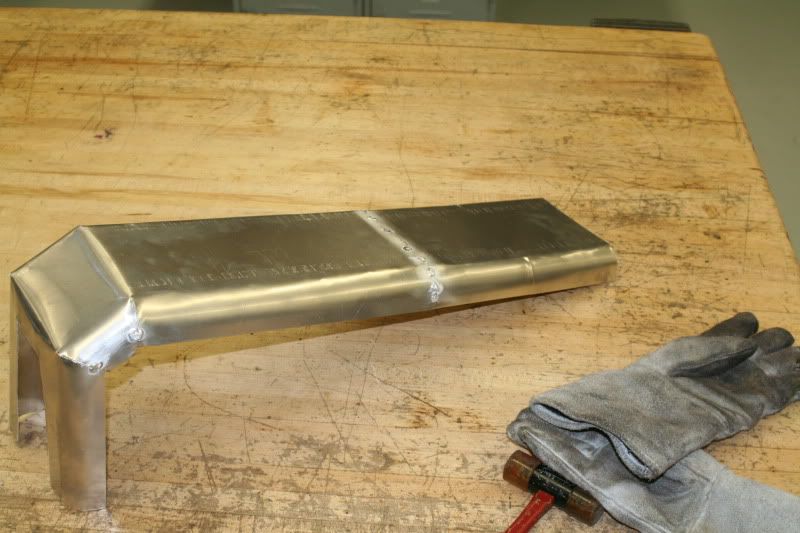
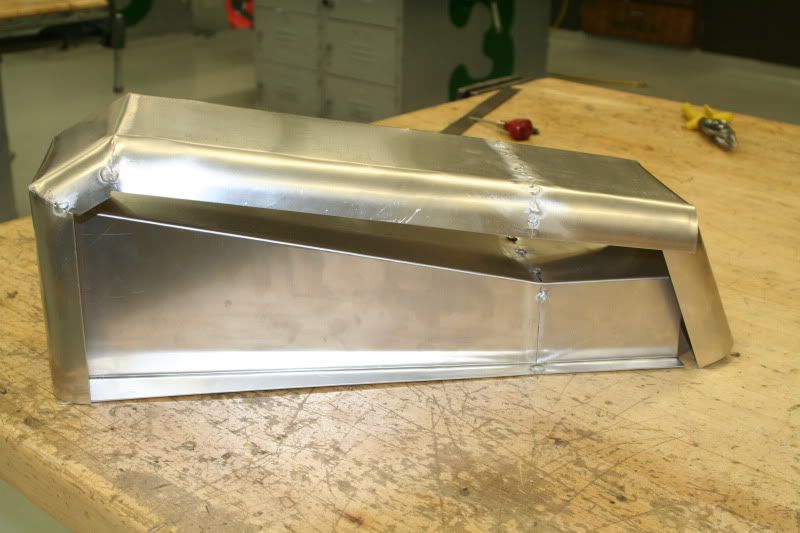
I think these next few pics look GREAT, which of course means I'm about to screw something up.
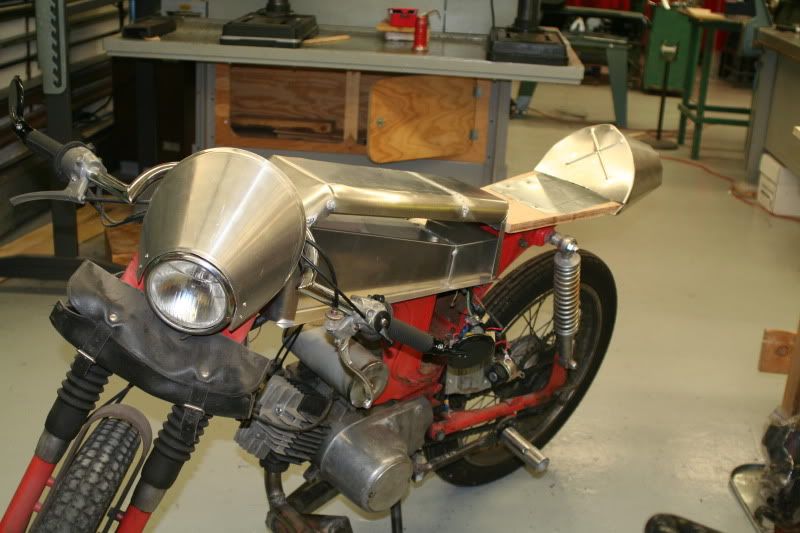
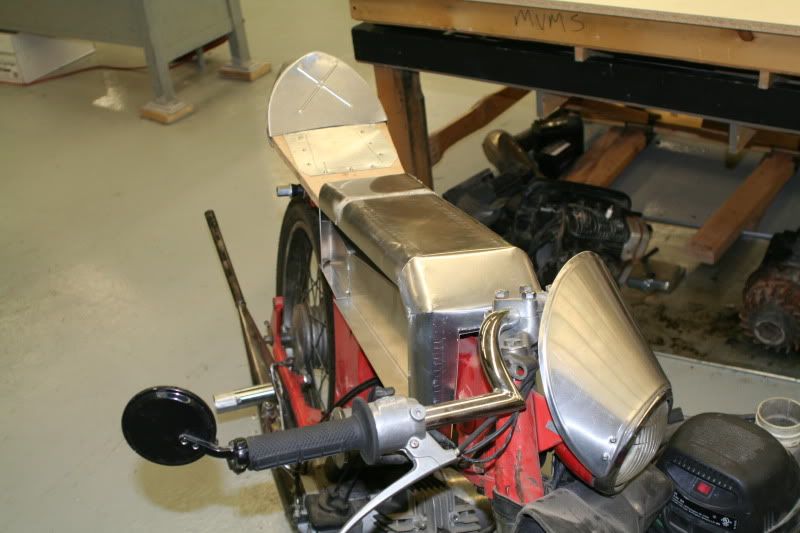
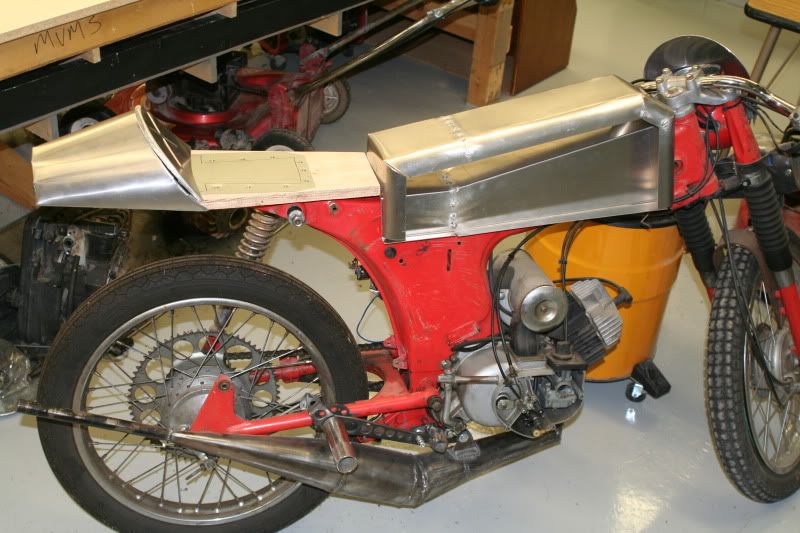
So... You see where I tacked the back half of the tank to the front? Well, I thought I was getting along well enough with my welder to give it a go. I still can't get pretty beads consistently on the this stuff, but I figured this part was going to get ground down smooth anyways so what could it hurt?
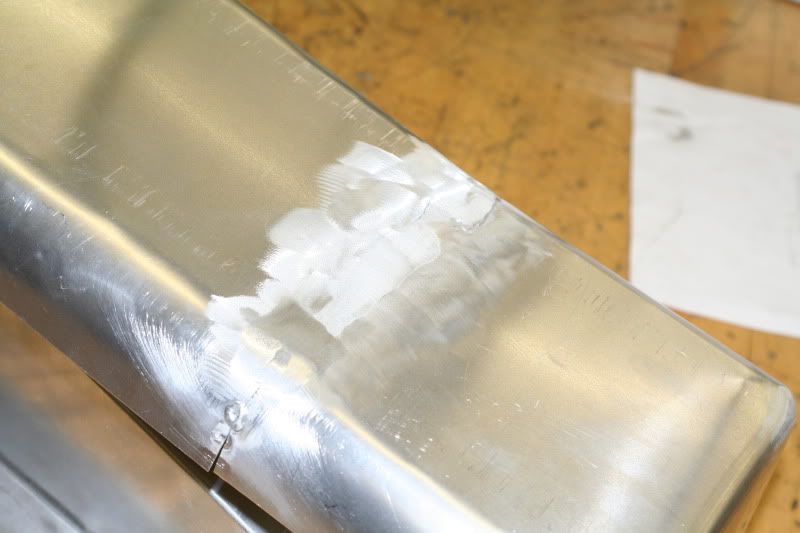
It became painfully obvious that my welder coupled with my (lack) of skills is not going to work for this project. My welder only goes down to about 30 amps. I think thats about the max I want to start, and then it needs to drop to maybe half that.
I'm embarrassed to post these but here you go anyways. If you look really close you can see a crack at the back edge of the weld where I ground through trying to get it flat. I didn't take any pics of the underside but there are some huge nasty boogers hanging off the inside from piling the filler in to keep from blowing holes. Yuck.
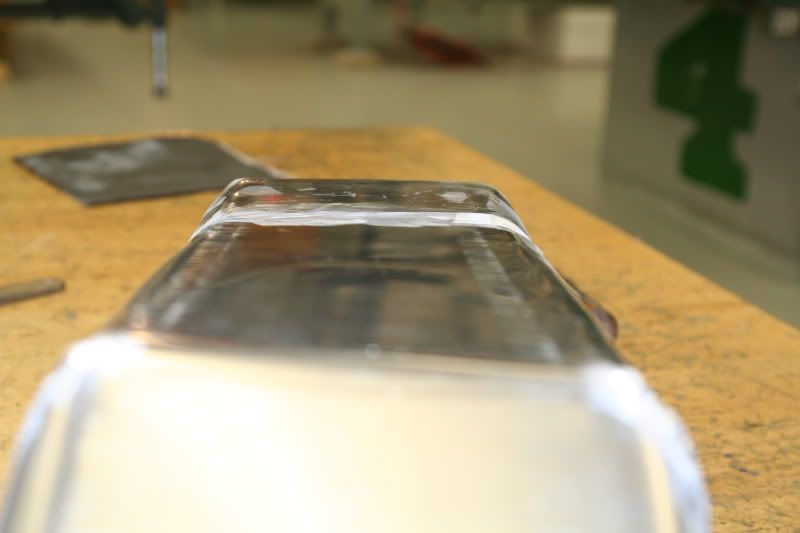
I tried a couple of corners too. They turned out okay, but still have the nasty boogers inside from too much rod.
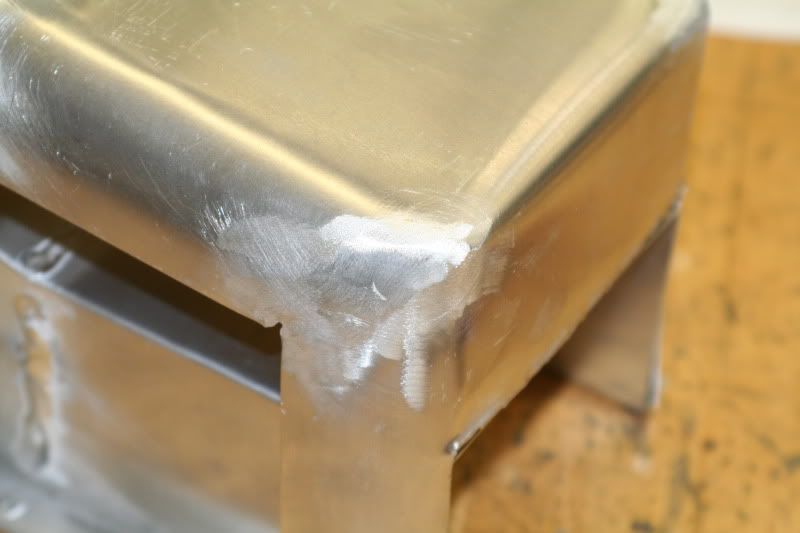
Oh well... hack the back part off just in front of the weld and start over. I'm *almost* back to where I was.
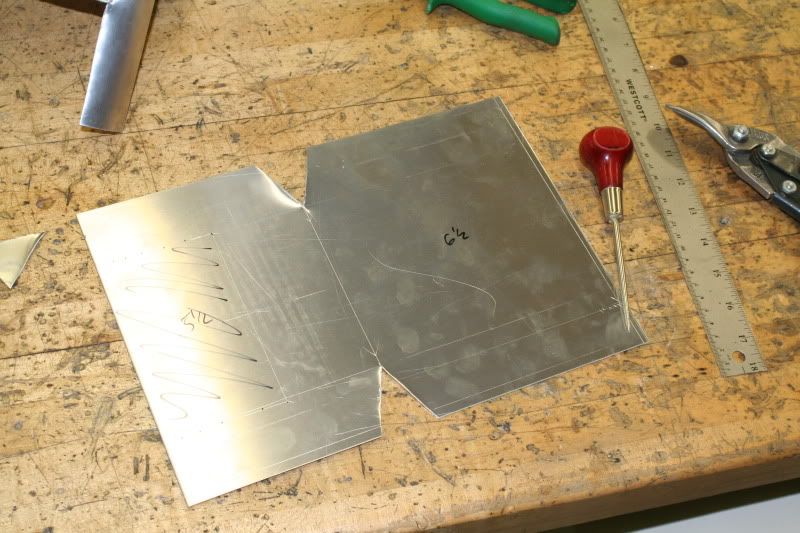
Progress, bit by bit. Only get a few minutes here and there before I go home or a little more time on a weekend if I go in, so I fully expect this project to take at least another three years.

No comments:
Post a Comment